
Lawn Care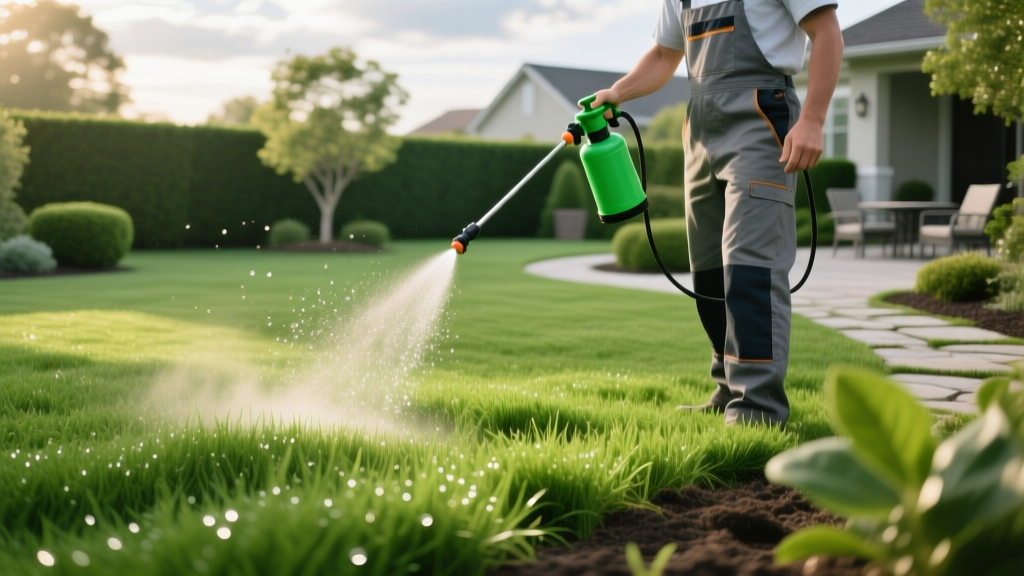
How to Apply Green Grass Spray for a Darker, Healthier Lawn
Decoding the Term: What Exactly is Green Grass Spray?
When homeowners search for a green grass spray, they are typically referring to one of three distinct lawn care products: liquid nitrogen fertilizers, chelated liquid iron supplements, or cosmetic turf colorants (lawn paint). For genuine lawn health and a deep, dark green color without triggering excessive, mowing-heavy top growth, chelated liquid iron and liquid nitrogen-iron blends are the professional standards.
Unlike granular fertilizers that require heavy watering to break down and can easily burn the turf if misapplied, liquid sprays offer immediate foliar absorption. According to Penn State Extension, liquid applications allow for precise, low-dose nutrient delivery directly to the leaf blade, resulting in visible color changes within 48 to 72 hours.
The Iron vs. Nitrogen Distinction
Liquid Nitrogen (e.g., 16-4-8 blends): Promotes rapid vertical growth and moderate greening. Best for spring push.
Chelated Liquid Iron (e.g., 6% Fe): Triggers chlorophyll production for a dark, almost black-green hue without forcing the grass to grow taller. Best for summer maintenance and reducing mowing frequency.
Equipment Selection and Cost Matrix
Applying a liquid lawn treatment requires uniform distribution. Hose-end sprayers are notoriously inaccurate for liquid iron, often leading to streaking. As of 2026, investing in a dedicated tank sprayer is the most cost-effective route for lawns under 10,000 square feet.
| Equipment Type | Recommended Model (2026) | Avg. Cost | Best For | Accuracy Rating |
|---|---|---|---|---|
| Hose-End Sprayer | Chapin G362 Wet/Dry | $25 - $30 | Water-soluble granular fertilizers | Low (Prone to streaking) |
| Manual Pump Sprayer | Solo 418 2-Gallon | $45 - $55 | Spot treatments, lawns under 2,000 sq ft | Medium (Pressure drops) |
| Battery Backpack Sprayer | PetraTools 4-Gallon Battery | $110 - $140 | Full lawn coverage, uniform pressure | High (Consistent PSI) |
Step 1: Calibrating Your Sprayer (The Missing Link)
The most common failure mode in liquid lawn care is applying too much product in one area and too little in another. You must calibrate your sprayer to determine exactly how much water it outputs per 1,000 square feet.
- Measure a Test Area: Mark off exactly 1,000 square feet of your driveway or lawn (e.g., a 20 ft by 50 ft rectangle).
- Fill with Water: Fill your sprayer tank with a known quantity of plain water (e.g., 2 gallons).
- Spray the Area: Walk at your normal, comfortable application pace (roughly 3 mph) and spray the 1,000 sq ft area using your standard nozzle setting.
- Measure the Remainder: Check how much water is left in the tank. If you started with 2 gallons and have 0.5 gallons left, your sprayer outputs 1.5 gallons per 1,000 sq ft.
This output number is your baseline. All chemical mixing ratios will be scaled to this exact water volume.
Step 2: Mixing the Solution Safely
Liquid iron and synthetic fertilizers can react poorly if mixed incorrectly, leading to clogged nozzles or chemical precipitation. Always follow the W.A.L.E.S. mixing order (Water, Agitate, Liquid, Emulsion, Suspension) when combining products.
Standard Liquid Iron Mixing Protocol
- Base Rate: Most 6% chelated liquid iron products (like LawnStar or Simple Lawn Solutions) require 3 to 4 ounces of product per 1,000 square feet.
- Add Water First: Fill your tank halfway with water. Never add concentrate to an empty tank, as it will foam excessively and become impossible to mix.
- Add Surfactant: Add 0.5 ounces of a non-ionic surfactant (like Hi-Yield Spreader Sticker). This breaks the surface tension of the water, allowing the iron to coat the grass blade evenly rather than beading up and rolling off.
- Add the Iron: Pour in the measured liquid iron.
- Top Off and Agitate: Fill the rest of the tank with water and shake vigorously.
WARNING: The Concrete Stain Hazard
Liquid iron will permanently stain concrete, brick, and stone within seconds of contact. Always mix your sprayer on the grass or a gravel surface. If you must use a driveway, place a heavy-duty tarp underneath. If a spill occurs, immediately flush with water. For dried stains, an oxalic acid-based cleaner (like Iron OUT) is required to lift the rust oxidation.
Step 3: The Application Technique
Uniformity is achieved through consistent walking speed and nozzle height. Set your sprayer pressure to roughly 30-40 PSI. Hold the wand so the nozzle is 18 to 24 inches above the turf canopy. This height provides an 8-to-10-foot spray swath.
Walk in straight lines, using a fixed landmark (like a fence post or tree) to guide your path. On your return pass, overlap your previous spray line by 50%. This cross-hatching technique eliminates the "striping" effect that occurs when wind pushes the mist slightly off-target.
Step 4: Understanding Soil pH and Iron Lockout
If you apply a green grass spray and see zero color change after 5 days, your soil pH is likely the culprit. According to the EPA's guidelines on lawn nutrient management, soil chemistry dictates nutrient availability.
When soil pH rises above 7.0 (alkaline), iron becomes chemically locked in the soil and unavailable to grassroots. This is why foliar spraying (applying directly to the leaf) is vastly superior to granular soil applications in alkaline regions. The chelating agents in premium liquid sprays (like EDTA or DTPA) protect the iron molecule from binding to soil particles, allowing the leaf to absorb it directly. If your soil pH is above 7.5, you must use a DTPA-chelated iron rather than a standard EDTA formula for the spray to be effective.
Step 5: Post-Application Watering and Cleanup
Unlike granular fertilizers that require immediate, deep watering to prevent burn, foliar liquid iron sprays should not be watered in immediately. Allow the spray to dry completely on the grass blade (usually 2 to 4 hours) to maximize absorption.
Once dry, you can resume your normal irrigation schedule. However, you must immediately flush your sprayer tank, wand, and nozzle with clean water. Leaving liquid iron or fertilizer in the pump mechanism will corrode the internal seals and clog the brass or plastic nozzle tips within 48 hours.
Troubleshooting Common Spray Failures
| Symptom | Probable Cause | Corrective Action |
|---|---|---|
| Alternating dark and light green stripes | Inconsistent walking speed or poor overlap. | Recalibrate walking pace to exactly 3 mph; increase overlap to 50%. |
| Grass tips turn brown/crispy | Applied during peak heat (above 85°F) or without a surfactant. | Only spray before 10 AM or after 6 PM. Always use a non-ionic surfactant. |
| Zero color change after 1 week | Soil pH above 7.5 locking out EDTA iron, or product washed off by rain. | Switch to DTPA-chelated iron; ensure 24 hours of dry weather post-application. |
| Black/Brown spots on grass blades | Iron oxidation on the leaf surface due to over-application. | Reduce dosage by 25%; mow the lawn to remove the oxidized leaf tips. |
Mastering the application of a green grass spray transforms a pale, struggling lawn into a dense, dark green carpet. By prioritizing precise calibration, respecting the chemistry of chelated iron, and maintaining strict equipment hygiene, you can achieve professional-grade results safely and cost-effectively.

