
Lawn Care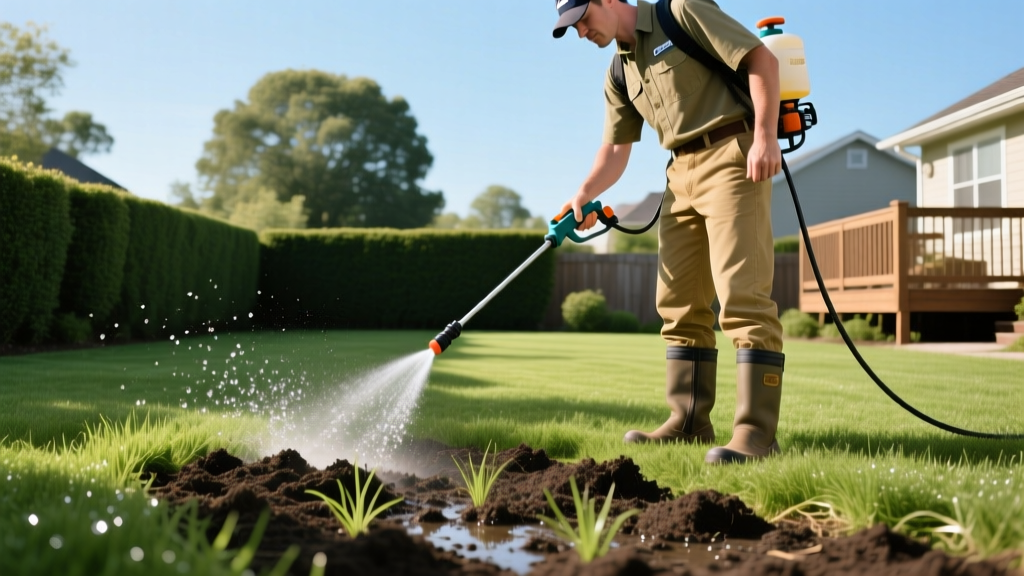
How to Apply Liquid Aerator: Step-by-Step Soil Compaction Fix
Soil compaction starves turfgrass roots of oxygen, blocks water infiltration, and creates hydrophobic thatch layers that repel fertilizers. While traditional mechanical core aeration physically removes soil plugs to relieve deep pressure, liquid aerators offer a chemically driven alternative for moderate compaction and routine soil maintenance. According to turfgrass research from Penn State Extension, improving soil porosity is critical for nutrient uptake, and modern liquid formulations can effectively break down surface tension in hydrophobic soils without the labor-intensive process of renting heavy machinery.
This guide details the exact chemical mechanics, diagnostic steps, and application protocols required to use a liquid aerator effectively in your lawn care program.
The Chemistry of Liquid Aeration: Surfactants vs. Humics
Liquid aerators are not mechanical tools; they are soil conditioners. They rely on two primary active ingredient classes to alter soil structure:
- Anionic Surfactants (e.g., Ammonium Lauryl Sulfate): These compounds reduce the surface tension of water. In compacted or heavily thatched soils, water tends to bead up and run off. Surfactants allow water to penetrate the microscopic pores between tightly bound clay particles, softening the soil profile and encouraging microbial activity.
- Humic and Fulvic Acids: Often blended with surfactants, these organic compounds act as chelating agents. They bind to clay particles, preventing them from locking together into hardpan layers, while simultaneously providing a carbon food source for soil microbes that naturally tunnel through the earth.
Expert Insight: Liquid aerators do not physically remove soil cores. If your soil has severe deep-layer compaction (e.g., heavy clay with a penetrometer resistance over 500 PSI) caused by heavy construction equipment, mechanical core aeration is still required. Liquid aerators are best utilized for the top 2 to 4 inches of soil, managing thatch, and maintaining porosity between mechanical aeration cycles.
Pre-Application Soil Diagnostics
Before applying any soil conditioner, verify that compaction is actually the limiting factor in your lawn's health. Perform these three field tests:
1. The 6-Inch Screwdriver Test
Push a standard 6-inch flathead screwdriver into moist soil. If you meet heavy resistance before the 4-inch mark, your soil is compacted. If it slides in easily to the handle, compaction is not your primary issue; look toward nutrient deficiencies or pH imbalances.
2. The Water Infiltration Rate
Cut the bottom off a plastic cylinder (like a coffee can) and push it 1 inch into the soil. Fill it with 1 inch of water. According to the USDA Natural Resources Conservation Service, healthy soil should absorb 1 inch of water in under 30 minutes. If the water sits for over an hour, you have a hydrophobic thatch or surface compaction issue that a liquid surfactant will directly address.
3. Thatch Depth Measurement
Use a soil probe or a sharp knife to extract a small wedge of turf. Measure the brown, spongy layer between the green grass blades and the mineral soil. If this layer exceeds 0.5 inches, liquid aeration combined with microbial dethatchers is highly recommended.
Selecting the Right Liquid Aerator Formulation
The market is saturated with products labeled as "liquid aerators," but their chemical efficacy varies wildly. Use this matrix to select the correct formulation for your specific soil type.
| Product Type | Active Ingredients | Best Use Case | Avg. Cost (32oz) |
|---|---|---|---|
| Surfactant-Heavy | Ammonium Lauryl Sulfate (ALS), Sodium Laureth Sulfate | Hydrophobic soils, severe water runoff, heavy thatch layers. | $25 - $35 |
| Humic-Complex | Humic Acid, Fulvic Acid, Yucca Extract | Clay-heavy soils, improving cation exchange capacity (CEC), routine maintenance. | $30 - $45 |
| Microbial-Infused | Bacillus subtilis, Molasses, Kelp Extract | Biological thatch breakdown, poor microbial activity, post-mechanical aeration. | $40 - $60 |
Note: Premium brands like Simple Lawn Solutions Liquid Soil Loosener and N-EXT Air-8t8 utilize hybrid formulas combining ALS surfactants with humic acids, providing both immediate water penetration and long-term soil conditioning.
Step-by-Step Application Protocol
Proper calibration and timing are critical. Applying liquid aerators during peak summer heat (above 85°F) can cause surfactant burn on turfgrass blades. Target soil temperatures between 55°F and 80°F, typically in early spring or early fall.
Step 1: Mow and Clear the Canopy
Mow your lawn 20% lower than your standard maintenance height. For example, if you maintain Tall Fescue at 3.5 inches, mow it down to 2.5 inches. This reduces the physical barrier of grass blades, allowing the liquid solution to reach the soil surface and thatch layer directly. Rake away any large debris or fallen leaves.
Step 2: Calibrate the Hose-End Sprayer
Most liquid aerators are designed for hose-end application. Fill the sprayer bottle with the concentrate up to the designated fill line (usually 3 to 4 oz of concentrate per 1,000 square feet). Crucial: If using a dial-sprayer, set the dial to 2 oz per gallon. If the product requires dilution in a pump sprayer, mix 3 oz of product per 1 gallon of water for every 1,000 sq ft.
Step 3: Apply in Overlapping Passes
Spray the lawn using a steady, walking pace. Walk in a North-South direction, then immediately perform a second pass in an East-West direction. This cross-hatch pattern ensures the surfactant penetrates the soil evenly without leaving untreated compaction pockets.
Warning: Surfactants create heavy foam when agitated. Do not vigorously shake the hose-end sprayer bottle before connecting it to the water supply. Swirl it gently to mix, otherwise, the suds will block the siphon tube and result in an uneven application.
Step 4: The Mandatory Water-In (Syringing)
Liquid aerators must be washed off the grass blades and pushed into the soil profile to work. Immediately after application, turn on your sprinklers or use a hose to apply exactly 0.25 inches of water. This is enough to carry the surfactants down into the top 2 inches of soil without causing deep percolation runoff. Use a rain gauge or an empty tuna can placed on the lawn to measure the 0.25-inch threshold accurately.
Post-Application Maintenance & Recovery
The surfactants will begin breaking down surface tension within 24 hours. However, the biological breakdown of thatch and the softening of clay hardpans take 14 to 21 days. During this window, maintain your standard irrigation schedule, but monitor the soil moisture. You will notice that the soil retains moisture longer and drains more evenly. Do not apply granular pre-emergent herbicides within 7 days of a liquid aeration treatment, as the increased water infiltration can pull the herbicide barrier too deep into the soil profile, rendering it ineffective against surface-germinating weeds like crabgrass.
Troubleshooting Common Liquid Aeration Failures
If you do not see improved water infiltration or turf vigor after 30 days, review this diagnostic table to identify the failure point.
| Symptom | Probable Cause | Corrective Action |
|---|---|---|
| Grass blade tips turn brown/yellow within 48 hours. | Surfactant burn due to application during high heat (>85°F) or failure to water-in immediately. | Apply 0.5 inches of water to flush residual salts off the leaf tissue. Wait 14 days for recovery. |
| Water still pools on the surface after 2 weeks. | Thatch layer exceeds 0.75 inches, physically blocking the surfactant from reaching the soil. | Perform mechanical power raking or dethatching, then reapply the liquid aerator at a 25% higher rate. |
| Sprayer sputters and outputs pure water. | Foam blockage in the siphon tube or water pressure exceeding 60 PSI. | Turn off the spigot, release pressure, and partially bypass the anti-siphon valve or reduce spigot flow by 20%. |
Integrating liquid aeration into your bi-monthly lawn care schedule bridges the gap between annual mechanical core aerations, ensuring your turfgrass roots maintain consistent access to oxygen, water, and applied fertilizers throughout the growing season.

