
Lawn Care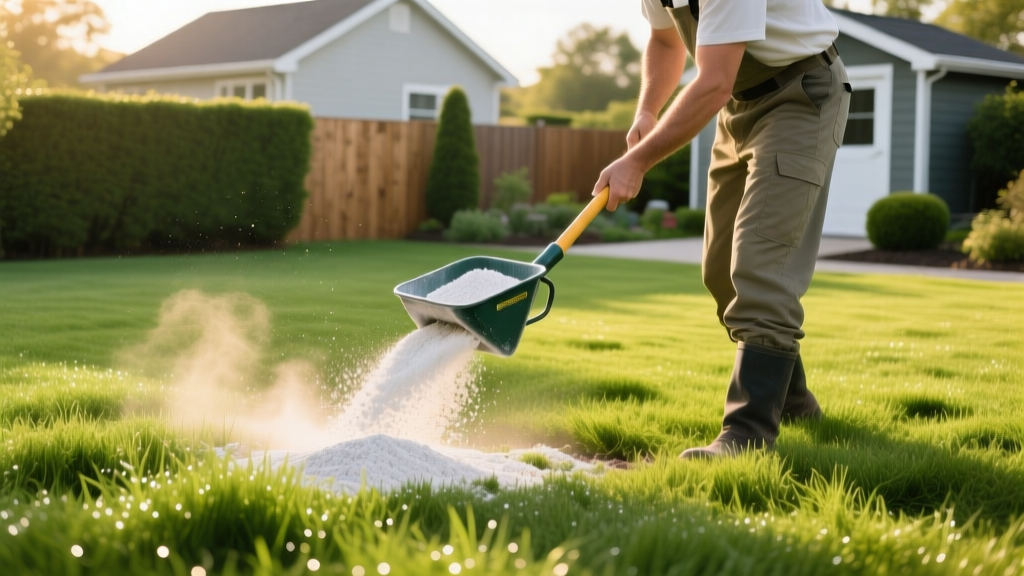
How to Apply Limestone for Grass: Step-by-Step Soil pH Correction
The Hidden Bottleneck in Lawn Fertilization
Homeowners frequently apply expensive nitrogen-rich fertilizers only to watch their grass remain pale, thin, and susceptible to disease. The underlying culprit is rarely a lack of nutrients; it is almost always a nutrient lockout caused by acidic soil. When soil pH drops below 6.0, essential macronutrients like nitrogen, phosphorus, and potassium become chemically bound to the soil matrix and unavailable to grass roots. Applying limestone for grass is the definitive agronomic solution to neutralize soil acidity, restore Cation Exchange Capacity (CEC), and unlock the fertilizers you are already paying for.
This step-by-step maintenance procedure details the exact science, calculations, and mechanical application methods required to safely and effectively raise your soil pH.
Step 1: Differentiate Active pH from Buffer pH
The most common failure point in DIY lawn care is relying on cheap analog soil probes or test strips that only measure active pH (the current hydrogen ion concentration in the soil water). While active pH tells you if your soil is acidic, it does not tell you how much limestone is required to fix it.
To calculate the correct application rate, you must measure the buffer pH. Buffer pH measures the soil's reserve acidity—the hydrogen and aluminum ions attached to clay and organic matter particles. Sandy soils have low reserve acidity, while heavy clay soils have massive reserve acidity. Two lawns can both have an active pH of 5.0, but the clay lawn will require three times as much limestone to reach a target pH of 6.5.
Expert Action: Bypass hardware store test kits. Extract 10 to 15 soil cores (3 inches deep) from across your lawn, mix them in a clean plastic bucket, and mail a 2-cup sample to a university extension laboratory. The University of Minnesota Extension and the UMass Amherst Soil Testing Lab offer comprehensive turfgrass panels for $15 to $30 that include both active and buffer pH metrics, alongside exact limestone recommendations.
Step 2: Calculate the Exact Limestone Requirement
Once your lab results return, locate the buffer pH and your soil texture classification. The following matrix provides the baseline application rates of calcium carbonate equivalent (CCE) required to raise your soil to the optimal turfgrass range of 6.2 to 6.8.
| Current Buffer pH | Sandy Loam (lbs / 1,000 sq ft) | Silt Loam (lbs / 1,000 sq ft) | Heavy Clay (lbs / 1,000 sq ft) |
|---|---|---|---|
| 6.5 | 15 | 25 | 35 |
| 6.0 | 25 | 40 | 55 |
| 5.5 | 35 | 55 | 75 |
| 5.0 | 45 | 70 | 95 |
Step 3: Select the Correct Limestone Formulation
Not all limestone products are chemically identical. Your soil test will dictate whether you need calcitic or dolomitic lime, while your application equipment will dictate the physical form.
Calcitic vs. Dolomitic Limestone
- Calcitic Limestone (Calcium Carbonate): Use this when your soil test shows adequate or high magnesium levels. It provides a rapid calcium boost, which improves soil flocculation (clumping) and water infiltration.
- Dolomitic Limestone (Calcium-Magnesium Carbonate): Use this only if your soil test indicates a magnesium deficiency. Over-applying dolomitic lime can lead to magnesium toxicity, which competitively inhibits potassium uptake, resulting in severe grass winterkill.
Pelletized vs. Pulverized
For residential lawn maintenance, pelletized limestone is the superior choice. Pulverized (powdered) lime is notoriously dusty, poses an inhalation hazard, and easily blows off-target onto siding and vehicles. Pelletized lime binds the fine powder into uniform 3mm granules using a water-soluble binder. Once the pellets contact soil moisture, they rapidly dissolve back into a fine powder for maximum surface area reactivity.
2026 Pricing Context: Expect to pay between $28 and $38 for a 40-pound bag of premium pelletized calcitic lime (such as Jonathan Green MAG-I-CAL or Espoma Organic Garden Lime), covering approximately 5,000 square feet at standard maintenance rates.
Step 4: Mechanical Application and Calibration
Applying limestone requires precision to avoid creating localized zones of alkalinity, which causes iron chlorosis (yellowing) in turfgrass. Follow this exact mechanical procedure:
- Clear the Canopy: Mow the lawn slightly shorter than your standard height (e.g., drop from 3.5 inches to 2.5 inches) and rake away heavy thatch or leaf litter. This ensures the limestone reaches the soil surface rather than getting trapped in the thatch layer.
- Calibrate the Spreader: Use a rotary (broadcast) spreader for even coverage. For standard pelletized lime, set a Scotts EdgeGuard rotary spreader to setting 5.5, or a Lesco Professional spreader to setting 14. Note: Always check the specific manufacturer's chart on the bag, as pellet density varies by brand.
- Execute the Cross-Hatch Pattern: Apply half of your calculated total volume walking in parallel North-South lines. Apply the remaining half walking in East-West lines. This 90-degree overlap eliminates striping and ensures uniform soil contact.
- Protect Hardscapes: Engage the spreader's edge guard or use a handheld spreader within 3 feet of concrete driveways and sidewalks. Limestone residue on concrete will leave permanent white etching when exposed to rain.
Critical Limit Warning: Never apply more than 50 pounds of limestone per 1,000 square feet in a single application. If your soil test recommends 80 lbs / 1,000 sq ft, you must split the treatment into two separate applications spaced 4 to 6 months apart. Exceeding the 50-pound threshold causes rapid soil structure degradation and salt shock to the grass rhizomes.
Step 5: Post-Application Activation and Timing
Limestone is largely insoluble in dry conditions. To activate the chemical reaction, you must incorporate water immediately after application.
The Watering Protocol
Apply exactly 0.25 inches of irrigation immediately following the spreader pass. This specific volume is enough to dissolve the pellet binder and wash the calcium carbonate into the top 2 inches of the soil profile without causing surface runoff. Avoid heavy watering (0.5 inches or more), which will wash the fine lime particles into storm drains before they can react with the soil.
Optimal Seasonal Timing
The chemical neutralization process takes 3 to 6 months to fully alter the soil pH profile. Therefore, timing is critical based on your grass type:
- Cool-Season Grasses (Fescue, Kentucky Bluegrass, Ryegrass): Apply in early to mid-fall (September to November). This allows the lime to react over the winter, perfectly prepping the soil for the massive spring nitrogen flush.
- Warm-Season Grasses (Bermuda, Zoysia, Centipede): Apply in late winter (February to early March) just before spring green-up. Exception: Centipedegrass naturally prefers a lower pH (5.5 to 6.0); only apply lime to Centipede if the active pH drops below 5.0.
Common Application Failures to Avoid
Even with a perfect soil test, turf managers frequently make mechanical errors that ruin the treatment. Watch for these edge cases:
- Applying Before Heavy Rain: While light rain helps activate lime, a forecasted downpour of 1+ inches will cause severe surface runoff, washing your investment into the street.
- Mixing with Soluble Phosphorus Fertilizers: Do not apply limestone and high-phosphorus starter fertilizers on the same day. The calcium in the lime will instantly bind with the phosphorus, creating calcium phosphate, an insoluble rock that the grass cannot absorb. Separate these applications by at least 14 days.
- Ignoring the Thatch Layer: If your lawn has more than 0.5 inches of thatch, the lime will neutralize the acidic thatch but never reach the mineral soil where the roots are. Core aerate the lawn before applying limestone to ensure deep soil penetration.
Correcting soil pH is not an overnight fix, but it is the foundational prerequisite for a resilient lawn. By relying on buffer pH data, respecting application limits, and utilizing pelletized formulations, you transition your soil from a hostile, acidic environment into a biologically active medium capable of sustaining dense, deep-rooted turfgrass.

