
Lawn Care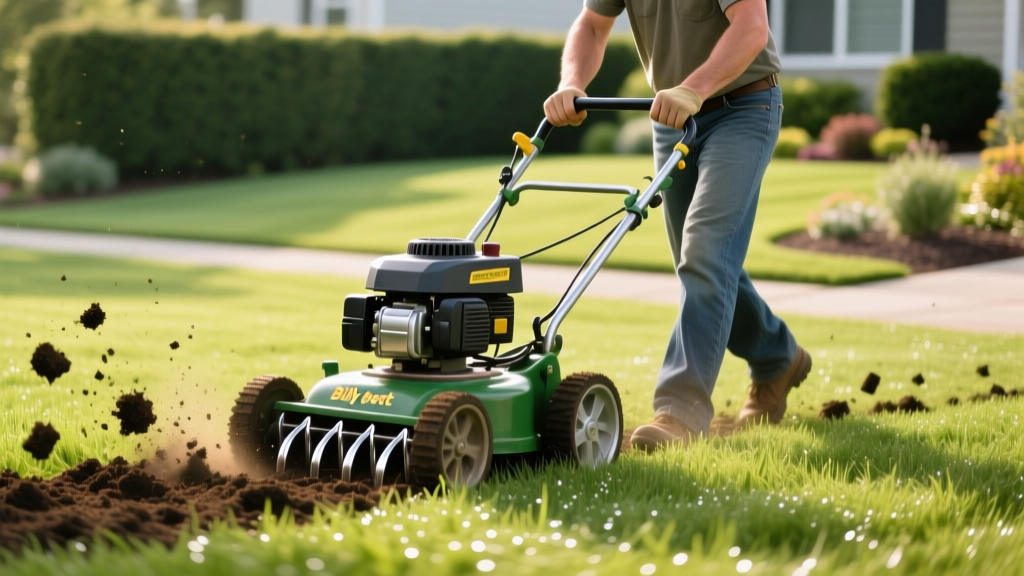
How to Operate a Billy Goat Lawn Aerator: Step-by-Step
Core aeration is the most effective mechanical intervention for relieving soil compaction, breaking down thatch, and improving water infiltration. Among commercial and prosumer equipment, the Billy Goat lawn aerator series—specifically the AE403 and AE403H walk-behind models—remains the industry benchmark. However, improper operation can result in shallow coring, turf tearing, or mechanical strain. This guide details the precise operational procedures required to maximize core depth and turf recovery.
Pre-Aeration Soil Preparation Protocol
The success of your aeration pass is determined 48 hours before the machine touches the grass. Billy Goat tines require specific soil moisture levels to penetrate deeply without clogging or bending.
- Moisture Calibration: Apply 1 to 1.5 inches of water 24 to 48 hours prior to aeration. Perform the screwdriver test: a standard 6-inch flathead screwdriver should slide into the soil with moderate resistance to a depth of 3 to 4 inches. If it stops at 1 inch, the soil is too dry; if it slides in with zero resistance and pulls up mud, the soil is too wet and will clog the hollow tines.
- Mowing Height: Reduce the turf canopy to 1.5 to 2 inches. This minimizes resistance against the aerator drum and ensures the extracted soil cores make direct contact with the soil surface for faster microbial breakdown.
- Utility Marking: Call 811 to mark deep underground utilities. For shallow irrigation lines, sprinkler heads, and valve boxes, use high-visibility landscape flags. According to Penn State Extension, striking an unmarked shallow irrigation line is the most common cause of property damage during residential aeration.
⚠️ CRITICAL WARNING: Never assume irrigation heads are deep enough to avoid the tines. Billy Goat tines can penetrate up to 2.75 inches. Flag every sprinkler head and maintain a 12-inch buffer zone around them during operation.
Machine Setup: AE403 vs. AE403H Control Differences
Before engaging the tines, you must understand the drivetrain of your specific model. The mechanical and hydrostatic versions require entirely different operational approaches.
| Feature | AE403 (Mechanical) | AE403H (Hydrostatic) |
|---|---|---|
| Drive System | Belt and mechanical clutch | Hydrostatic pump and wheel motors |
| Speed Control | Fixed gear speed (approx. 2.5 mph) | Infinitely variable (0 to 3.2 mph) |
| Tine Engagement | Manual lever pull (cam-action) | Manual lever pull (cam-action) |
| Turning Technique | Disengage clutch, lift tines, pivot | Neutralize hydrostatic, lift tines, pivot |
| Ideal Terrain | Flat to moderate slopes | Variable terrain, tight landscapes |
Step-by-Step Operation Procedure
Follow this exact sequence to achieve optimal core extraction and maintain turf integrity.
- Weight the Drum: The hollow drum on the AE403 series must be filled to achieve maximum penetration. For standard loam soils, fill with water to the halfway mark. For heavily compacted clay soils, fill the drum completely with water or dry sand to add approximately 140 lbs of downforce. This is mandatory to reach the full 2.75-inch coring depth.
- Position and Engage: Start the engine and allow it to warm up for 60 seconds. Position the machine at the edge of your work area. Pull the tine engagement lever forward to lower the drum into the soil.
- Establish a Straight Line: For the mechanical AE403, engage the drive clutch smoothly. For the AE403H, gently push the hydrostatic control bar forward. Maintain a walking pace of 2 to 2.5 mph. Moving too fast results in shallow, widely spaced cores; moving too slow causes excessive turf disruption.
- Execute the Overlap Pattern: Aerate in straight, parallel lines. On your return pass, overlap the previous path by 50% (roughly 12 inches). This ensures the 3.5-inch tine spacing yields a uniform grid of holes across the entire lawn, which University of Georgia Extension notes is critical for uniform root zone gas exchange.
Navigating Slopes and Tight Turns
The most common mistake operators make with walk-behind aerators is turning while the tines are engaged. Because the tines are anchored deep in the soil, forcing the machine to pivot will tear massive chunks of turf out by the roots and place severe lateral stress on the tine shafts.
The Squeeze-and-Release Method: As you approach the end of a pass, release the drive clutch (or center the hydrostatic bar) to stop forward momentum. Pull the tine lever back to lift the drum completely out of the soil. Only then should you pivot the machine 180 degrees. Lower the tines, re-engage the drive, and begin the next pass.
Slope Protocol: When aerating on an incline, always operate straight up and down the slope, never horizontally across it. The heavy, water-filled drum shifts the machine's center of gravity; traversing a slope laterally creates a severe rollover hazard.
Post-Aeration Recovery Timeline
Do not rake or remove the extracted soil cores. They contain beneficial microbes that will break down thatch as they dissolve over the next two to three weeks. Follow this timeline to maximize the benefits of the aeration process.
| Timeframe | Action Required | Objective |
|---|---|---|
| Day 0 (Immediate) | Apply starter fertilizer and grass seed | Seed falls directly into aeration holes for protected germination |
| Days 1-14 | Water lightly 2x daily (10 mins each) | Keep seed in the cores moist without washing them out |
| Day 14 | Resume standard deep watering cycles | Encourage deep root growth into the new aeration channels |
| Day 21+ | Mow when new grass reaches 3 inches | Standard canopy maintenance; remaining cores will have dissolved |
Troubleshooting Common Billy Goat Issues
Even with proper setup, field conditions can cause operational anomalies. Use this diagnostic guide to resolve issues on the fly.
Symptom: Tines are penetrating less than 1 inch.
Cause: Soil is too dry, or the drum lacks sufficient downforce.
Fix: Halt operations. Water the lawn heavily and wait 24 hours. If moisture is adequate, drain the water from the drum and refill it with dry masonry sand, which provides 30% more weight per gallon than water.
Symptom: Tines are clogging with solid mud plugs.
Cause: Soil moisture is too high, causing clay to pack tightly inside the hollow tines.
Fix: Stop and allow the soil to dry for 48 hours. To clear existing clogs, use a specialized flexible tine-cleaning rod or a piece of heavy-gauge wire. Never use a screwdriver or metal rebar to punch out clogs, as this will dull and chip the beveled cutting edge of the tine.
Symptom: Machine pulls aggressively to one side.
Cause: Uneven tire pressure or a single bent tine shaft.
Fix: Check the pneumatic drive tires; they must be inflated to exactly 20 PSI. If tire pressure is equal, inspect the tine shafts. A single bent shaft from striking a buried rock will cause lateral dragging and must be replaced before the next use to prevent transmission damage.

