
Lawn Care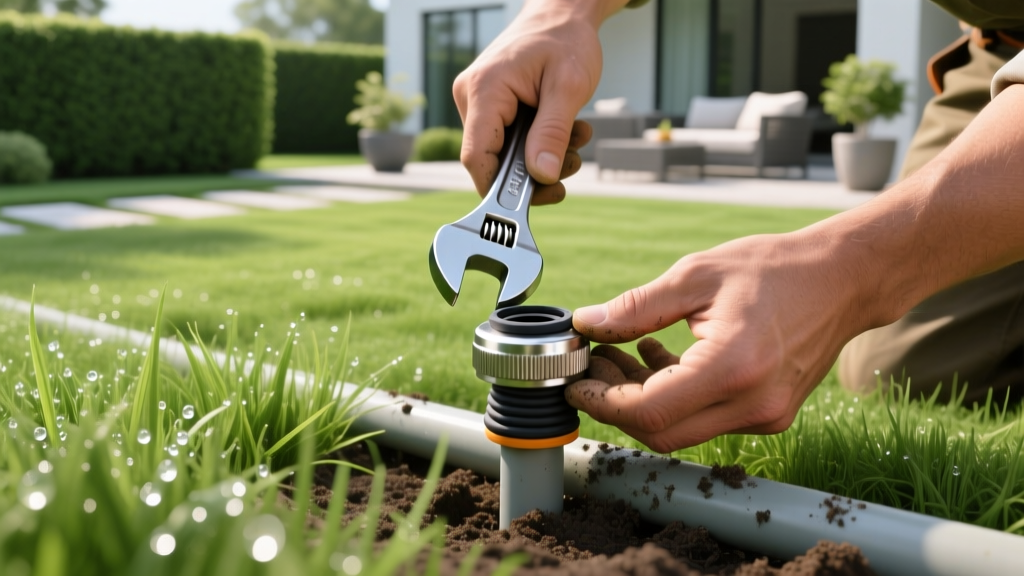
How to Cap a Sprinkler Head: Permanent & Temporary Fixes
Why Cap a Sprinkler Head?
Knowing how to cap a sprinkler head is a fundamental irrigation maintenance skill. Homeowners typically need to cap a head for three reasons: landscaping renovations (like adding a patio or garden bed), fixing a cracked riser that is flooding a zone, or complying with municipal water restrictions. According to the EPA WaterSense program, optimizing your irrigation layout to match current landscaping can reduce outdoor water use by up to 50%. Rather than reprogramming your entire controller or leaving a broken head to waste water and erode soil, capping the head at the source is the most efficient solution.
Before digging, you must determine whether you need a surface-level threaded cap or a below-ground PVC slip-cap. The correct approach depends entirely on the condition of your existing riser and your long-term landscaping plans.
Diagnostic Decision Matrix: Which Method Do You Need?
- Use Method 1 (Threaded Cap): If the existing riser is intact, the threads are undamaged, and you might want to reactivate the head in the future (e.g., temporary garden bed expansion).
- Use Method 2 (PVC Slip-Cap): If the riser is shattered below the soil line, the threads are stripped, or you are permanently removing the head for hardscaping projects.
Essential Tools and Material Costs
Do not rely on generic hardware store plumbing caps. Irrigation systems operate under specific pressure dynamics and use National Pipe Thread (NPT) standards. As of 2026, standard PVC irrigation fittings remain highly affordable, but buying the exact sealants is critical to preventing blowouts.
| Tool / Material | Specific Recommendation | Estimated Cost |
|---|---|---|
| Threaded Cap | Rain Bird 1800-4743 (1/2' NPT) or Hunter 447800 (3/4' NPT) | $1.50 - $3.00 |
| PVC Slip Cap | Dura Plastic 170-005C (1/2' Slip x Slip) | $0.75 - $1.25 |
| Thread Sealant | Oatey Great White PTFE Tape with Tube (NOT standard white tape) | $3.50 - $5.00 |
| PVC Primer & Cement | Oatey Medium Clear Primer & Cement Combo | $8.00 - $12.00 |
| Excavation Tool | 6-inch Trenching Shovel or Irrigation Scoop | $15.00 - $25.00 |
Method 1: Capping a Threaded Sprinkler Head (At the Surface)
This is the most common scenario. Most modern spray bodies (like the Rain Bird 1800 series or Hunter Pro-Spray) connect to a flexible swing pipe or rigid PVC riser via a 1/2' or 3/4' male NPT threaded fitting.
Step-by-Step Execution
- Shut Off the Water Supply: Turn off the main irrigation valve and relieve system pressure by manually activating the zone from the controller for 3 seconds, then turning it off. This prevents a geyser when you unthread the head.
- Excavate the Base: Use a trenching shovel to dig a 6-inch diameter circle around the sprinkler head. Dig down at least 8 inches to expose the base of the riser and the elbow fitting. Remove all loose dirt to prevent debris from falling into the open pipe.
- Remove the Sprinkler Body: Grip the base of the riser with channel-lock pliers to prevent it from twisting underground (which could snap the lateral line). Use your other hand to unscrew the sprinkler body counter-clockwise.
- Identify the Thread Size: Measure the exposed male threads. A diameter of roughly 0.84 inches indicates a 1/2' NPT thread; a diameter of 1.05 inches indicates a 3/4' NPT thread.
- Apply PTFE Tape Correctly: Wrap the male threads with PTFE tape clockwise (looking at the end of the threads). Apply exactly 3 to 4 wraps. Warning: Do not use liquid pipe dope on irrigation PVC threads; the petroleum solvents can degrade the plastic over time, leading to micro-fractures.
- Install the Cap: Screw the threaded cap on by hand until snug, then use pliers to give it one final quarter-turn. Do not overtighten, as PVC fittings will crack under excessive torque.
- Test for Leaks: Turn the zone back on manually. Inspect the cap for weeping. If dry, backfill the hole, tamping the soil down to prevent future settling.
Method 2: Capping Below Ground (Cut and Slip-Fix)
If the riser is cracked below the surface, or if you are permanently removing the head for a concrete pour, you must cap the lateral supply line directly. This requires cutting the PVC and using a slip-cap.
The Hydraulic Reality of Capping Laterals
A common myth is that capping a sprinkler head will cause pressure to build up and burst your underground pipes. According to irrigation engineering principles detailed by the University of Minnesota Extension, capping a head actually reduces the Gallons Per Minute (GPM) flowing through the lateral line. Lower GPM means lower water velocity (feet per second). As long as your remaining heads are flowing, the static pressure remains regulated by the zone valve and pressure regulator. You only risk a pressure blowout if you cap every head on a zone without shutting off the valve at the manifold.
Step-by-Step Execution
- Dig and Expose: Excavate a wide enough area (at least 12 inches long) to work comfortably with a PVC cutter or hacksaw. Ensure the pipe is clean and dry.
- Cut the Pipe: Cut the lateral line just upstream of the elbow fitting that fed the removed head. Remove the elbow and the broken riser entirely.
Prep the PVC: Use a rag to wipe away moisture. Apply purple PVC primer to the outside of the lateral pipe and the inside of the slip-cap. The primer softens the top layer of the PVC for a chemical weld.- Apply Cement and Cap: Apply a uniform layer of medium-body PVC cement over the primed areas. Push the slip-cap onto the pipe with a slight twisting motion to distribute the cement evenly.
- Hold for 30 Seconds: PVC cement sets rapidly, but the initial 'push-out' force can cause the cap to pop off if not held firmly. Hold it in place for 30 seconds.
- Cure Time: Wait at least 2 hours before pressurizing the zone to allow the solvent weld to achieve maximum shear strength.
Winterization Warning for Capped Heads
If you live in a freeze-thaw climate and use an air compressor to blow out your irrigation system in the fall, be aware that permanently capped slip-caps create a 'dead end' in the lateral line. Air takes the path of least resistance and may bypass the water trapped in the dead-end spur. To prevent frozen pipes, ensure your blow-out technician uses a high-volume, low-pressure (HVLP) compressor to create enough turbulence to evacuate water from capped dead-ends.
Troubleshooting Common Failure Modes
- The Cap is Weeping: This is almost always caused by using standard white plumber's tape instead of high-density PTFE tape, or by cross-threading the cap. Unscrew, clean the threads with a wire brush, and re-tape.
- The Riser Twists When Unscrewing: If the riser spins, the elbow fitting underground has detached from the lateral line. You must dig deeper to expose the joint and re-glue it using a flexible PVC repair coupling.
- Zone Pressure Spikes: If you capped 3 out of 4 heads on a zone, the remaining head may mist heavily due to excessive pressure (over 45 PSI for standard spray nozzles). Install a pressure-regulating spray head (like the Hunter PRS40) or adjust the flow control stem on the zone valve to restrict water entry.
Frequently Asked Questions
Can I just turn the screw on top of the sprinkler head to shut it off?
Some spray heads (like the Rain Bird 1800 series) feature a flow-control screw on top of the nozzle. While turning this clockwise will stop the water from spraying, it does not relieve the hydrostatic pressure inside the riser. If the riser has a hairline crack, it will continue to leak underground. Always use a physical threaded cap for a reliable seal.
What if I don't know my thread size?
Purchase a 'Cap and Plug Assortment Kit' from an irrigation supplier. These kits typically cost around $15 and include 1/2' and 3/4' male and female threaded caps, allowing you to test-fit on-site without making a second trip to the store.
Will capping a head damage my irrigation pump?
If you are on a municipal water supply or a standard well tank, capping a head will not damage the pump. However, if you use a Variable Frequency Drive (VFD) booster pump dedicated to irrigation, drastically reducing the zone's GPM by capping multiple heads can cause the pump to dead-head or overheat. Always ensure your VFD controller has a low-flow shut-off sensor enabled.

