
Lawn Care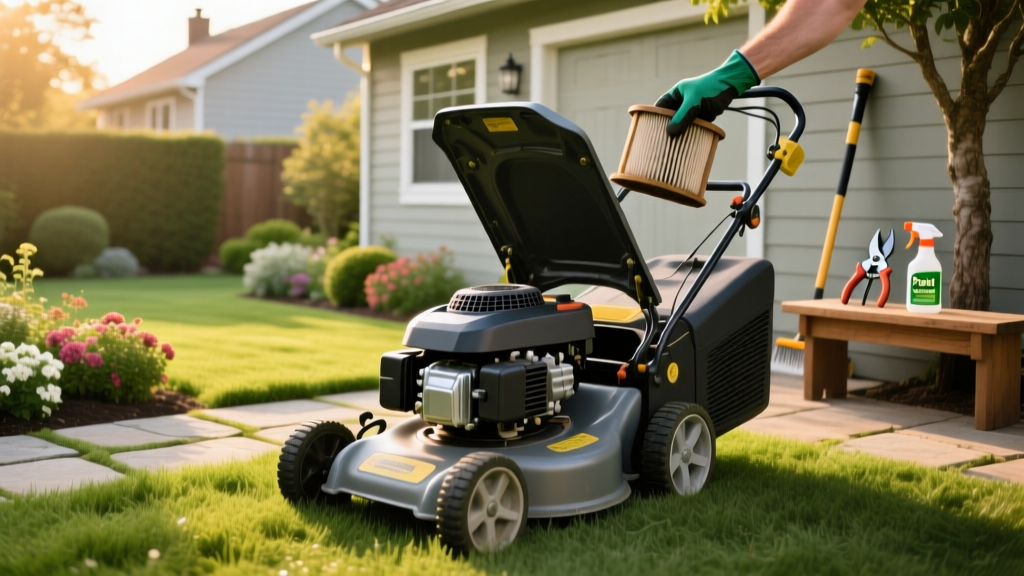
How to Change Air Filter on Lawn Mower: Expert Guide
Why Airflow Dictates Small Engine Lifespan
Small lawn mower engines lack the sophisticated oil-bath or cyclonic pre-cleaners found on heavy agricultural tractors. They rely entirely on a single, compact air filter to protect the cylinder walls from abrasive silica dust. A typical walk-behind mower engine operates between 2,800 and 3,400 RPM, consuming roughly 3 to 5 cubic feet of air per minute. During dry summer conditions, that volume of air carries millions of microscopic particulate matter. If you neglect to change air filter on lawn mower equipment, ingested dust acts like liquid sandpaper, scoring the piston rings and cylinder bore, leading to permanent compression loss and blue exhaust smoke.
According to equipment maintenance guidelines published by the University of Missouri Extension, operating a small engine with a compromised or missing air filter can accelerate internal wear by up to 40%. Understanding the exact specifications of your engine's filtration system is the first step toward maximizing its operational lifespan.
Filter Media Breakdown: Paper, Foam, and Dual-Stage
Before unbolting the housing, you must identify which filtration media your specific engine family requires. Using the wrong media type, or applying oil to a strictly paper-based filter, will instantly choke the carburetor and foul the spark plug.
| Filter Type | Material & Micron Rating | Common Engine Families | Avg. Cost (2026) | Maintenance Protocol |
|---|---|---|---|---|
| Pleated Paper | Cellulose / 10-15 microns | Briggs & Stratton Quantum, Kohler Courage | $4 - $8 | Replace only; never oil or wash |
| Foam Pre-Filter | Polyurethane / 30-50 microns | Older Tecumseh, Commercial Exmark | $5 - $12 | Wash, dry, and re-oil with SAE 30 |
| Dual-Stage | Paper core + Foam wrap | Honda GCV160/GCV190, Kawasaki FJ180V | $12 - $18 | Replace paper; wash/oil foam wrap |
Expert Insight: Never substitute a generic foam filter for a paper-specified engine. Paper filters utilize microscopic cellulose fibers to trap particles down to 10 microns. Foam filters rely on the tackiness of motor oil to trap larger debris; without the paper backing, fine silt will bypass the foam and enter the intake manifold.
Step-by-Step: How to Change Air Filter on Lawn Mower
Follow this precise sequence to avoid dislodging sensitive carburetor linkages during the swap.
- Disable the Ignition Circuit: Disconnect the rubber spark plug boot and secure it away from the plug terminal. This prevents accidental engagement if the flywheel brake is bumped.
- Unfasten the Housing Cover: Most modern mowers use a single 8mm hex bolt or a Torx T20 screw to secure the plastic cover. Warning: On older Toro or Craftsman models with brittle UV-exposed plastics, squeeze the side tabs inward gently rather than prying with a flathead screwdriver, which will snap the mounting lugs.
- Extract and Inspect the Baseplate: Lift the filter straight out. Before installing the new filter, inspect the metal or plastic baseplate that mates to the carburetor throat. Use a shop vac to remove any debris resting on this ledge. If dirt falls into the carburetor intake during this step, it will immediately jam the throttle butterfly valve.
- Verify the Rubber Gasket Seal: Check the rubber gasket on the back of the new filter (e.g., Briggs & Stratton part #593260 or Honda part #17211-ZL8-023). Ensure it is not folded or pinched. A compromised gasket creates a vacuum leak, causing the engine to run lean and overheat.
- Re-seat the Housing: Align the cover tabs, hand-tighten the retaining bolt, and finish with a 1/4-turn using a socket. Do not overtighten; stripping the plastic threads requires a complete carburetor baseplate replacement.
CRITICAL WARNING: The Honda Auto-Choke Gotcha
On Honda GCV160 and GCV190 engines, the auto-choke linkage arm rests directly behind the air filter baseplate. When pulling the old filter out, it is incredibly common to accidentally knock this linkage out of its detent slot. If your engine surges or fails to idle after a filter change, remove the housing again and verify the metal choke arm is properly seated in the plastic cam groove.
On Honda GCV160 and GCV190 engines, the auto-choke linkage arm rests directly behind the air filter baseplate. When pulling the old filter out, it is incredibly common to accidentally knock this linkage out of its detent slot. If your engine surges or fails to idle after a filter change, remove the housing again and verify the metal choke arm is properly seated in the plastic cam groove.
The Foam Filter Oiling Protocol (Avoid Carburetor Flooding)
If your mower utilizes a foam filter or a dual-stage foam wrap, the foam must be oiled to function. The polyurethane matrix itself does not stop dust; the oil provides the adhesive surface that traps particles. However, over-oiling is a primary cause of post-maintenance engine failure.
- The Wrong Way: Dripping oil directly onto the foam while it sits on the mower, or soaking it in a bowl of oil and wringing it out like a dish towel (which tears the internal cellular structure).
- The Professional Method: Apply exactly 3 to 4 drops of SAE 30 non-detergent motor oil (or dedicated foam filter oil) to the dry foam. Place the foam inside a folded, heavy-duty paper towel or shop rag. Squeeze the rag tightly. The rag will absorb the excess oil while distributing a microscopically thin, even film across the foam's internal webbing. The foam should feel tacky, but leave zero residue when pressed against clean skin.
Troubleshooting Post-Change Surging & Stalling
If you change air filter on lawn mower equipment and the engine begins to hunt (rev up and down rhythmically) or stall at idle, diagnose these three specific failure modes:
1. Unseated Housing Vacuum Leak
If the plastic air filter housing is warped from heat or overtightened, it will not seal flush against the carburetor flange. Unmetered air bypasses the filter, leaning out the fuel mixture. Spray a light mist of carburetor cleaner around the housing seam while the engine idles. If the RPM spikes, you have a vacuum leak requiring a new housing gasket.
2. Over-Oiled Foam Choking the Pilot Jet
If excess oil was squeezed out of a foam filter, it gets sucked directly into the carburetor's pilot jet circuit. This restricts the idle fuel pathway. Remove the filter, run the engine without it for 10 seconds to burn off the ingested oil, and properly re-condition the foam using the paper-towel squeeze method outlined above.
3. The 'Tap Test' Misdiagnosis
Many homeowners attempt to save money by tapping a dirty paper filter against a workbench to dislodge dust. While this clears large debris, it permanently wedges fine silica deeper into the cellulose pores, increasing the pressure drop across the filter. Always cross-reference your exact engine model with the Briggs & Stratton official support hub or your manufacturer's database to verify part numbers and replace paper elements rather than attempting to clean them.
Environment-Based Replacement Intervals
The standard manual recommendation of 'replace every 100 hours' is a baseline for temperate, humid climates with dense turf. Adjust your maintenance schedule based on your specific mowing environment:
- Lush, Humid Lawns (Pacific Northwest, Southeast US): Replace paper filters every 100 hours or annually. Moisture is the primary enemy here; if a paper filter gets wet from morning dew or hose wash-downs, the cellulose swells and collapses. Replace immediately if waterlogged.
- Dry, Sandy Soils (Southwest US, Coastal Plains): Replace every 25 to 40 hours. Fine sand bypasses standard paper filters rapidly. Consider upgrading to a commercial-grade dual-stage filter housing if your engine supports the retrofit.
- Heavy Debris / Leaf Mulching: Inspect the pre-cleaner screen (if equipped) before every use. Mulching dry oak leaves creates a highly static, fine dust that clings to the electrostatic charge of paper filters, blinding them in as little as 15 hours of continuous operation.
By matching your filtration maintenance to the exact micron-rating of your media and the particulate load of your environment, you eliminate the primary cause of premature small-engine rebuilds.

