
Lawn Care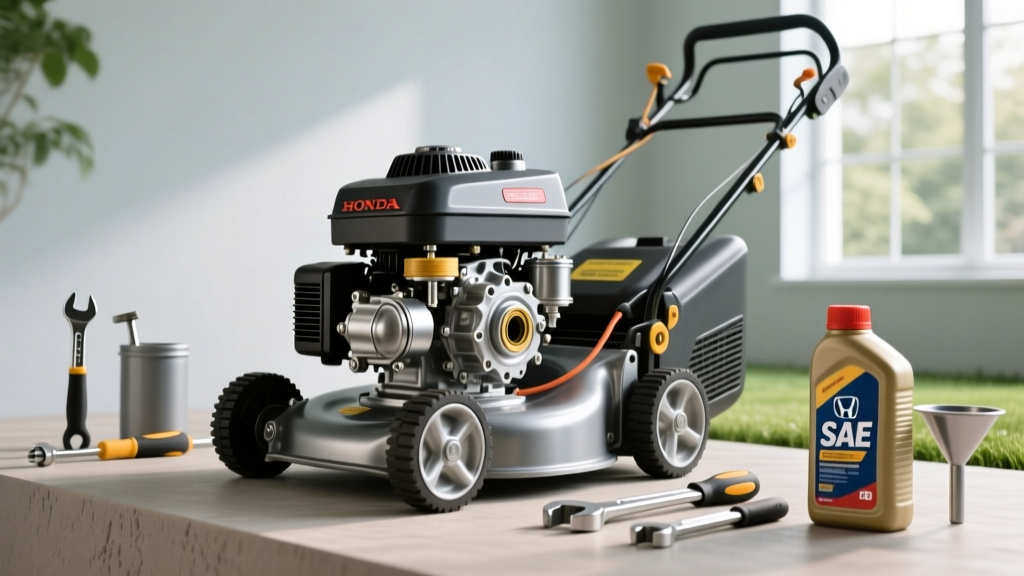
How to Change Oil in Honda Push Mower Engines: Complete Guide
The Critical Role of Oil in Honda GCV and GCVx Engines
Honda’s GCV and GCVx series engines—commonly found on the HRN216, HRS216, and HRX217 push mowers—are industry benchmarks for reliability. However, their longevity is entirely dependent on proper lubrication. Unlike liquid-cooled automotive engines, these air-cooled small engines operate at extreme thermal loads, with cylinder head temperatures frequently exceeding 300°F during heavy summer mowing. Because the oil sump capacity is incredibly small (typically just 0.61 quarts), the oil degrades rapidly under high heat and shear stress. Learning how to change oil in Honda push mower models correctly is not just about swapping fluid; it is about managing thermal breakdown and preventing catastrophic top-end failure.
Identifying Your Honda Engine Model & Oil Specifications
Before purchasing oil, you must identify your specific engine model. The oil capacity and recommended viscosity vary slightly between the older GCV series and the newer GCVx series introduced to meet modern emissions and efficiency standards. According to Honda Power Equipment, using the correct API-certified oil is mandatory to maintain your engine warranty.
| Engine Model | Common Mower Models | Oil Capacity | Recommended Viscosity | API Standard |
|---|---|---|---|---|
| GCV160 | HRR216, HRS216 | 0.61 US qt (0.58 L) | SAE 10W-30 | SJ or later |
| GCV190 | HRX217 (Older) | 0.61 US qt (0.58 L) | SAE 10W-30 | SJ or later |
| GCVx160 | HRN216, HRS216 | 0.61 US qt (0.58 L) | SAE 10W-30 | SJ or later |
| GCVx190 | HRX217 (Newer) | 0.61 US qt (0.58 L) | SAE 10W-30 | SJ or later |
Synthetic vs. Conventional: The Air-Cooled Reality
While Honda recommends standard SAE 10W-30, air-cooled engines subject oil to severe thermal oxidation. Conventional mineral oils begin to vaporize and lose their protective film strength around 240°F. Upgrading to a high-quality synthetic 10W-30 (such as AMSOIL Small Engine Synthetic or Honda Genuine 08207-9002) provides superior resistance to thermal breakdown. Synthetic oils maintain their viscosity index at high temperatures, ensuring the connecting rod bearing and cam lobe remain protected during thick, wet spring mowing sessions. Ensure any synthetic oil you choose meets the current API SP certification standards for small engine compatibility.
Tools and Materials Required
- Oil: 1 Quart of SAE 10W-30 (API SJ, SL, SM, SN, or SP)
- Wrench: 12mm socket or box wrench (for models with a drain bolt)
- Extractor (Alternative): Manual fluid extractor pump (e.g., Mityvac 7201) if your deck design blocks the drain bolt
- Catch Pan: Low-profile drain pan or heavy-duty plastic container
- Shop Towels: Lint-free rags for cleaning the dipstick and filler neck
- Funnels: Small, flexible-neck funnel to prevent spillage on the hot exhaust
The 'Tilt-and-Drain' Method vs. Oil Extractor Pump
Depending on your specific mower deck configuration and whether your engine variant features an accessible 12mm drain plug, you must choose a draining method. Both have distinct advantages and severe risks if executed improperly.
⚠️ CRITICAL WARNING: The Carburetor-Up Rule
If you choose to tilt your mower to drain the oil through the filler neck, you MUST tilt the mower so the carburetor and air filter are facing UP. Tilting the mower with the carburetor facing downward will force oil into the air intake tract, ruining the paper air filter, fouling the spark plug, and potentially causing hydraulic lock (hydrolock) upon the next startup, which will bend the connecting rod and destroy the engine.
If you choose to tilt your mower to drain the oil through the filler neck, you MUST tilt the mower so the carburetor and air filter are facing UP. Tilting the mower with the carburetor facing downward will force oil into the air intake tract, ruining the paper air filter, fouling the spark plug, and potentially causing hydraulic lock (hydrolock) upon the next startup, which will bend the connecting rod and destroy the engine.
The Extractor Pump Method (Recommended for HRN216/HRX217): Using a manual vacuum extractor down the dipstick tube is the safest method. It requires zero tilting, eliminating the risk of carburetor flooding or fuel leaking into the cylinder. It also extracts nearly 100% of the old oil without removing the mower deck shrouds.
Step-by-Step: How to Change Oil in Honda Push Mower Engines
- Warm the Engine: Run the mower for 3 to 5 minutes. Warm oil suspends metallic particulates and flows out significantly faster than cold, viscous oil.
- Disconnect the Spark Plug: Pull the rubber boot off the spark plug (typically an NGK BPR6ES). This is a non-negotiable safety step to prevent accidental blade engagement or engine startup while your hands are near the crankshaft.
- Clean the Filler Area: Wipe away all grass clippings and dirt from around the yellow dipstick cap. Introducing silica dust into the crankcase acts as a lapping compound, rapidly wearing out the piston rings.
- Drain the Oil:
- Via Drain Plug: Place the low-profile pan under the 12mm bolt. Remove the bolt and let it drain for 10 minutes. Reinstall and torque to 10 lb-ft.
- Via Extractor: Insert the extractor tube until it hits the bottom of the sump. Pump the vacuum and extract the fluid.
- Via Tilt: With the carburetor UP, slowly tilt the mower backward, allowing oil to pour out of the filler neck into the pan.
- Refill with Precision: Using a flexible funnel, slowly pour in approximately 18 ounces of 10W-30 oil. Stop before reaching the 0.61-quart maximum to allow room for topping off.
- The Dipstick Reading (Crucial Step): Wipe the dipstick clean. Insert the dipstick into the oil filler neck, but DO NOT screw it in. Honda explicitly designs these dipsticks to measure the oil level while resting on the threads, not screwed down. Screwing it in will give a false 'low' reading, leading to overfilling.
- Secure and Test: Once the oil reaches the upper mark on the crosshatched area of the dipstick, screw the cap on tightly. Reconnect the spark plug wire, start the engine, and let it idle for 60 seconds to circulate oil to the overhead cam. Stop the engine, wait 30 seconds, and re-check the level without screwing in the dipstick.
Breaking In a Brand New Honda Engine
If you are servicing a brand-new Honda mower (0-5 hours of run time), the break-in procedure is critical. The factory fill oil contains specific additive packages designed to allow controlled wear between the piston rings and the cylinder wall. Do not change the oil before the first 5 hours of operation. Changing it at 1 hour will halt the ring-seating process, resulting in permanent blow-by and excessive oil consumption for the life of the engine. After the 5-hour mark, drain the factory oil immediately to remove the high concentration of microscopic metal shavings generated during initial mating.
Troubleshooting Oil-Related Engine Symptoms
Small engine failures are rarely spontaneous; they present warning signs related to lubrication. Use this matrix to diagnose issues before they result in a seized crankshaft.
| Symptom | Probable Cause | Corrective Action |
|---|---|---|
| Thick blue smoke from exhaust | Overfilled crankcase or tilted wrong way (oil in breather) | Extract excess oil; replace air filter; clean spark plug |
| Engine seizes or pulls starter cord locks up | Severe oil starvation / low oil level | Engine requires complete teardown; crankcase likely scored |
| Oil leaking from air filter housing | Mower stored or tilted with carburetor facing down | Replace paper air filter; clean carburetor throat |
| Metallic glitter in drained oil | Normal for first 5 hours; abnormal after 50 hours | Monitor closely; if persistent after break-in, inspect governor gear |
Environmental Disposal Compliance
Used motor oil contains heavy metals, benzene, and polycyclic aromatic hydrocarbons (PAHs). Never dump mower oil into soil, storm drains, or household trash. According to the Environmental Protection Agency (EPA), used oil must be taken to a certified collection center. Most major auto parts retailers (AutoZone, Advance Auto Parts, O'Reilly) accept up to 5 gallons of used oil per day for free. Store your drained oil in a sealed, leak-proof polyethylene jug, clearly labeled, until you can transport it.
Pro-Tip for Winterization: If you live in a climate with freezing winters, change your Honda mower's oil at the end of the mowing season, not the beginning. Used oil contains acidic combustion byproducts (sulfuric and nitric acids) that will corrode the internal aluminum crankcase and bearing surfaces if left to sit stagnant for four months. Fresh, alkaline oil protects the internals during storage.

