
Lawn Care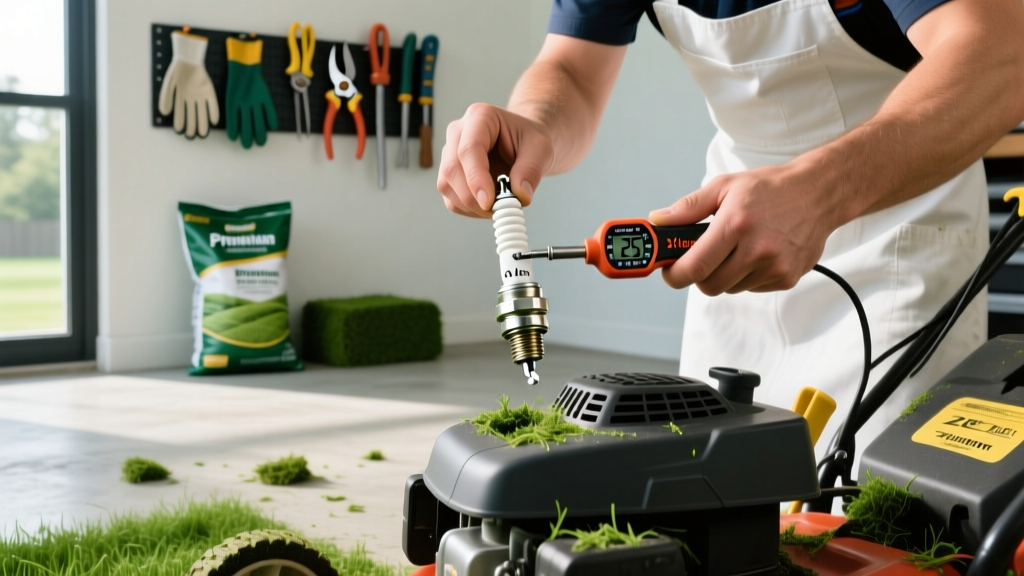
How to Change Spark Plugs in a Lawn Mower: Gap & Torque Specs
Why Your Mower Needs a Fresh Spark Plug
Most homeowners ignore the spark plug until the pull-cord snaps back or the engine sputters under heavy load. A degraded spark plug doesn't just cause hard starting; it increases fuel consumption by up to 15% and causes incomplete combustion, which leads to carbon buildup on the piston crown. Knowing exactly how to change spark plugs in a lawn mower is a 15-minute task that restores peak combustion efficiency and protects your engine from long-term damage.
While the process is straightforward, the specific gap measurements, torque specifications, and thread-cleaning procedures separate a professional-grade tune-up from a stripped cylinder head disaster. This guide provides exact specifications for modern mower engines and a diagnostic framework for reading your old plug.
Spark Plug Cross-Reference & Gap Specifications
Using the correct heat range and physical thread size is critical. Installing a plug with the wrong reach (thread length) can cause the piston to strike the electrode, resulting in catastrophic engine failure. Below are the factory specifications for the most common walk-behind and riding mower engines on the market.
| Engine Model | OEM Plug / Equivalent | Thread Size | Exact Gap Spec |
|---|---|---|---|
| Briggs & Stratton 625/725 EXi | Champion RJ19LM / RC12YC | 14mm | 0.030" (0.76mm) |
| Honda GCV160 / GCV190 | NGK BPR5ES / BPR6ES | 14mm | 0.028" - 0.031" |
| Kawasaki FR651V / FR691V | NGK BPR5ES | 14mm | 0.030" (0.76mm) |
| Kohler Courage XT6 / XT7 | Champion RC12YC | 14mm | 0.030" (0.76mm) |
| Toro / Recycler 22 (163cc) | NGK BPMR4A | 14mm | 0.028" (0.71mm) |
Required Tools for the Job
Do not rely on a standard automotive ratchet set. Small engine cylinder heads are predominantly cast aluminum, which requires precise torque management. Gather the following before starting:
- Spark Plug Socket: 5/8" or 13/16" with a rubber or magnetic insert to prevent the porcelain insulator from cracking during extraction.
- Wire Feeler Gauge: Specifically covering the 0.020" to 0.040" range. Coin-style gap tools are inaccurate and can bend the ground electrode unevenly.
- Torque Wrench (1/4" Drive): Must be calibrated in INCH-pounds (in-lbs), not foot-pounds (ft-lbs). A standard 1/2" automotive torque wrench cannot accurately measure the low torque values required for small engines.
- Compressed Air or Shop Vac: To clear debris from the spark plug well.
- Dielectric Grease: For sealing the rubber ignition boot against moisture intrusion.
Step-by-Step Spark Plug Replacement
1. Safety and Well Preparation
Disconnect the spark plug wire by pulling the rubber boot, never the wire itself, to prevent internal copper breakage. Before removing the plug, use compressed air or a shop vac to clear grass clippings and dirt from the recessed well. Skip this step, and debris will fall directly into the combustion chamber, scoring the cylinder wall upon startup.
2. Extract and Inspect
Place your socket squarely on the plug and turn counter-clockwise. If you encounter severe resistance, stop immediately. Apply a small amount of penetrating oil to the base, wait 10 minutes, and try again to avoid snapping the plug in the head.
3. Gap the New Plug
Even if the packaging says "pre-gapped," vibration during shipping alters the gap. Insert your feeler gauge between the center and ground electrodes. The gauge should slide through with a slight, consistent drag. If the gap is too wide, gently tap the ground electrode against a clean wooden surface to close it. If too narrow, use the bending notch on your gauge tool to pry the ground electrode upward. Never bend the center electrode, as this will crack the ceramic insulator.
4. Hand-Threading (The Aluminum Rule)
Thread the new plug into the cylinder head entirely by hand for the first several turns. If it binds immediately, you are cross-threading. Back it out and start again. Cross-threading an aluminum head requires a Helicoil repair kit, turning a $5 maintenance task into a $150 machine shop job.
5. Final Torque
Once hand-tight, use your torque wrench. For standard 14mm spark plugs with a crush gasket, the general specification is 18 to 22 ft-lbs (216 to 264 in-lbs). If your plug uses a tapered seat instead of a crush gasket, the torque drops significantly to 10 to 14 ft-lbs (120 to 168 in-lbs). Always verify against the manufacturer's official engine manual.
6. Seal the Boot
Apply a pea-sized drop of dielectric grease inside the rubber ignition boot. This prevents moisture from creating a conductive path to ground (carbon tracking) and stops the boot from baking onto the ceramic insulator.
Diagnostic Guide: Reading Your Old Spark Plug
Your discarded spark plug is a window into your engine's internal health. Use this diagnostic matrix to identify underlying issues before installing the new plug.
Normal Wear
Appearance: Light tan or gray center electrode with minor wear.
Action: Engine is running perfectly. Replace with the exact same heat range.
Carbon Fouling (Dry & Black)
Appearance: Matte black, sooty deposits covering the insulator and electrodes.
Causes: Running rich (too much fuel), dirty air filter, stuck choke, or frequent short-run cycles where the engine never reaches operating temperature.
Action: Clean or replace the air filter. Check the carburetor float level.
Oil Fouling (Wet & Black)
Appearance: Shiny, wet black sludge on the firing end.
Causes: Oil bypassing worn piston rings, degraded valve stem seals, or an overfilled crankcase pushing oil through the breather tube into the intake.
Action: Check oil level immediately. If the level is correct, a top-end engine rebuild is imminent.
Heat Damage (White & Blistered)
Appearance: Chalky white insulator, rounded or melted electrodes.
Causes: Engine running lean, blocked cooling fins, or using a spark plug with a heat range that is too hot for the application.
Action: Clear debris from the engine cooling fins. Verify you are not using a high-performance plug in a standard mower engine. Consult the NGK Technical Guides for heat range cross-references.
Copper vs. Iridium: Is the Upgrade Worth It?
Standard copper core plugs (like the Champion RJ19LM) cost between $3 and $5 and typically last 100 to 150 operating hours. For a homeowner mowing a quarter-acre lot, this means replacing the plug every two seasons.
Iridium plugs (such as the NGK Iridium IX series) feature a fine-wire center electrode that requires less voltage to arc, improving cold starts and lasting up to 400 hours. Priced around $8 to $12 in 2026, iridium plugs are highly recommended for commercial landscapers, zero-turn owners, or anyone operating in cold, damp climates where hard starting is a frequent frustration. However, do not use iridium plugs in older, high-wear engines that consume oil, as the oil residue will foul the fine electrode just as quickly as copper.
Pro-Tip: Never use a wire wheel or sandblaster to "clean" a fouled spark plug. Abrasive media will strip the metallic coating from the insulator nose, creating a porous surface that attracts carbon and causes immediate re-fouling.
Common Mistakes to Avoid
- Overtightening: Applying automotive-level torque to a small engine will stretch the threads out of the aluminum head, leading to loss of compression and blow-by.
- Ignoring the Air Gap: A gap that is just 0.010" too wide can cause the ignition coil to overheat and fail prematurely, as it must generate excess voltage to bridge the gap under cylinder pressure.
- Reusing the Crush Gasket: If you are reinstalling a plug (not recommended), remember that the crush washer is already flattened. You must reduce the final torque by 30% to avoid snapping the stud.
By adhering to exact gap measurements, utilizing inch-pound torque specifications, and reading the diagnostic signs left on your old plug, you ensure your mower operates at peak efficiency throughout the cutting season.

