
Lawn Care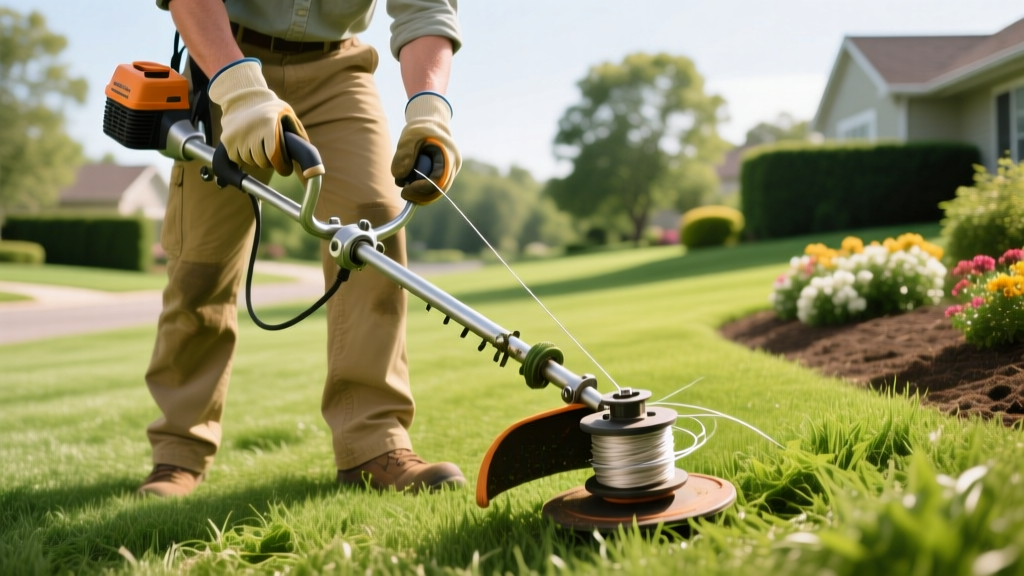
Master How to Change Weed Eater String for Tough Weed Control
The Role of String Trimmers in Weed Species Spot-Treatment
When executing a targeted weed management plan, mechanical removal is often the critical first step before applying spot-treatment herbicides. Stubborn perimeter weed species like yellow nutsedge, dallisgrass, and torpedo grass thrive in zones where rotary mowers cannot reach. To effectively sever these weeds without shredding their fibrous stems, your string trimmer must be equipped with the correct line geometry and diameter. A frayed or undersized string will tear the weed's vascular tissue, causing the plant to rapidly seal the wound and resist subsequent chemical uptake. Understanding exactly how to change weed eater string—and selecting the right filament for your specific regional weed pressure—is a foundational skill for precision lawn care.
String Geometry and Diameter: Matching Line to Weed Species
Not all trimmer lines are created equal. The cross-sectional shape of the string dictates how it slices through plant matter, while the diameter determines its kinetic energy and durability against woody or thick-stemmed perennials. According to equipment testing data from Consumer Reports, matching your line profile to the vegetation density significantly reduces motor strain and improves cut quality.
| Line Profile | Best For Weed Species | Cutting Action | Wear Rate |
|---|---|---|---|
| Round (Standard) | Annual bluegrass, chickweed, soft broadleaves | Tears and rips soft tissue; high friction | Low |
| Square / Multi-Sided | Nutsedge, crabgrass, mature dandelions | Slices cleanly through fibrous stems; low friction | Medium |
| Twisted | Woody brush, torpedo grass, thick-stemmed spurge | Aggressive chopping; reduces air resistance and noise | High |
Selecting the Correct Diameter
- 0.065 to 0.080 inches: Ideal for light-duty spot-treatment of soft annual weeds in cool-season fescue or Kentucky bluegrass lawns. Prevents accidental scalping of delicate turf.
- 0.085 to 0.095 inches: The professional standard for mixed weed environments. Provides enough mass to sever thick nutsedge stalks and creeping charlie runners without snapping against hardscapes.
- 0.105 inches and above: Reserved for heavy-duty clearing of overgrown fence lines and woody perennial weeds. Requires a high-torque trimmer head and will easily damage standard residential turf if used carelessly.
Step-by-Step: How to Change Weed Eater String (Bump Feed Systems)
The bump feed head is the most common mechanism on residential and commercial trimmers. Over time, the spool accumulates sticky sap from weeds like spotted spurge, which can cause the line to weld together. Proper reloading requires meticulous cleaning and precise winding tension.
Phase 1: Disassembly and Spool Preparation
- Secure the Trimmer: Disconnect the spark plug wire on gas models or remove the battery on electric models. This is a non-negotiable safety step to prevent accidental throttle engagement.
- Remove the Spool: Most modern bump feed heads (such as the Stihl AutoCut or Echo Speed-Feed) feature a reverse-threaded locking mechanism. Align the arrows on the spool housing, depress the side tabs simultaneously, and lift the spool out. If your model uses a center bolt, use a wrench to hold the shaft while turning the bolt counter-clockwise.
- Clean the Hub: Use a wire brush to remove impacted soil, grass clippings, and dried weed sap from the inner hub and the eyelet grommets. Worn grommets will shave your new string down prematurely; replace the eyelets if they show deep grooves.
Phase 2: Winding and Reassembly
- Anchor the Line: Cut exactly 15 to 20 feet of fresh trimmer line. Locate the anchor hole in the center divider of the spool and thread the line through until both sides are perfectly equal in length.
- Wind Under Tension: Identify the directional arrows printed on the top of the spool. Wind the line tightly and evenly in the indicated direction. Critical Expert Tip: Apply firm physical tension with your thumb as you wind. Loose winding causes the line to cross over itself, leading to immediate spool jams when you bump the head on the ground.
- Lock and Feed: Leave about 6 inches of line unwound on each side. Snap the line into the temporary locking notches on the spool's rim. Feed the loose ends through the metal eyelets on the outer housing.
- Seat the Spool: Drop the spool back into the housing, ensuring it sits flush and rotates freely. Pull the locked line ends sharply to release them from the notches, then reattach the bump knob or retaining bolt.
Pro-Tip: The 'Tap and Advance' Technique for Spot Treatment
When spot-treating dense patches of weeds along garden beds, do not hold the throttle wide open while bumping the head. High RPMs generate immense centrifugal force, which can lock the spool against the housing, preventing the line from advancing. Briefly reduce the throttle to idle, tap the head firmly on flat ground, and then re-engage the throttle to extend the fresh line.
Troubleshooting Matrix: Common String Feed Failures
Even with perfect reloading technique, aggressive weed species can cause mechanical issues. Use this diagnostic matrix to resolve feed problems quickly in the field.
| Symptom | Primary Cause | Field Fix |
|---|---|---|
| Line will not advance when bumped | Line wound too loosely; layers crossed over and bound together. | Remove spool, unwind, and rewind with heavy thumb tension. Ensure line sits in the outer groove. |
| Line melts and fuses together | Excessive friction from cutting thick, dry woody weeds at low RPMs. | Switch to a twisted or multi-sided line profile to reduce surface friction. Increase throttle speed during cuts. |
| Line breaks off at the eyelet | Worn plastic or metal eyelet grommets acting as a cutting edge. | Replace the eyelet inserts immediately. Do not run bare line through cracked plastic housings. |
| Spool rattles loudly during operation | Missing spool spring or worn drive dogs on the hub. | Inspect the metal spring beneath the spool. If the plastic drive teeth on the hub are rounded, replace the entire head assembly. |
Integrating Mechanical Trimming with Chemical Spot-Treatment
Mechanical severing is only half of the spot-treatment protocol for deep-rooted perennials. Research from the University of Minnesota Turfgrass Science program highlights that the timing of chemical application after mechanical cutting dictates the success rate of systemic herbicides.
'When managing perennial weeds like field bindweed or Canada thistle, cutting the plant too short removes the leaf surface area required to absorb systemic herbicides. Trim the weed to a height of 3 to 4 inches, allow it to recover and produce new, highly absorbent tissue for 48 to 72 hours, and then apply your targeted spot-treatment.'
By maintaining a sharp, correctly sized trimmer line, you ensure a clean cut that promotes rapid, healthy regrowth of the weed's upper canopy. This fresh tissue acts as a highly efficient conduit, drawing targeted herbicides like fluazifop or triclopyr directly down into the weed's rhizome network, ensuring total eradication rather than temporary top-kill. Mastering how to change weed eater string is not just about equipment maintenance; it is a vital agronomic practice for long-term weed species management.

