
Lawn Care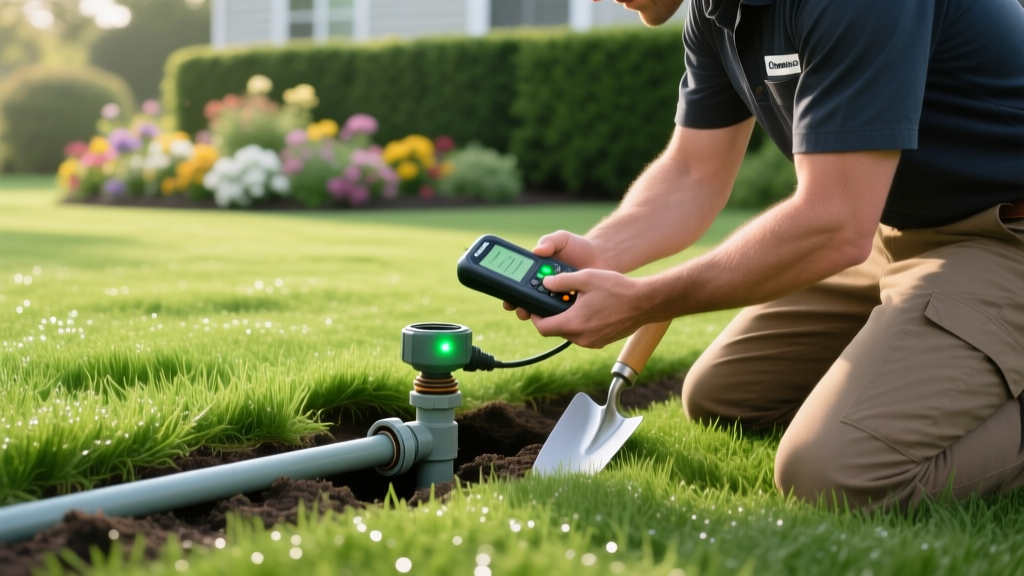
Using a ChatterBox Sprinkler Valve Locator to Find Buried Zones
The Anatomy of a Lost Valve and the "ChatterBox" Solution
Few things frustrate a lawn care professional or dedicated homeowner more than an irrigation zone that refuses to activate, coupled with a valve box that has been buried under inches of topsoil, mulch, or aggressive groundcover. When visual inspection fails, you need electromagnetic intervention. Often mistyped by DIYers searching for a "chat r box sprinkler valve locator" due to voice-to-text autocorrect errors, the ChatterBox sprinkler valve locator is an industry-standard diagnostic tool designed to pinpoint buried solenoids by inducing an audible and electromagnetic "chatter" directly at the valve site.
Unlike basic wire tracers that merely follow the path of least resistance, a dedicated valve locator forces the solenoid's internal plunger to vibrate. This creates a localized magnetic field that the receiver wand can detect from up to three feet below the surface. In 2026, with soil shifting and landscape renovations constantly obscuring infrastructure, mastering this tool is non-negotiable for efficient irrigation system maintenance.
Technical Breakdown: How Solenoid Chatter Pinpoints Valves
To use the tool effectively, you must understand the physics of the signal. Standard irrigation solenoids operate on 24VAC (Volts Alternating Current) at 60Hz. When you connect the ChatterBox transmitter to the valve's control wires at the main controller, it sends a pulsed DC or modified AC signal down the wire.
⚠️ Critical Voltage Warning: Before clamping your transmitter to the field wires, always use a digital multimeter to verify the controller is outputting 24VAC. If a lightning strike or transformer failure has sent 120V line voltage into the common wire, clamping your locator will instantly blow its internal fuse or destroy the circuit board.
When the pulsed signal reaches the solenoid, the magnetic coil rapidly energizes and de-energizes. This causes the solenoid's metal plunger to physically strike the valve bonnet housing hundreds of times per minute. The receiver wand detects the resulting magnetic flux and translates it into an audible tone. The closer the wand is to the valve, the higher the pitch and intensity of the tone, allowing you to triangulate the exact digging point.
Field-Tested Protocol: Locating a Valve in 4 Steps
Do not blindly sweep the yard. Follow this systematic protocol to isolate the signal and avoid ghosting from parallel wires.
- Isolate the Zone at the Controller: Disconnect the specific zone wire and the common wire from the irrigation controller terminal strip. Strip back 1/2 inch of insulation to ensure a clean copper connection for the transmitter clamps.
- Establish the Ground Loop: Connect the transmitter's red clamp to the zone wire and the black clamp to the common wire. Turn the transmitter to the "High" or "Pulse" setting. If the wire is intact, the transmitter's indicator light will confirm a closed circuit.
- Sweep with the Receiver Wand: Turn on the receiver and set the gain dial to 50%. Walk the general area where the valve should be located, sweeping the wand in a grid pattern, keeping the tip roughly two inches above the grass canopy.
- Triangulate the Epicenter: When the receiver begins to emit a rapid, high-pitched squeal, lower the gain to prevent signal bleed. Cross the signal path at a 90-degree angle to find the precise intersection where the tone peaks. Mark this spot with landscaping paint.
Edge Case: Signal Ghosting and Wire Splices
If you are tracking a valve in a yard with extensive underground utilities, you may experience "ghosting." This happens when the locator's signal jumps to a parallel buried copper wire (like a grounding rod or coaxial cable). To defeat ghosting, physically unplug or disconnect adjacent zone wires from the controller to eliminate parallel conductive paths. Furthermore, if the original installer used gel-filled wire nuts or crimp splices that have corroded, the signal will degrade at the splice point. If your signal abruptly dies 20 feet from the controller, you have found a broken wire, not the valve.
Equipment Matrix: ChatterBox vs. Standard Wire Tracers
Not all locators are built for the specific task of finding the valve head. Below is a comparison of the ChatterBox against generic wire-tracking solutions available on the market in 2026.
| Feature | ChatterBox Valve Locator | Generic 50Hz Wire Tracer | Professional Pro-3000 Tone Tracer |
|---|---|---|---|
| Primary Mechanism | Solenoid plunger vibration (magnetic flux) | Electromagnetic field tracing along wire | Active/Passive tone induction |
| Depth Range | Up to 36 inches | Up to 12 inches | Up to 48 inches |
| Pinpoints Valve Head? | Yes (Exact physical location) | No (Only traces the wire path) | Somewhat (Requires sweeping) |
| Average Retail Price | $180 - $240 | $40 - $80 | $750 - $950 |
| Best Use Case | Finding buried valve boxes quickly | Finding wire breaks in shallow zones | Deep commercial/utility mapping |
Expert Troubleshooting Decision Tree
When the ChatterBox fails to produce a signal, use this diagnostic framework to identify the failure point without unnecessary digging.
- Transmitter shows "Open Circuit": The wire is broken between the controller and the valve. Use a wire tracker to follow the path until the signal drops, then dig at the drop point to repair the severed copper.
- Transmitter shows "Closed Circuit" but Receiver is silent: The solenoid coil is burned out (internally severed) or the wires are stripped and touching each other (short circuit) right at the valve head, bypassing the coil entirely.
- Receiver picks up a weak, scattered signal: The valve is buried deeper than 30 inches, or the solenoid is heavily corroded, increasing electrical resistance and weakening the magnetic chatter. Increase transmitter gain and sweep slower.
"The biggest mistake homeowners make when using a valve locator is ignoring the common wire. If the common wire is severed, no zone in that daisy-chain will chatter, leading technicians to falsely diagnose multiple broken valves when only one upstream wire cut exists." — Senior Irrigation Diagnostician, EPA WaterSense Best Practices Guide
Post-Location: Mapping and Protecting Your Infrastructure
Once you have successfully used the locator to dig up and repair the buried valve, the job is not finished. To prevent future diagnostic headaches, you must map the system. In 2026, rely on GPS-enabled landscaping apps to drop digital pins at the exact coordinates of every valve box, controller, and backflow preventer.
Physically protect the newly exposed valve by installing a heavy-duty, UV-stabilized polyethylene valve box (such as the Carson 1200 series). Ensure the lid sits flush with the final grade of the soil or mulch. Finally, bundle the solenoid wires inside the box using waterproof silicone-filled wire connectors (like the Dryconn Plus) to prevent moisture ingress, which is the leading cause of solenoid failure and signal degradation for future locator use.

