
Lawn Care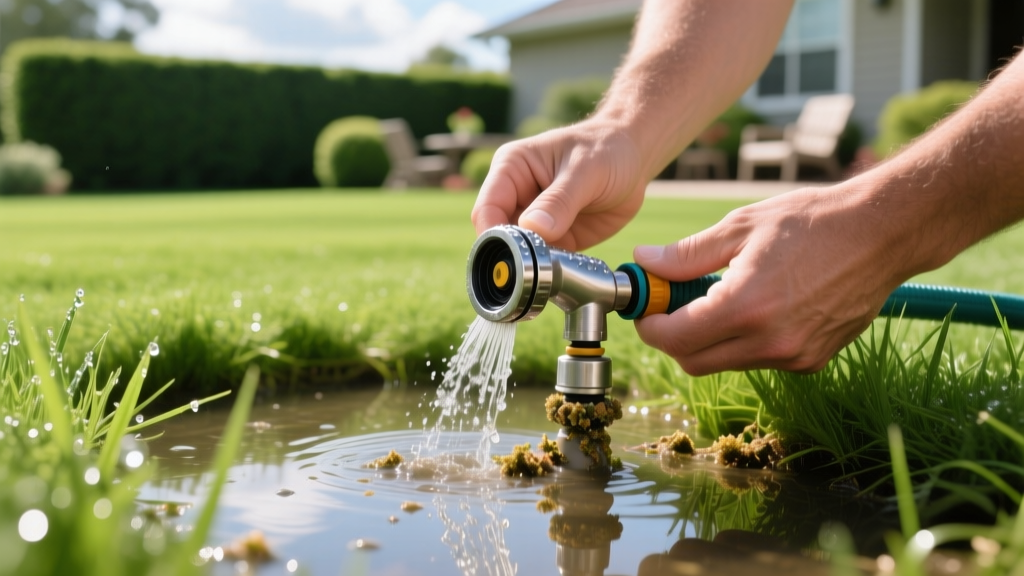
Cleaning Sprinkler Heads: Fix Low Pressure and Clogged Nozzles
The Anatomy of a Clogged Sprinkler Head
Uneven water distribution, localized dry spots, and misting are the primary symptoms of compromised irrigation nozzles. Before attempting any repairs, it is critical to understand the mechanical differences between the two main types of pop-up heads, as their failure modes dictate the cleaning protocol.
- Spray Heads (Fixed): Typically covering 5 to 15 feet, these rely on a simple deflector plate. They are highly susceptible to calcium carbonate scaling and debris blockages at the 100-mesh filter screen located directly beneath the nozzle.
- Rotor Heads (Gear-Driven): Covering 15 to 45 feet, rotors use a water-driven turbine. Sand and fine silt can bypass the larger 40-mesh filter and enter the gear drive. Unlike spray heads, a clogged rotor gear drive usually cannot be cleaned; the internal mechanism must be replaced.
⚠️ Critical Safety Step: Always shut off the water supply at the main backflow preventer or the specific zone valve before disassembling a sprinkler head. Leaving the zone pressurized can result in the riser shooting out forcefully, potentially damaging the internal PVC lateral lines or causing injury.
Essential Tools and Replacement Parts
Using improvised tools like standard pliers often strips the plastic nozzle housing. Invest in manufacturer-specific extraction tools to preserve the integrity of the riser threads.
- Extraction Tools: Hunter Industries Pro-Tool (Model PT, ~$12) or the Rain Bird Rotor Tool (~$8). These feature dual-ended prongs designed to fit precisely into nozzle slots.
- Needle-Nose Pliers: For extracting stubborn, deep-seated filter screens without tearing the mesh.
- Descaling Solution: A 50/50 mixture of standard white household vinegar (5% acidity) and distilled water. Avoid harsh chemical descalers like CLR, which can degrade the UV-stabilized plastics and rubber O-rings used in modern irrigation components.
- Replacement Filters: Keep a pack of universal 1-inch by 1-inch 100-mesh stainless steel screens (approx. $0.50 each) on hand, as plastic screens frequently tear during extraction.
Step-by-Step: Cleaning Pop-Up Spray Heads and Rotors
Step 1: Line Flushing (The Most Missed Step)
Debris accumulates in the lateral pipes during winterization or municipal water main breaks. If you remove a nozzle and immediately install a clean one, residual pipe debris will instantly clog the new filter.
- Unscrew and remove the existing nozzle and filter screen.
- Turn the zone valve on manually from the controller for exactly 10 to 15 seconds.
- Allow the water to blast out of the open riser, carrying away sand, pipe shavings, and biofilm.
- Shut the zone off before proceeding.
Step 2: Nozzle and Filter Extraction
Insert the extraction tool into the nozzle slot and turn counterclockwise. If the nozzle is seized due to mineral buildup, apply a few drops of penetrating oil (like WD-40 Specialist Silicone) to the threads and wait 10 minutes. Once the nozzle is out, use needle-nose pliers to pull the filter screen straight up from the riser. Do not twist the screen, as this can compact debris into the mesh.
Step 3: Descaling and Debris Removal
Rinse the filter screen with a high-pressure hose nozzle. If the screen is coated in white, chalky calcium scale, submerge it and the plastic nozzle in the 50/50 vinegar solution for 15 to 30 minutes. The acetic acid will dissolve the calcium carbonate without harming the plastic. Use a soft-bristled toothbrush to gently scrub the mesh afterward. Rinse thoroughly with clean water before reassembly.
Troubleshooting Matrix: Symptom to Solution
Use this diagnostic framework to identify the root cause of your irrigation anomalies. For deeper mechanical diagnostics, consult the Hunter Industries Troubleshooting Guide or the Rain Bird Support and Troubleshooting documentation.
| Symptom | Probable Cause | Corrective Action |
|---|---|---|
| Misting or fogging at the nozzle | Static water pressure exceeds 45 PSI for spray heads | Install a Pressure Regulating Spray (PRS) head or screw in a retrofit PRS stem. |
| Low throw distance / poor radius | Clogged filter screen or zone pressure drop | Clean 100-mesh filter; check zone valve for partial closure or leaks. |
| Rotor fails to rotate or arc | Sand/silt inside the internal gear drive | Replace the entire rotor body or internal gear module; flushing will not fix stripped gears. |
| Head fails to pop up fully | Dirt in the wiper seal or broken retraction spring | Flush dirt from around the riser seal; if spring is broken, replace the head body. |
| Water pooling around the head | Low-head drainage or cracked riser housing | Install heads with built-in check valves (e.g., Hunter Pro-Spray Check) to prevent low-head drain. |
Upgrading to Pressure-Regulating Spray (PRS) Heads
As of 2026, water restrictions in drought-prone regions make uniform irrigation efficiency non-negotiable. According to EPA WaterSense Outdoor Water Use data, a single misting sprinkler head operating at 70 PSI instead of its optimal 30 PSI can waste up to 50% more water due to wind drift and evaporation.
If you are cleaning heads and consistently find misting issues, standard cleaning will not solve the problem. You must upgrade to PRS technology. Modern PRS heads (like the Rain Bird HE-VAN or Hunter MP Rotator PRS models, priced between $8 and $14 each) contain an internal diaphragm that automatically throttles incoming pressure down to a factory-set 30 or 40 PSI. This eliminates misting, reduces water consumption by up to 25%, and ensures the nozzle operates at its engineered precipitation rate.
Cost Analysis: Cleaning vs. Replacing Irrigation Components
Determining whether to clean or replace a malfunctioning head depends on the component's age and the nature of the failure. UV degradation typically renders plastic nozzles brittle after 7 to 10 years of direct sun exposure.
- Routine DIY Cleaning: $0 (using household vinegar and existing tools). Takes approximately 5 minutes per head.
- Filter/Nozzle Replacement: $3 to $6 per head. Required when the mesh is torn or the nozzle orifice is enlarged by high-velocity sand erosion.
- Full Head Replacement: $8 to $25 per head (parts only). Necessary when the retraction spring fails, the housing cracks, or rotor gears strip.
- Professional Zone Blowout and Flush: $75 to $150 per zone. Recommended every 3 to 5 years to clear heavy lateral line sediment that cannot be removed via individual head flushing.
Seasonal Prevention Protocols
Preventing clogs is significantly more efficient than reactive cleaning. Implement these protocols during your spring startup and fall winterization routines:
- Install a Master Flush Valve: Place an automatic flush valve at the end of each lateral line. These devices ($25-$40) automatically open when the zone pressurizes, ejecting the dirtiest water before it reaches the furthest sprinkler heads.
- Verify Backflow Preventer Screens: The main backflow preventer contains a large inlet screen. If this screen is compromised, municipal debris will bypass it and lodge in your individual sprinkler filters.
- Proper Winterization: When blowing out the system with compressed air in the fall, ensure the air volume (CFM) is high while keeping the pressure (PSI) below 50 for polyethylene pipes and 80 for PVC. High pressure can shatter internal plastic components, creating debris that will clog your nozzles the following spring.
By adhering to a strict diagnostic and cleaning protocol, you maintain the engineered precipitation rates of your irrigation system, protecting both your landscape health and your municipal water budget.

