
Lawn Care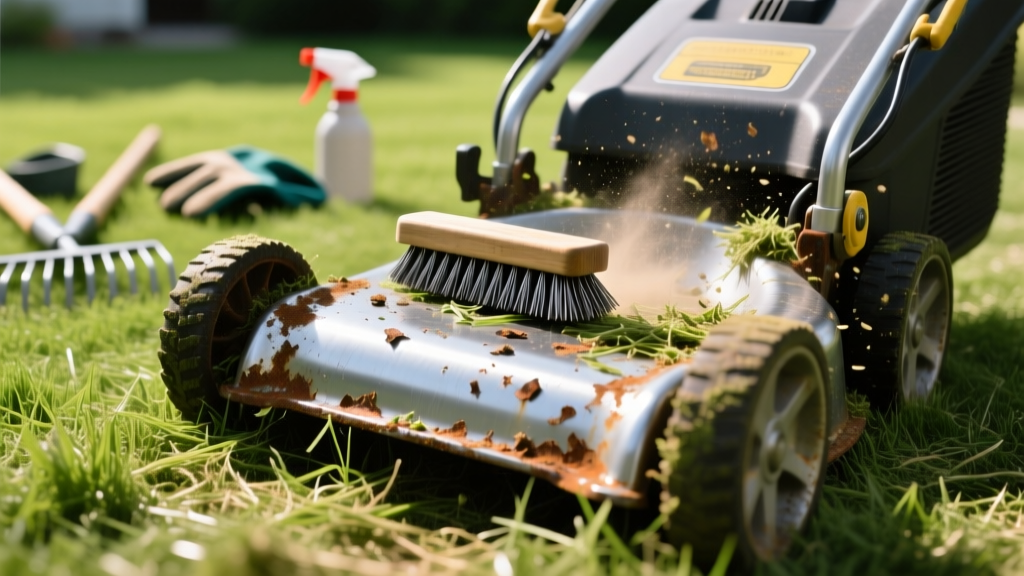
The Complete Guide to Cleaning Mower Deck Buildup and Rust
The Hidden Costs of a Clogged Mower Deck
Ignoring the underside of your mower deck is one of the most expensive maintenance mistakes a homeowner or landscaping professional can make. Grass clippings are not just dirt; they are a highly acidic, moisture-retaining biomass. Fresh clippings typically hold a pH between 5.5 and 6.0. When packed into the crevices of a stamped steel or aluminum mower deck, this acidic poultice accelerates galvanic corrosion and strips factory powder coatings. Beyond structural degradation, a clogged deck disrupts the critical aerodynamic vacuum required for a clean cut, leading to scalping, uneven striping, and the rapid transfer of turf pathogens like Rhizoctonia solani (Brown Patch) across your property.
According to turfgrass pathology research from the University of Minnesota Extension, contaminated mowing equipment is a primary vector for spreading fungal spores from infected zones to healthy turf. Properly cleaning mower deck undersides is not just about equipment longevity; it is a fundamental phytosanitary practice.
CRITICAL SAFETY PROTOCOL: Before performing any maintenance beneath a mower deck, you must completely sever the ignition system. The U.S. Consumer Product Safety Commission (CPSC) mandates disconnecting the spark plug wire on gas engines or removing the battery terminal on electric models to prevent accidental blade engagement, which causes thousands of severe laceration injuries annually.
Solvent and Tool Selection Matrix
Using the wrong tools can permanently score aluminum decks or strip the anti-corrosion paint on steel decks. Avoid rigid steel putty knives and high-PSI pressure washer nozzles, which will gouge soft metals and force water into sealed bearing housings.
| Category | Product / Tool | Best Application | Estimated Cost |
|---|---|---|---|
| Mechanical Scraper | 3-inch Flexible Brass Wire Brush | Safe for aluminum and painted steel; non-sparking. | $12 - $18 |
| Chemical Solvent | Mo-Dew Heavy Duty Deck Cleaner | Dissolves compacted, dried sap and chlorophyll bonds. | $22 (32 oz) |
| Chemical Solvent | Simple Green Oxy Solve Concrete & Deck | General maintenance cleaning; eco-friendly runoff. | $14 (128 oz) |
| Rinsing | 40-Degree Wide Fan Nozzle (Max 1500 PSI) | Flushes debris without stripping powder coat finishes. | $15 - $25 |
| Drying | Leaf Blower (Min 150 MPH airspeed) | Evacuates water from spindle housings and belt routes. | N/A (Existing) |
The 6-Step Deep Cleaning Protocol
For a mid-season deep clean or end-of-season winterization, follow this exact sequence to maximize deck lifespan and cutting efficiency.
Step 1: Secure and Elevate
Disconnect the spark plug or battery. Raise the mower using a hydraulic lift or heavy-duty jack stands. Never rely solely on the mower's hydraulic deck lift, as sudden pressure loss can drop the deck onto your hands. Secure the deck at its highest setting to maximize working clearance.
Step 2: Mechanical Agitation
Using a flexible brass brush or a specialized plastic deck scraper (like the Toro 137-2842 scraper tool), aggressively knock down the primary mass of dried clippings. Focus heavily on the discharge chute baffle and the leading edges of the blades, where aerodynamic compression packs grass the tightest. Do not attempt to scrape the deck completely bare at this stage; simply remove the bulk volume.
Step 3: Chemical Breakdown
Apply a dedicated enzymatic or alkaline deck cleaner (such as Mo-Dew or a diluted Simple Green Oxy solution) directly to the remaining caked-on layers. Allow the solvent to dwell for 10 to 15 minutes. The chemical reaction will break the chlorophyll and sap bonds holding the clippings to the metal. Avoid spraying directly onto the spindle grease zerks or drive belts, as degreasers will strip essential lubricants.
Step 4: Low-Pressure Rinse
Rinse the deck using a pressure washer equipped with a 40-degree white fan nozzle, keeping the pressure below 1500 PSI. Maintain a 12-inch distance from the metal surface. The wide fan pattern provides high volume to flush the dissolved sludge without acting like a laser that chips the factory paint.
Step 5: Forced Air Drying
Flash rust can begin forming on bare steel within 20 minutes of exposure to moisture and oxygen. Immediately use a gas-powered backpack blower or a high-velocity electric blower to force water out of the spindle cavities, belt pulleys, and anti-scalp wheel brackets. Wipe down any exposed steel blades with a dry microfiber cloth.
Step 6: Protective Coating Application
Once the deck is bone-dry, apply a preventative barrier coating (detailed in the next section) to the interior ceiling of the deck and the discharge chute. Avoid coating the underside of the blades, as this will alter their aerodynamic lift profile.
Preventative Coatings: Ceramic vs. Lanolin vs. Polyurethane
Bare metal inside a mower deck is a magnet for static-clinging grass. Applying a hydrophobic barrier reduces clipping adhesion by up to 80%. Here is how the top three coating technologies compare for 2026 equipment maintenance:
- PTFE/Ceramic Sprays (e.g., Glide Coat, Fluid Film Ceramic): These offer the slickest surface, creating a micro-thin, dry hydrophobic layer. They do not attract dust or dirt after drying. Lifespan: 15-20 mowing hours before reapplication.
- Lanolin-Based Fluids (e.g., Fluid Film NAS): Derived from sheep's wool, lanolin creeps into microscopic scratches to halt active rust. However, it remains slightly tacky, which can attract dry dust and sand over time. Lifespan: 40+ mowing hours; excellent for winter storage.
- Silicone/Polyurethane Aerosols (e.g., CRC Dry PTFE): A middle-ground option that dries relatively quickly and provides moderate slip. Less durable than dedicated ceramic mower sprays but widely available at hardware stores. Lifespan: 10-12 mowing hours.
Cleaning Frequency by Grass Species
Not all turfgrass produces the same volume or type of clippings. High-sap grasses require more frequent deck maintenance to prevent corrosive buildup.
| Grass Species | Clipping Characteristics | Recommended Cleaning Interval | Rust / Disease Risk |
|---|---|---|---|
| Bermudagrass | Fine, dry, low sap volume | Every 25 hours (Monthly) | Low |
| Zoysiagrass | Dense, fibrous, high moisture retention | Every 10 hours (Bi-weekly) | High (Brown Patch vector) |
| Kentucky Bluegrass | Moderate volume, high spring sap | Every 15 hours (Spring/Fall) | Moderate |
| Tall Fescue | Thick blades, clumps easily when wet | Every 12 hours (Bi-weekly) | High (Pythium blight vector) |
Troubleshooting Deck-Related Cut Quality Issues
If you have cleaned your deck but are still experiencing poor cut quality, the issue may stem from structural damage caused by previous buildup.
Symptom: Uneven Cut Height (Scalping on One Side)
Diagnosis: Packed clippings around the anti-scalp wheel brackets may have bent the mounting hardware, or dried mud inside the spindle housing is preventing the blade from spinning at full RPM under load. Clean the spindle pulley route and check bracket plumbness with a torpedo level.
Symptom: Excessive Grass Clumping and Discharge Chute Clogging
Diagnosis: The deck's interior baffles (the welded steel walls that direct airflow) are likely coated in a thick layer of sap and paint overspray. If the aerodynamic 'vacuum' is broken, clippings will not be swept into the discharge chute. Sand the baffles lightly with 120-grit sandpaper to restore a smooth surface, then apply a PTFE ceramic spray.
Symptom: Premature Belt Wear and Squealing
Diagnosis: During the rinsing phase, water and fine grass particulates were forced past the spindle seals and into the drive belt track. This creates an abrasive grinding paste. Remove the belt, blow out the pulley grooves with compressed air, and apply a light coat of belt dressing to restore grip.
Pro Tip: Keep a can of compressed air and a stiff-bristled dry brush in your garage. Spending exactly 45 seconds blowing out the deck ceiling and discharge chute immediately after mowing wet or heavy spring grass will prevent 90% of the hardened buildup that requires chemical solvents to remove later.

