
Lawn Care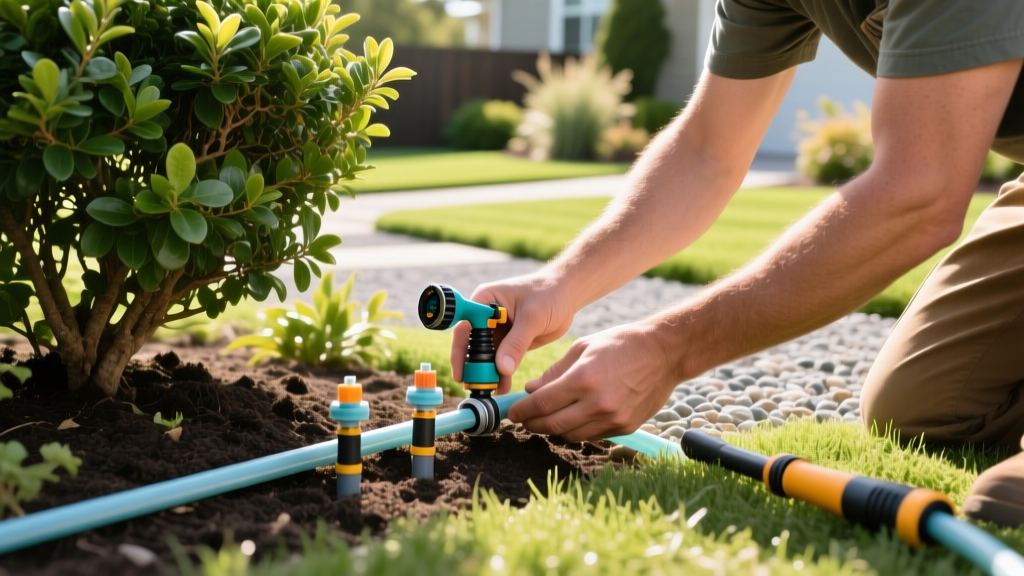
How to Convert Sprinkler to Drip Irrigation for Shrubs
The Case for Drip Over Spray in Garden Beds
Traditional pop-up spray heads are designed for broad, uniform coverage over turfgrass. When placed in garden beds, shrub borders, or foundation plantings, they become highly inefficient. Spray heads lose significant water to wind drift, foliar evaporation, and hardscape overspray. Furthermore, wetting the foliage of shrubs and perennials promotes fungal diseases like powdery mildew and black spot.
Learning how to convert sprinkler to drip irrigation is one of the highest-ROI landscaping upgrades a homeowner can undertake. By delivering water directly to the root zone at a slow, measured rate, drip systems eliminate runoff and evaporation. According to EPA WaterSense, drip irrigation can reduce outdoor water use by 20% to 50% compared to conventional spray systems, a critical advantage as municipal water restrictions tighten in 2026.
Pro Tip: Never mix spray heads and drip emitters on the same irrigation zone. Spray heads require high flow and short run times (5–10 minutes), while drip systems require low flow and long run times (45–90 minutes). Always dedicate a full zone to your converted drip lines.
Essential Components for the Conversion
A successful conversion relies on matching the correct fittings to your existing infrastructure. Most residential spray heads are connected to 1/2-inch PVC or flexible polyethylene (funny pipe). You will need the following specific components:
- Multi-Outlet Conversion Head: The Rain Bird SPX-90 or Toro 53722 DripZone are industry standards. These screw directly onto the existing riser and feature a built-in pressure regulator and filter, branching out into 6 to 8 barbed ports for 1/4-inch micro-tubing.
- Pressure Regulator & Filter (If not using a multi-outlet head): If you are converting the entire zone to 1/2-inch mainline tubing, install a DIG Corporation 25 PSI Pressure Regulator and a 155-mesh Y-Filter at the zone valve or the first conversion head. Drip emitters operate optimally between 15 and 25 PSI; standard residential water pressure (40–65 PSI) will blow the fittings apart.
- Distribution Tubing: 1/2-inch blank polyethylene tubing (e.g., Toro Blue Stripe) serves as the main artery. It can handle flows up to 240 GPH at 30 PSI and runs up to 200 feet in length.
- Emitters and Micro-Tubing: Use 1/4-inch vinyl micro-tubing to connect the mainline to the plants. For emitters, Rain Bird Xeri-Bug pressure-compensating (PC) emitters (available in 0.5, 1.0, and 2.0 GPH models) ensure uniform watering even on sloped terrain.
Step-by-Step Conversion Process
Follow this sequence to transition a standard spray zone into a high-efficiency drip network.
Step 1: Cap Unused Spray Heads
Identify the spray head closest to the center of your shrub bed. This will become your primary water source. All other spray heads on this same zone must be capped to prevent water loss. Dig around the unused heads, unscrew them from the riser or swing pipe, and install a 1/2-inch PVC threaded plug or a Goof Plug if using flexible pipe. Wrap threaded plugs in PTFE (Teflon) tape to ensure a watertight seal.
Step 2: Install the Conversion Head
Unscrew the existing spray nozzle and filter screen from the active riser. Screw the multi-outlet conversion head (like the Rain Bird SPX-90) directly onto the riser. Ensure the built-in rubber O-ring is seated properly. If your riser is too short, extend it using a PVC slip-fit riser extension so the conversion head sits just below the top of the mulch layer.
Step 3: Lay Out the Mainline and Micro-Tubing
Unroll your 1/2-inch distribution tubing and let it sit in the sun for 30 minutes; the heat makes the polyethylene pliable and easier to work with. Route the tubing through the bed, weaving it near the base of the shrubs. Use 6-inch galvanized steel landscape staples every 4 feet to anchor the tubing to the soil.
For individual plant connections, use a 1/4-inch hole punch tool to pierce the 1/2-inch mainline. Insert a barbed connector, attach your 1/4-inch micro-tubing, and run it to the root ball. Keep 1/4-inch runs under 30 feet to maintain adequate pressure.
Step 4: Punch and Place Emitters
At the end of each 1/4-inch micro-tube, attach your pressure-compensating emitter. Place the emitter directly on the soil surface near the plant's drip line (the outer edge of the canopy), not flush against the main trunk. Cover the entire tubing network with 2 to 3 inches of organic mulch to protect the polyethylene from UV degradation, which can make the plastic brittle within two seasons.
Cost Breakdown and ROI Analysis
Converting a standard 150-square-foot foundation bed is highly cost-effective. Below is a realistic material cost breakdown for a DIY conversion in 2026.
| Component | Specification / Model | Estimated Cost |
|---|---|---|
| Conversion Head | Rain Bird SPX-90 (6-outlet) | $8.50 |
| Distribution Tubing | 1/2" Poly (50 ft roll) | $14.00 |
| Micro-Tubing | 1/4" Vinyl (50 ft roll) | $9.00 |
| Emitters (Pack of 10) | Rain Bird Xeri-Bug 1.0 GPH | $6.50 |
| Fittings & Staples | Barbed tees, end caps, stakes | $12.00 |
| Total Material Cost | Complete Bed Conversion | ~$50.00 |
With local water rates averaging $4.50 to $7.00 per 1,000 gallons in arid and semi-arid regions, a 40% reduction in landscape water use typically yields a full return on investment within 14 to 18 months. Furthermore, the Oregon State University Extension notes that drip irrigation significantly reduces weed germination in garden beds, as the dry soil surface between plants prevents weed seeds from receiving the moisture needed to sprout.
Troubleshooting Common Failure Modes
Warning: The Geyser Effect
If you turn on the zone and the 1/2-inch tubing violently disconnects from the fittings, your water pressure exceeds the 25 PSI threshold of the drip components. You must install an inline pressure regulator immediately. Standard hose clamps will not fix this; the pressure will simply blow the tubing off the barbed fitting.
If you turn on the zone and the 1/2-inch tubing violently disconnects from the fittings, your water pressure exceeds the 25 PSI threshold of the drip components. You must install an inline pressure regulator immediately. Standard hose clamps will not fix this; the pressure will simply blow the tubing off the barbed fitting.
- Clogged Emitters: If plants show drought stress while others are wet, mineral deposits or organic debris are likely clogging the emitter orifices. This is almost always caused by skipping the 155-mesh filter installation. Flush the lines by removing the end caps and running the zone for two minutes every spring.
- Uneven Soil Moisture: In heavy clay soils, water moves laterally. Space your 1.0 GPH emitters 18 to 24 inches apart. In fast-draining sandy soils, water moves strictly downward; space emitters 10 to 12 inches apart to ensure continuous root zone coverage.
- Root Intrusion: Shrubs with aggressive surface roots (like Ficus or Willow) can crush 1/4-inch micro-tubing. For these species, bypass micro-tubing entirely and use 1/2-inch tubing with inline drip emitters pre-installed every 12 inches.
Smart Controller Integration
After the physical conversion, you must update your irrigation controller. Drip zones require fundamentally different scheduling logic than spray zones. Instead of running for 8 minutes daily, program the drip zone to run for 45 to 60 minutes, twice a week. This deep, infrequent watering encourages shrubs to develop deep taproots rather than shallow, surface-level feeder roots.
If you are using a smart controller like the Rachio 4 or Hunter Hydrawise, create a custom nozzle type for "Drip Line" and set the precipitation rate to 0.4 inches per hour. This ensures the controller's weather-based algorithms accurately calculate evapotranspiration (ET) replacement without overwatering your newly converted beds.

