
Lawn Care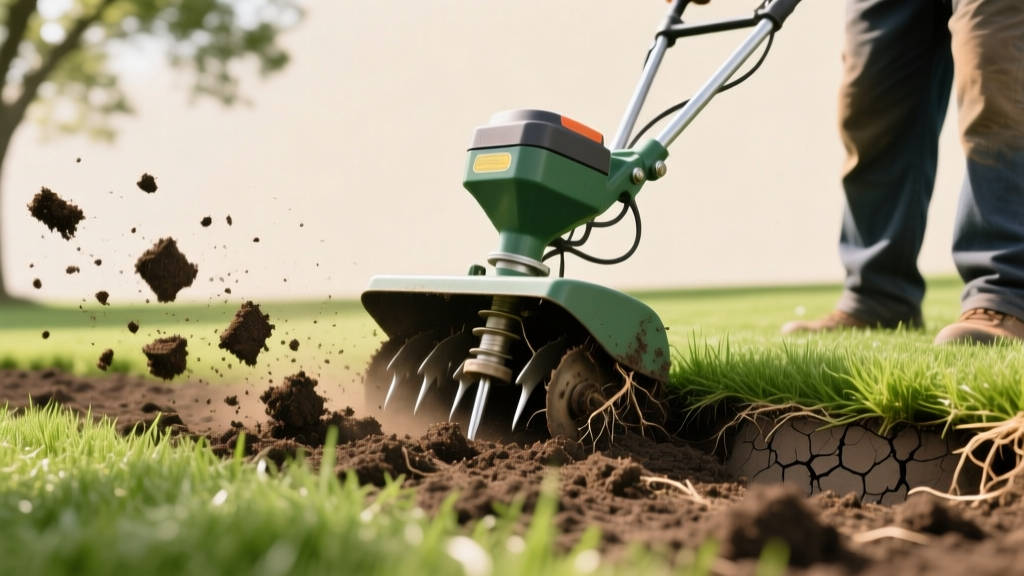
Step-by-Step Aerification Lawn Care Guide for Hard Soil
The Science of Soil Compaction and Core Extraction
Many homeowners confuse standard aeration with a true aerification lawn procedure. While spike aeration merely pokes holes into the ground—often worsening compaction by pressing soil outward—core aerification physically removes cylindrical plugs of soil and thatch. This process alleviates soil bulk density, which becomes problematic when it exceeds 1.4 g/cm³ in clay-heavy soils or 1.6 g/cm³ in sandy loams. By extracting cores that are typically 0.5 to 0.75 inches in diameter and 3 to 4 inches deep, you instantly restore macropore space, allowing oxygen, water, and nutrients to penetrate the root zone.
According to turfgrass research from Penn State Extension, routine core aerification is the single most effective mechanical intervention for reversing the effects of foot traffic, heavy mowing equipment, and natural soil settling. When executed correctly, this procedure increases water infiltration rates by up to 40% and stimulates deeper root mass development within 30 to 45 days.
Diagnostic Callout: The 6-Inch Screwdriver Test
Before renting equipment, verify that your lawn actually requires aerification. Take a standard 6-inch flathead screwdriver and attempt to push it into the soil at multiple locations across your yard.
- Optimal: The screwdriver slides in with moderate resistance to the full 6-inch depth.
- Moderate Compaction: You encounter resistance at 3 to 4 inches. (Proceed with aerification).
- Severe Compaction: The tool stops at 1 to 2 inches or bends. (Requires aerification followed by heavy topdressing and potential soil amendment).
Equipment Selection Matrix
Choosing the right machine dictates the success of your soil fracturing. Manual tools are insufficient for anything beyond a 500-square-foot patch. For standard residential properties, motorized hollow-tine extractors are mandatory. Below is a comparison of the most common equipment tiers available in 2026.
| Equipment Type | Tine Depth & Spacing | Estimated Cost (2026) | Best Application |
|---|---|---|---|
| Manual Step Corer | 2-3 inches / 5-inch spacing | $40 - $80 (Purchase) | Spot treatments, garden beds, small play areas. |
| Walk-Behind Rental (e.g., Ryan Lawnaire IV) | 3-4 inches / 3-inch spacing | $85 - $130 / day | Standard 2,000 - 8,000 sq ft residential lawns. |
| Stand-On Commercial (e.g., Toro ProCore) | 4-6 inches / 2-inch spacing | $150 - $250 (Pro Service) | Large estates, sports turf, severely compacted clay. |
Step-by-Step Aerification Lawn Procedure
Timing and soil moisture are the most common failure points in DIY aerification. If the soil is too dry, the tines will bounce off the surface or shatter the soil structure. If it is too wet, the machine will tear the turf canopy and create a muddy, compacted mess.
Step 1: Achieve Field Capacity Moisture
Target a soil moisture level known as 'field capacity.' Water the lawn deeply 24 to 48 hours before the procedure. Apply roughly 0.5 to 0.75 inches of water. To test, grab a handful of soil from a 3-inch depth and squeeze it. It should form a cohesive ball that holds its shape without dripping excess water. Michigan State University Extension emphasizes that proper moisture is critical for clean core extraction without tearing the rhizomes.
Step 2: Utility Marking and Mowing
Call 811 at least three days prior to mark public underground utilities. However, 811 does not mark private irrigation lines, low-voltage lighting, or invisible dog fences. You must manually flag these with high-visibility paint or whisker flags. Mow the lawn slightly lower than your standard maintenance height (e.g., drop from 3.5 inches to 2.5 inches for Tall Fescue) to ensure the tines penetrate the thatch layer and reach the soil surface without obstruction.
Step 3: The Double-Pass Extraction Pattern
Never make just one pass over the lawn. To achieve the recommended 20 to 40 holes per square foot, you must execute a double-pass grid pattern.
- Pass One: Drive the aerifier in straight, parallel lines across the primary axis of the yard. Overlap each pass by 2 inches to ensure uniform coverage.
- Pass Two: Turn 90 degrees (or 45 degrees for tighter spaces) and make a second set of passes perpendicular to the first. This cross-hatching fractures the soil in multiple planes, maximizing heaving and pore-space creation.
- Edge Detailing: Use a manual core extractor or a small handheld aerifier to treat the 12-inch perimeter near fences and garden beds where the walk-behind machine cannot reach.
Step 4: Core Management
Leave the extracted soil cores on the lawn. As they dry over the next 7 to 14 days, they will break apart during mowing and rainfall, acting as a free, biologically active topdressing that introduces soil microbes back into the thatch layer to accelerate decomposition. Only rake and remove the cores if you are dealing with severe weed infestations (like Poa annua) and plan to lay down fresh, weed-free compost topdressing immediately.
Warning: Irrigation Head Hazards
Walk-behind aerifiers weigh between 250 and 350 pounds. If a drive wheel or the tine deck strikes a shallow PVC irrigation riser or a plastic sprinkler head, it will shatter the fitting, causing a massive underground leak. Always dig around and expose sprinkler heads by 2 inches prior to aerifying, or flag them with a 3-foot perimeter buffer zone.
Post-Aerification Protocol and Recovery
The 48-hour window immediately following aerification is the most biologically active period for your turf. The open holes provide direct conduits to the root zone.
Overseeding and Topdressing
If you are overseeding cool-season grasses (Kentucky Bluegrass, Tall Fescue, Perennial Ryegrass), do it immediately after aerification. The seeds will fall directly into the aeration holes, ensuring perfect seed-to-soil contact and protecting them from birds and drying winds. Apply seed at a rate of 5 to 8 lbs per 1,000 square feet for Tall Fescue, or 1 to 2 lbs for Kentucky Bluegrass. Follow this with a 1/4-inch layer of screened compost topdressing to lock in moisture.
Fertilization Metrics
Apply a high-quality starter fertilizer if overseeding, or a standard slow-release nitrogen blend if not. Look for an N-P-K ratio of 3-1-2 or 4-1-2 (such as 24-8-16). Apply at a rate of 0.8 to 1.0 lbs of actual nitrogen per 1,000 square feet. The aerification holes will pull the dissolved nutrients directly into the subsoil, bypassing the thatch layer where nutrients often become bound and unavailable.
Watering the Recovery Zone
For the first 14 days post-aerification, shift your watering schedule from deep-and-infrequent to light-and-frequent. Apply 0.1 to 0.2 inches of water daily to keep the top inch of soil—and any newly deposited seed—consistently moist. Once the turf canopy recovers and new roots anchor into the aeration channels, revert to your standard deep watering schedule of 1 to 1.5 inches per week.
By adhering to these precise mechanical and biological protocols, you transform a simple maintenance chore into a high-impact soil renovation that will sustain turf density, drought tolerance, and disease resistance for the entire growing season.

