
Lawn Care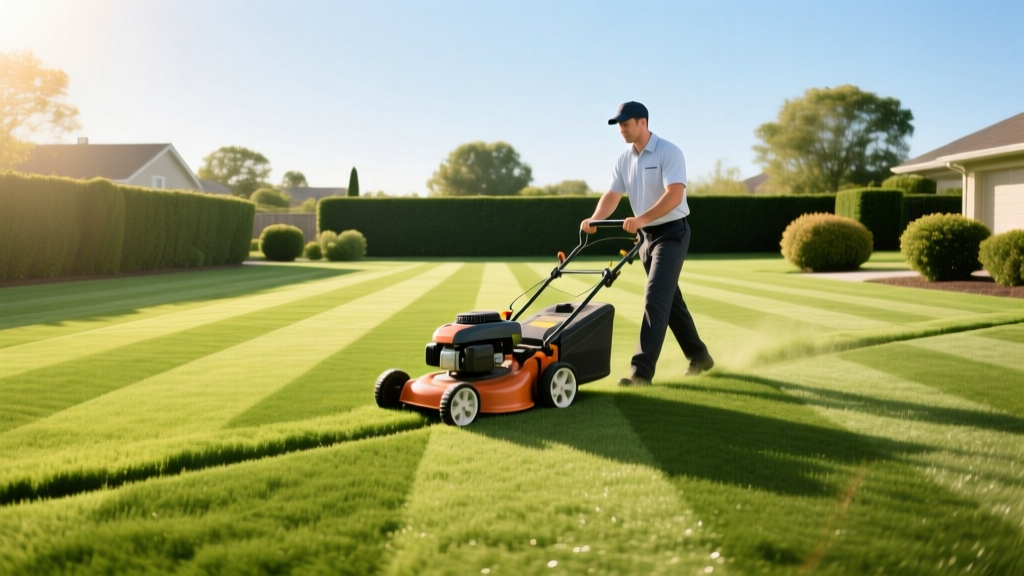
How to Create Perfect Stripes in Grass: Step-by-Step Mowing Guide
The Physics and Equipment Behind Stripes in Grass
Creating professional stripes in grass is not an optical illusion caused by varying cutting heights; it is a manipulation of light physics. Grass blades have a glossy top surface and a matte, waxy bottom surface. When a mower bends the grass blade away from you, the glossy top reflects sunlight, creating a light stripe. When the blade is bent toward you, the matte underside absorbs light, creating a dark stripe. Achieving this requires specific equipment and precise mowing procedures.
Choosing the Right Striping Equipment
Standard rotary mowers discharge clippings and leave the grass standing upright. To bend the canopy, you need a weighted roller trailing behind the mower deck. Here are the primary equipment configurations for 2026:
- OEM Stripe Kits: Brands like Toro and Exmark offer proprietary rear roller kits (e.g., the Toro Stripe Kit, retailing around $65). These feature durable rubber flaps or weighted polymer rollers that mount directly to the mower chassis.
- Universal Flap Striper: A heavy-duty rubber mat attached to the rear baffle. While cheaper ($25-$40), flaps rely on drag rather than weight, resulting in less defined stripes on thick turf.
- DIY PVC Roller: A highly effective, low-cost alternative. Construct a roller using a 4-inch diameter PVC pipe, cut to 22 inches, capped on both ends, and filled with dry play sand. This yields approximately 35 pounds of downward pressure, matching commercial aftermarket kits for under $15 in materials.
Expert Warning: Avoid filling DIY rollers with water or concrete. Water sloshes, creating uneven weight distribution that leads to wavy lines. Concrete makes the roller too heavy (70+ lbs), which causes severe soil compaction and ruts in wet spring conditions.
Reel Mowers vs. Rotary Mowers
Commercial reel mowers (such as the TruCut H-20 or McLane front-throw models) inherently produce superior stripes because their cutting mechanism requires a heavy rear roller to maintain the bedknife-to-reel clearance. If you are using a standard residential rotary mower (like a Honda HRX or Toro Recycler), an aftermarket weighted roller kit is mandatory for visible striping.
Step-by-Step Procedure for Mowing Stripes in Grass
Executing crisp, straight lines requires a systematic approach. Follow this exact sequence to maintain pattern integrity from the first pass to the last.
Step 1: Cut the Perimeter Frame
Make two complete passes around the outer perimeter of your lawn. This creates a 'frame' and provides a turning zone at the edges so you do not have to execute tight turns in the middle of your striped pattern. Keep the mower deck at your standard height (typically 3.0 to 3.5 inches for cool-season grasses, per Penn State Extension guidelines).
Step 2: Establish the First Guide Line
Do not rely on your eye for the first pass. Align the edge of your mower deck with a fixed straight reference point—a driveway edge, a fence line, or a string pulled taut between two stakes. Engage the roller and make your first straight pass across the lawn.
Step 3: The Turnaround (The Bulb Turn)
When you reach the end of the lawn, never execute a zero-radius pivot. Pivoting on the turf canopy tears the grass crowns and leaves visible dirt scuff marks that ruin the pattern. Instead, use the 'bulb turn' or 'Y-turn':
- Drive straight past the striping boundary into the perimeter frame zone.
- Turn the mower in a wide, sweeping arc (shaped like a lightbulb or the letter Y).
- Align the mower deck with the grass you just laid down in the previous pass.
- Drive straight forward into the next pass, overlapping the previous cut by 2 to 3 inches.
Step 4: Maintain the Sightline
The most common mistake homeowners make is staring at the mower deck. To maintain perfectly straight stripes, pick a fixed focal point 30 to 50 feet ahead of you (a tree, a specific brick on a house, or a fence post). Your peripheral vision will naturally keep the mower deck aligned with the previous stripe while your eyes track the distant focal point.
Grass Type Compatibility Matrix
Not all turfgrass species respond equally to striping. The biological structure of the grass blade, specifically its silica content and flexibility, dictates how well it holds a bend. According to turfgrass research from UMass Extension, cool-season grasses generally offer superior striping potential compared to warm-season varieties.
| Grass Species | Season Type | Striping Quality | Required Roller Weight |
|---|---|---|---|
| Kentucky Bluegrass | Cool | Excellent | 15 - 25 lbs |
| Tall Fescue | Cool | Very Good | 20 - 30 lbs |
| Perennial Ryegrass | Cool | Excellent | 15 - 25 lbs |
| Bermudagrass | Warm | Fair to Good | 35 - 50 lbs (or Reel Mower) |
| Zoysiagrass | Warm | Poor to Fair | 50+ lbs (Stiff, high silica) |
| St. Augustine | Warm | Poor | Not recommended (thick stolons) |
Troubleshooting Common Striping Failures
Even with the right equipment, environmental factors and mowing errors can degrade your pattern. Use this diagnostic framework to correct issues in the field.
Fading or Weak Stripes
Cause: The grass is either too dry, cut too short, or the roller lacks sufficient weight. Turfgrass requires turgor pressure (water weight inside the plant cells) to hold a bend. If the lawn is drought-stressed, the blades will snap back upright immediately after the roller passes.
Fix: Irrigate the lawn deeply 24 hours before mowing. Ensure your cutting height is no lower than 2.5 inches; shorter grass lacks the physical length required to lay over and reflect light effectively.
Wavy or Crooked Lines
Cause: Inconsistent mower speed, staring at the deck, or overlapping the previous pass by varying widths.
Fix: Maintain a steady, walking-pace throttle. Overlap exactly one wheel-width (or align the edge of the deck with the visible crease of the previous stripe) on every single pass.
Turf Tearing at the Edges
Cause: Executing sharp U-turns or dragging the roller sideways while turning.
Fix: Lift the mower deck slightly (if your machine allows) during the turnaround in the perimeter zone, or strictly adhere to the wide bulb-turn method outlined in Step 3.
Long-Term Lawn Health and Pattern Rotation
While stripes in grass look spectacular, repeatedly bending the grass in the exact same direction causes a phenomenon known as 'grain training.' Over time, the grass stems (stolons and rhizomes) will permanently grow in the direction of the bend, leading to uneven canopy density, scalping in subsequent mows, and localized soil compaction from the roller tracking the exact same wheel paths.
To prevent grain training and soil rutting, rotate your mowing pattern every two weeks. Switch from horizontal stripes to vertical stripes, then to a diagonal checkerboard or diamond pattern. This ensures the grass grows upright and distributes the roller's compaction force evenly across the entire soil profile.
By combining the correct roller weight for your specific turf species, executing disciplined turnaround maneuvers, and adhering to a strict pattern rotation schedule, you can maintain stadium-quality stripes in grass without sacrificing the underlying biological health of your lawn.

