
Lawn Care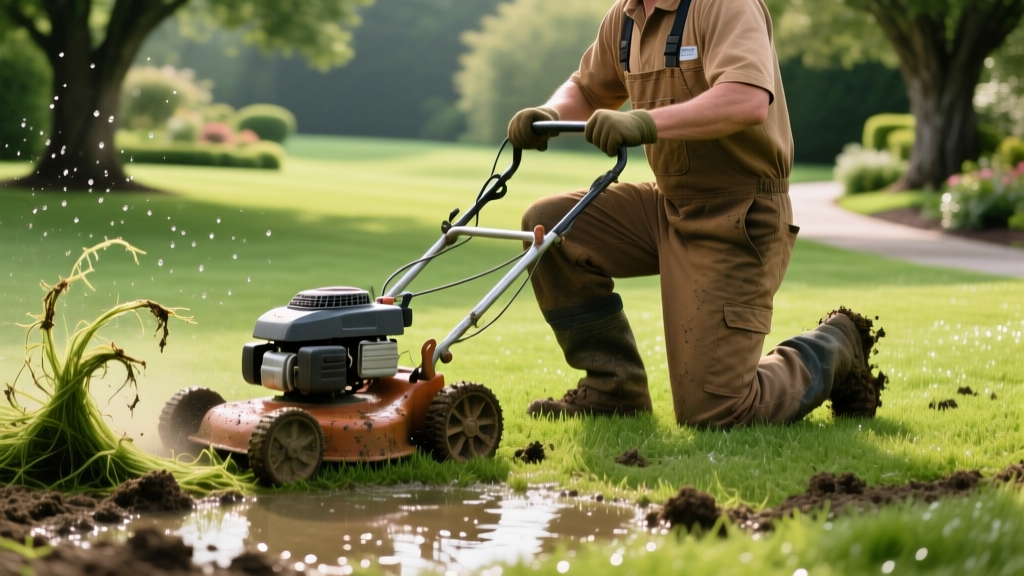
Cutting the Lawn When Wet: Risks, Rules, and Recovery Tactics
The Site-Condition Dilemma: When You Must Mow Damp Turf
Ideally, you should never mow a wet lawn. However, real-world site conditions rarely align with textbook turfgrass management. When facing a five-day heavy rain forecast, an impending lawn event, or a cool-season grass species like Tall Fescue that grows explosively during spring moisture, delaying your mowing schedule can result in severe overgrowth. Cutting grass that exceeds 5 inches in height causes 'shock' to the root system and shades out the lower crown. In these scenarios, cutting the lawn when wet transitions from a 'bad idea' to a necessary risk-mitigation exercise.
This guide provides a problem-solver’s framework for assessing soil saturation, adjusting your equipment, and executing a damp mow while minimizing mechanical tearing, soil compaction, and fungal vectoring.
The Physics of Wet Turf and Shear Strength
Dry grass blades possess high structural rigidity, allowing a sharpened mower blade to slice them cleanly with minimal resistance. When grass is wet, surface tension and water weight cause the blades to bend and mat down. The shear strength required to cut wet grass increases by up to 40%. If your mower blade is even slightly dull, it will not slice the bent blade; instead, it will grab and tear the tissue.
Torn grass tips exhibit jagged cellular damage. This damage accelerates moisture loss by up to 30% in the days following the cut and creates open vascular wounds that serve as direct entry points for fungal pathogens like Rhizoctonia solani (Brown Patch) and Pythium blight. According to the NC State University Turfgrass Program, wet mowing is one of the primary mechanical vectors for spreading turf diseases across residential lawns.
The Footprint Test: Dew vs. Saturation
Before starting your mower, you must differentiate between surface moisture (dew or light rain) and root-zone saturation. Walk across the lawn in flat-soled shoes and observe your footprints:
- Surface Dew (Greenlight with caution): Grass blades are wet, but the soil is firm. Footprints disappear within 2 seconds. Proceed with tactical adjustments.
- Moderate Moisture (Yellowlight): Footprints remain visible for 5-10 seconds. Soil is at field capacity. Raise the mower deck and reduce speed.
- Saturation (Redlight): Footprints sink deeply, water pools slightly in the depressions, and soil squelches. Do not mow. The wheel pressure of an 80-lb push mower will cause 1/2-inch deep ruts, severing shallow rhizomes and compacting the clay subsoil, which restricts oxygen to the root zone.
Mowing Decision Matrix by Grass and Soil Type
Not all lawns react to wet mowing equally. Use this matrix to determine your risk tolerance based on your specific site conditions.
| Grass Species | Soil Type | Moisture Level | Verdict & Primary Risk |
|---|---|---|---|
| Tall Fescue / Kentucky Bluegrass | Heavy Clay | Moderate to High | ABORT. High risk of severe wheel rutting and clay compaction. |
| Tall Fescue / Kentucky Bluegrass | Sandy Loam | Moderate | PROCEED. Raise deck 1 inch; sandy soil drains fast and resists rutting. |
| Bermuda / Zoysia (Warm Season) | Any | Surface Dew | PROCEED. Warm-season grasses have high tensile strength; less tearing. |
| Fine Fescue | Any | Any Wetness | ABORT. Fine fescue is highly susceptible to tearing and Pythium blight. |
Tactical Equipment Adjustments for Damp Mowing
If the footprint test and matrix dictate that you must proceed, you must alter your equipment setup and mowing pattern to compensate for the increased biomass weight and clumping tendency of wet grass.
1. Deck Elevation and Blade Velocity
Never cut wet grass at your standard maintenance height. Raise the mower deck by 0.75 to 1.0 inches. If you normally maintain your Tall Fescue at 3.5 inches, raise it to 4.5 inches for this specific pass. This reduces the total volume of wet biomass entering the deck at one time, preventing the impeller from bogging down.
Reduce your ground speed by 30%. If you normally walk at a brisk pace, slow to a deliberate crawl. This gives the mower blade additional milliseconds per square inch to generate the lift required to evacuate heavy, water-logged clippings.
2. Bypass the Mulching Chamber
Remove your mulching plug and install the side-discharge chute. Mulching relies on recirculating clippings within the deck to chop them into fine particles. Wet clippings will instantly pack the recirculation chamber, stalling gas engines (like the Honda GCV170) or tripping the battery management system (BMS) on electric models (like the EGO 56V) due to massive amp-draw spikes. Side-discharging ejects the heavy clumps away from the cutting path.
3. Overlap and Pattern Modification
Increase your pass overlap from the standard 1-2 inches to 4-5 inches. Wet grass tends to lay flat in the direction of travel. Overlapping heavily ensures that the second pass catches the matted grass from a different angle, standing it back up for a cleaner cut. Avoid tight zero-radius turns, which will twist the mower wheels and tear wet turf out by the roots.
⚠️ Disease Vector Warning: If your lawn has a known history of Brown Patch or Dollar Spot, do not mow when wet. The mower wheels will physically track fungal spores from infected micro-zones across the entire property, and the fresh, wet cut wounds will provide immediate infection sites. Consult the University of Minnesota Extension for regional disease pressure maps before deciding to mow.
Post-Mow Recovery and Equipment Maintenance
The work is not finished when the engine stops. Wet grass clippings are highly acidic and retain moisture against metal components, accelerating corrosion and promoting deck buildup that will ruin your next dry mow.
Immediate Deck Decontamination
- Scrape the Deck: While the clippings are still damp, use a plastic putty knife to scrape the underside of the mower deck. Do not use metal scrapers, as they will chip the factory anti-corrosion paint.
- Targeted Wash: Use a garden hose with a standard nozzle to rinse the deck. Never use a high-pressure washer, as the force will drive water past the spindle bearing seals and into the electrical components of battery-powered mowers.
- Spindle and Belt Check: Inspect the blade spindle for grass wrap. Wet grass acts like a tourniquet around the spindle shaft, creating friction that can melt the plastic housing or destroy the bearing.
Applying a Hydrophobic Deck Coating
To prevent future clumping, apply a hydrophobic coating to the underside of the clean, dry deck. Products like Fluid Film NAS (lanolin-based) or CRC Mower Deck Spray (silicone/ceramic-based) create a non-stick surface. Apply a thin coat, let it cure for 15 minutes, and wipe off the excess. This reduces clipping adhesion by up to 60% on subsequent mows, even in marginal moisture conditions.
'The difference between a ruined lawn and a successfully managed one during a wet spring comes down to millimeters. Raising the deck just three-quarters of an inch and slowing your walking pace transforms a destructive tearing event into a manageable canopy reduction.' — Residential Turf Management Field Notes
Troubleshooting Common Wet-Mow Failures
- Problem: Mower leaves uncut strips of grass in the center of the pass.
Cause: Wet grass is being pushed down by the front of the deck before the blade reaches it.
Fix: Raise the front of the deck 1/8-inch higher than the rear to create a 'ramp' effect, allowing the grass to enter the cutting chamber upright. - Problem: Engine bogs down or battery mower shuts off mid-pass.
Cause: Hydro-lock effect in the deck from excessive wet biomass.
Fix: Clear the chute immediately. On your next pass, cut only the outside 2 inches of the previous swath to reduce the volume of grass entering the blade path. - Problem: Visible wheel ruts in low-lying areas.
Cause: Subsoil saturation and mechanical compaction.
Fix: Wait 48 hours for the soil to dry to a friable state. Use a liquid aeration product (containing humic acid and saponins) to help break surface tension, followed by a light topdressing of masonry sand to level the depressions.
Cutting the lawn when wet is never the optimal choice, but by understanding the mechanics of turf shear, respecting soil saturation limits, and modifying your equipment setup, you can navigate difficult site conditions without sacrificing the long-term health of your lawn.

