
Lawn Care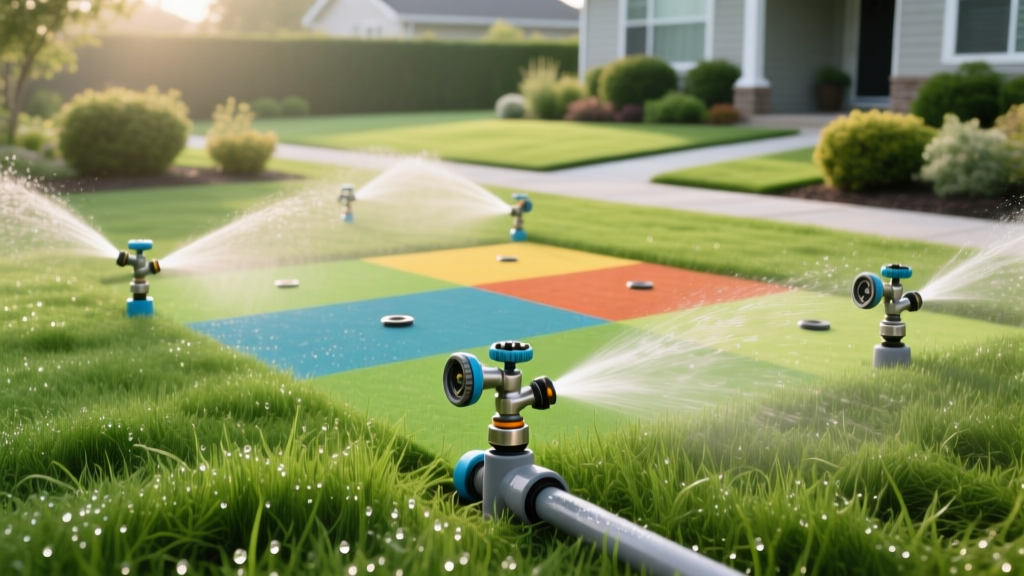
Designing a Sprinkler System: Zone Mapping and Head Selection Guide
A poorly planned irrigation system wastes thousands of gallons of water annually, creates dry spots, and promotes turf diseases like brown patch and dollar spot. Designing a sprinkler system requires precise hydraulic calculations, strategic hydro-zoning, and strict adherence to precipitation rate matching. This guide bypasses generic advice and provides the exact engineering parameters, product specifications, and layout frameworks needed to design a high-efficiency residential irrigation system.
Step 1: Site Measurement and Base Map Creation
Before drawing a single irrigation zone, you must create an accurate base map of your property. Use graph paper with a scale of 1/8 inch = 1 foot for standard residential lots, or 1/16 inch = 1 foot for properties over 10,000 square feet.
- Map Hardscapes and Structures: Outline the house, driveway, sidewalks, and patios. Sprinkler heads must be positioned to avoid overspray onto impermeable surfaces, which violates municipal water waste ordinances in many regions.
- Identify Microclimates: Mark areas of deep shade (under tree canopies), full sun, and wind corridors. South-facing slopes lose moisture 20-30% faster to evaporation than flat, north-facing areas and require dedicated zoning.
- Locate the Point of Connection (POC): Mark your water meter and the main shut-off valve. This is where your irrigation mainline will tap into the municipal supply.
Step 2: Calculating Flow Rate (GPM) and Static Pressure (PSI)
The most critical failure point in DIY irrigation design is assuming standard water pressure without testing. You must determine your available Gallons Per Minute (GPM) and static Pounds per Square Inch (PSI).
The Flow Rate (Bucket) Test
Place a 5-gallon bucket under your outdoor hose bib or POC. Open the valve fully and time how many seconds it takes to fill the bucket. Use this formula to find your GPM:
Formula: 300 ÷ Seconds to Fill = GPM
Example: If it takes 25 seconds to fill a 5-gallon bucket, your flow rate is 12 GPM (300 ÷ 25). This means your entire system cannot draw more than 12 GPM simultaneously across all active zones.
The Static Pressure Test
Screw a standard water pressure gauge onto an exterior hose bib. Ensure no other water sources in the house are running (no washing machines, showers, or dishwashers). Turn the bib on fully and read the gauge. Most residential systems operate between 45 and 65 PSI. If your pressure exceeds 80 PSI, you must install a pressure regulator at the POC to prevent blown seals in your sprinkler valves.
Hydraulic Rule of Thumb: Never design a zone that uses more than 80% of your available GPM. If your meter provides 12 GPM, cap your zone designs at 9.6 GPM to account for pressure fluctuations and pipe friction loss.
Step 3: Hydro-Zoning by Plant and Sun Exposure
Hydro-zoning is the practice of grouping plants with similar water requirements onto the same irrigation valve. According to the EPA WaterSense program, failing to separate turfgrass from shrub beds is a primary cause of residential water waste.
| Hydro-Zone Type | Plant Material | Watering Frequency | Recommended Head Type |
|---|---|---|---|
| Zone A: Full Sun Turf | Bermuda, Zoysia, Kentucky Bluegrass | Deep, infrequent (2x/week) | Gear-drive rotors or MP Rotators |
| Zone B: Shaded Turf | Fine Fescue, St. Augustine | Moderate (1-2x/week) | Low-precipitation rotary nozzles |
| Zone C: Shrub Beds | Boxwood, Hydrangea, Azalea | Targeted drip (3x/week) | Inline drip tubing (0.9 GPH emitters) |
| Zone D: Narrow Strips | Turf between sidewalk and street | Match adjacent turf zones | Side-strip spray nozzles (e.g., Hunter SS530) |
Step 4: Selecting Sprinkler Heads and Matching Precipitation Rates
The golden rule of irrigation design, heavily emphasized by the Irrigation Association, is to never mix different types of sprinkler heads on the same zone. This is due to mismatched Precipitation Rates (PR)—the speed at which a head applies water to the soil, measured in inches per hour.
Understanding Precipitation Rates (PR)
- Standard Spray Heads: PR of 1.5 to 2.0 inches/hour. Best for small, irregular areas under 15 feet wide.
- Gear-Drive Rotors: PR of 0.4 to 0.6 inches/hour. Best for large, open turf areas requiring 20 to 40 feet of throw distance.
- Multi-Stream Rotary Nozzles (e.g., Hunter MP Rotator): PR of 0.4 to 0.6 inches/hour. These replace standard spray nozzles in existing spray bodies, reducing runoff on clay soils by applying water slower than the soil's infiltration rate.
Critical Warning: If you put a standard spray head (1.6"/hr PR) and a gear-drive rotor (0.5"/hr PR) on the same valve, the spray head will deliver three times as much water in the same timeframe. The spray area will become waterlogged and foster fungal diseases before the rotor area receives adequate moisture. Keep them on entirely separate zones.
Head-to-Head Coverage
Sprinklers distribute water in a tapered pattern, delivering the most water directly at the nozzle and the least at the edge of the throw. To achieve uniform distribution, you must design for head-to-head coverage. This means the spray from one head must physically reach the exact location of the adjacent head. If your rotor throws 30 feet, the next rotor must be placed exactly 30 feet away, not 45 feet away.
Step 5: Pipe Sizing, Valves, and Friction Loss
Water moving through pipes creates friction, which reduces your available pressure at the sprinkler head. Proper pipe sizing mitigates this friction loss.
Mainline vs. Lateral Lines
The mainline runs from the POC to the irrigation valves. It is under constant municipal pressure. Use Schedule 40 PVC for the mainline, sized equal to or one size larger than your water meter outlet (typically 1-inch or 1.25-inch).
The lateral lines run from the valves to the sprinkler heads. These lines are only pressurized when the zone is active. You can use Class 200 PVC (thin-wall) or Schedule 40 PVC in 3/4-inch or 1-inch diameters. For regions with deep winter freezes, use NSF-rated polyethylene (poly) pipe for lateral lines, as its flexibility prevents cracking during freeze-thaw cycles.
Calculating Friction Loss
Friction loss increases exponentially as flow rate increases and pipe diameter decreases. For example, pushing 10 GPM through 100 feet of 3/4-inch PVC results in a pressure loss of roughly 8.5 PSI. Pushing that same 10 GPM through 1-inch PVC drops the loss to just 2.8 PSI. Always upsizing your lateral pipes when approaching the maximum GPM capacity of the zone ensures your furthest sprinkler head maintains the minimum 30 PSI required for proper atomization.
2026 Cost Breakdown for a DIY Sprinkler Design
Designing and installing your own system saves roughly 50-60% compared to professional contractor bids. Below are current average material costs for a standard 5,000 sq. ft. turf area divided into 5 zones.
- Smart Wi-Fi Controller: $220 - $290 (e.g., Rachio 3e or Hunter Hydrawise Pro-C2). Look for EPA WaterSense certification to qualify for local utility rebates.
- Irrigation Valves: $25 - $45 each (e.g., Hunter PGV 1-inch valves with flow control).
- PVC Pipe and Fittings: $0.60 - $1.20 per linear foot, including primer and cement.
- Sprinkler Heads and Nozzles: $8 - $15 per rotor; $5 - $9 per spray body with MP Rotator nozzle.
- Valve Manifold Box and Wiring: $60 - $90 for a standard 12-inch jumbo box and 14-gauge multi-strand UF wire.
Common Design Mistakes to Avoid
Design Failure Checklist
- Ignoring Wind Drift: Placing pop-up spray heads near property lines or driveways where a 5 MPH breeze will push the water onto the pavement. Use low-angle nozzles or switch to drip irrigation in these perimeter zones.
- Overloading the POC: Tapping the irrigation mainline downstream of the house's pressure-reducing valve (PRV) instead of upstream, artificially choking the system's GPM capacity.
- Skipping the Master Valve: Failing to install a master valve at the POC. If a zone valve fails in the open position, a master valve will shut off the water supply to the entire irrigation system, preventing catastrophic flooding and water bill spikes.
Designing a sprinkler system is an exercise in fluid dynamics and landscape architecture. By strictly adhering to precipitation rate matching, calculating exact friction losses, and separating hydro-zones, you will build a system that promotes deep root growth, eliminates runoff, and keeps your turf resilient through peak summer heat.

