
Lawn Care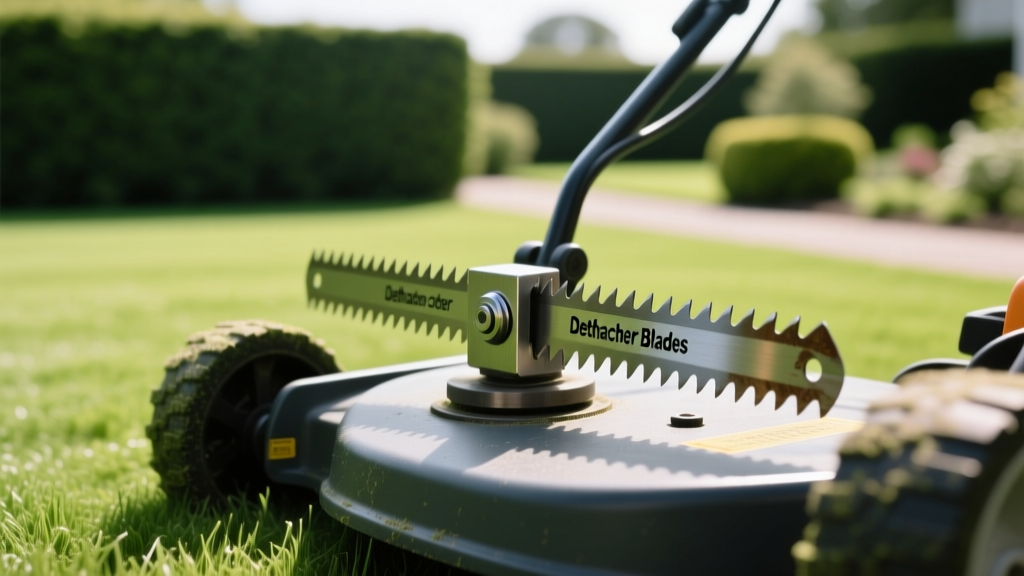
Dethatcher Blades for Lawn Mowers: Selection and Setup Guide
The 0.5-Inch Rule: Diagnosing Thatch Buildup
Thatch is a tightly intermingled layer of living and dead stems, roots, and rhizomes that accumulates between the actively growing grass blades and the soil surface. While a thin layer (under 0.25 inches) provides insulation and moisture retention, excessive thatch creates a hydrophobic barrier. According to UMass Extension, once the thatch layer exceeds 0.5 inches in cool-season grasses like Kentucky Bluegrass and Tall Fescue, it prevents water, oxygen, and fertilizer from reaching the root zone, leading to shallow rooting and increased drought stress.
To measure your thatch, use a standard garden trowel to cut a 3-inch deep wedge into the lawn. Measure the distinct brown, spongy layer above the mineral soil. If it measures 0.5 inches or more, mechanical intervention is required. For warm-season grasses like Bermuda and Zoysia, the threshold is slightly higher, typically around 0.75 inches, due to their aggressive rhizome growth patterns.
The Danger of Universal "Dethatcher" Replacement Blades
When homeowners search for dethatcher blades for lawn mowers, they frequently encounter inexpensive ($15 to $25) universal replacement blades equipped with spring-steel tines. These blades are marketed as a quick-fix solution that bolts directly onto the mower spindle in place of the standard cutting blade. From an equipment maintenance perspective, these universal blades are highly problematic and often cause catastrophic damage to the mower deck.
Equipment Warning: Mower spindles and bearings are precision-engineered to handle the specific weight and aerodynamic lift of a standard steel cutting blade (typically 1.5 to 2.5 lbs). Universal dethatcher blades lack aerodynamic lift, forcing the engine to work harder while destroying the deck's vacuum effect. More critically, as the spring tines wear unevenly from striking the soil, the blade becomes severely unbalanced. This high-frequency vibration will destroy your spindle bearings—a repair that costs between $120 and $180 per spindle, entirely negating the savings of a $20 blade.
Furthermore, these replacement blades scalp the lawn. Because the tines flex independently and the deck lacks a roller to gauge depth, the tines dig into the soil on uneven terrain, tearing out healthy crown tissue and exposing bare dirt to weed germination.
The Professional Alternative: Mower-Mounted Attachments
Rather than replacing the cutting blade, professional turf managers and informed homeowners utilize mower-mounted dethatcher attachments. These systems mount to the front or rear of the mower deck, utilizing the mower's existing transport wheels and hitch points without interfering with the cutting blade's balance or the spindle's integrity.
The most effective configurations for residential riding mowers and zero-turns are front-mount dethatchers, such as the Agri-Fab SmartLINK system (Model 45-0472) or the MTD equivalent (19A30017OEM). These units feature heavy-gauge spring tines mounted on a dedicated frame with gauge wheels. The gauge wheels allow you to set the exact penetration depth—typically 0.125 to 0.25 inches into the soil surface—ensuring the tines rip through the thatch mat without scalping the turf crown.
Equipment Comparison Matrix
Selecting the right equipment depends on your lawn size, budget, and tractor compatibility. The table below breaks down the current market options for mechanical thatch removal.
| Equipment Type | Avg. Cost (2026) | Spindle Risk | Efficacy | Best Application |
|---|---|---|---|---|
| Universal Replacement Blade | $18 - $25 | High (Bearing failure) | Poor (Uneven depth) | None (Not recommended) |
| Front-Mount Attachment | $130 - $160 | None | Excellent | Lawns up to 1 acre |
| Tow-Behind Dethatcher | $100 - $130 | None | Good | Large open areas (1+ acres) |
| Walk-Behind Power Dethatcher | $85 - $110 / day (Rental) | None | Superior | Severe thatch (>1 inch) |
Step-by-Step Mower Dethatching Calibration
Proper calibration is the difference between revitalizing your lawn and destroying it. Follow this exact protocol when using a front-mount or tow-behind dethatcher attachment.
- Initial Mowing: Mow the lawn at your standard height (e.g., 3.0 inches for Tall Fescue) one day prior to dethatching. Bag the clippings to expose the thatch layer.
- Moisture Check: The soil should be moderately moist, not saturated. Dethatching wet soil causes severe compaction and rips out grass roots. If the soil is dry, irrigate with 0.25 inches of water 24 hours before the procedure.
- Depth Calibration: Lower the attachment gauge wheels so the spring tines penetrate exactly 0.125 inches into the mineral soil. Test on a small 10x10 foot patch. You should see brown thatch pulled to the surface, but the green grass crowns should remain firmly anchored.
- Operating Speed: Engage the mower and drive at a slow, consistent pace of 2 to 3 MPH. Driving too fast causes the tines to bounce over the thatch; driving too slow tears the turf.
- Overlapping Passes: For lawns with thatch exceeding 0.75 inches, make two passes. The first pass should be horizontal, and the second vertical, creating a cross-hatch pattern that breaks up the mat from multiple angles.
- Debris Removal: Rake and remove the pulled thatch immediately. Leaving it on the lawn will smother the remaining grass and create a new thatch layer as it decomposes.
Post-Dethatching Recovery Protocol
Dethatching is a highly stressful mechanical process for turfgrass. The recovery window is critical. According to Penn State Extension, the open canopy created by dethatching provides an ideal seedbed for overseeding and a direct pathway for soil amendments.
"Following mechanical dethatching, immediate core aeration and topdressing with a thin layer of compost accelerates microbial breakdown of any remaining thatch while relieving soil compaction caused by the equipment traffic."
Within 24 hours of dethatching and raking, apply a starter fertilizer containing 1.0 lb of actual nitrogen per 1,000 square feet, along with high phosphorus to support root regeneration. If you are overseeding, use a slice seeder or drop spreader immediately after the thatch is removed. Keep the top 2 inches of soil consistently moist (watering 2-3 times daily for 5 minutes) for the first 14 days to ensure seed germination and crown recovery. Avoid applying pre-emergent herbicides for at least 6 weeks post-dethatching, as the exposed soil is highly susceptible to crabgrass and broadleaf weed invasion.
Seasonal Timing Constraints
Never dethatch during peak summer heat or drought stress. For cool-season grasses, the optimal window is early fall (late August to mid-September) when soil temperatures drop below 70°F, allowing rapid recovery before winter dormancy. Early spring (April) is a secondary window, but it increases the risk of summer weed infiltration. For warm-season grasses, dethatch only in late spring to early summer (May to June), immediately after the grass has fully greened up and entered its peak vertical growth phase, as noted by the University of Minnesota Extension.

