
Lawn Care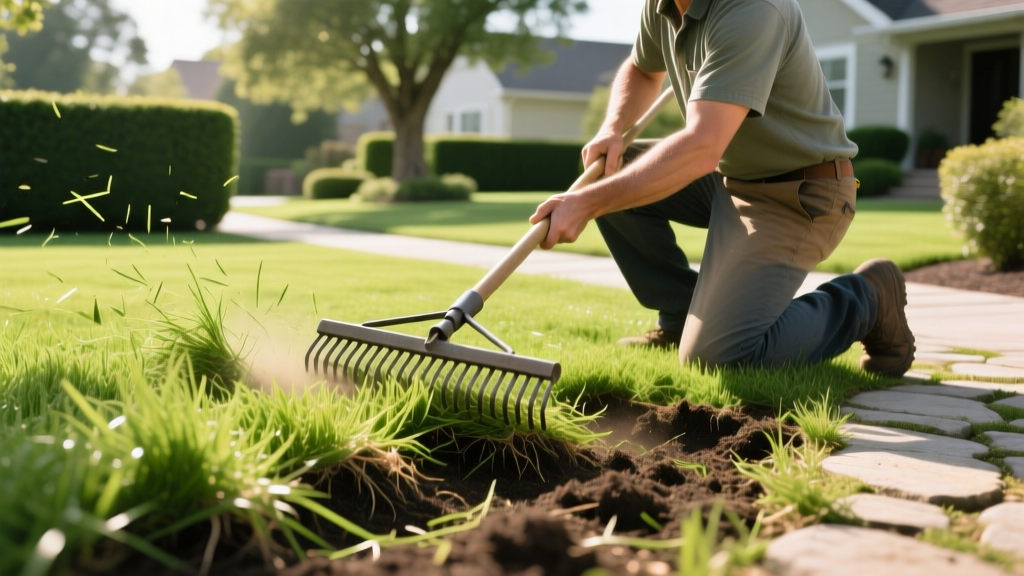
Pros and Cons of Dethatching Lawn: Step-by-Step Maintenance Guide
The Biology of Thatch: When Protection Becomes a Problem
Thatch is a tightly intermingled layer of living and dead organic matter—primarily stems, stolons, rhizomes, and roots—that accumulates between the green vegetation of your lawn and the soil surface. A thin layer of thatch (under 0.5 inches) is beneficial. It acts as a natural mulch, insulating the soil against extreme temperature fluctuations, retaining moisture, and providing a cushion that protects the turf crown from foot traffic.
However, when the production of organic debris outpaces the decomposition rate by soil microbes, thatch becomes a barrier. High-lignin tissues, common in warm-season grasses like Bermuda and Zoysia, resist rapid breakdown. Excessive nitrogen fertilization without adequate soil aeration accelerates top growth faster than microbes can process the dead matter. Once the layer exceeds 0.5 inches, understanding the pros and cons of dethatching lawn areas becomes critical before deploying aggressive mechanical intervention.
Evaluating the Pros and Cons of Dethatching Lawn Turf
Dethatching is a highly invasive mechanical process. It involves using blunt tines or flail blades to physically tear through the organic mat and scarify the soil surface. Before renting a power rake, weigh the agronomic benefits against the severe stress it places on your turf.
The Pros: Why Dethatch?
- Restored Gas Exchange: Removes the physical barrier blocking oxygen from reaching the root zone and preventing carbon dioxide from escaping the soil.
- Improved Water Infiltration: Eliminates hydrophobic thatch layers that cause water runoff, ensuring irrigation and rainfall reach the root mass.
- Enhanced Fertilizer Uptake: Prevents liquid and granular nutrients from getting trapped in the organic mat, where they can burn the thatch or feed fungal pathogens instead of the grass.
- Pest and Disease Reduction: Destroys the humid, sheltered microclimate that harbors chinch bugs, sod webworms, and fungal spores like Rhizoctonia solani (brown patch).
The Cons: The Hidden Costs
- Severe Turf Stress: The tearing action inevitably rips out healthy living stolons and crowns, leaving the lawn looking scalped and brown for 2 to 4 weeks.
- Weed Seed Exposure: Scarifying the soil surface brings dormant weed seeds (like crabgrass and spurge) to the surface and exposes them to sunlight, triggering germination.
- Moisture Loss: Removing the thatch layer temporarily exposes the bare soil to direct UV radiation, increasing evaporation rates and requiring intensive post-care watering.
- Labor-Intensive Cleanup: A 5,000-square-foot lawn can yield 10 to 20 cubic yards of dense, wet thatch debris that must be manually raked and disposed of.
Diagnostic Phase: Do You Actually Need to Dethatch?
Never dethatch based on a calendar schedule. Thatch accumulation varies wildly based on soil biology, grass species, and maintenance habits. Perform the plug test to determine if the pros of dethatching outweigh the cons for your specific yard.
- Extract a Core Sample: Use a 2-inch diameter soil probe or a sharp spade to cut a 3-inch deep wedge of turf. Extract it intact.
- Measure the Thatch Layer: Identify the brown, spongy layer between the green grass blades and the dark mineral soil. Measure it with a ruler.
- Analyze the Threshold: If the layer is less than 0.5 inches, do not dethatch. Focus on core aeration and topdressing with compost to stimulate microbial breakdown. If it exceeds 0.5 inches (and especially if it is over 0.75 inches), mechanical dethatching is required.
"Many homeowners confuse a compacted, hard soil surface with a thatch problem. If your soil is hard and water pools on the surface, but the brown organic layer is under 0.5 inches, you need core aeration, not dethatching. Dethatching compacted soil will only result in surface tearing without solving the underlying drainage issue."
— University of Minnesota Extension
Tool Selection: Matching Equipment to Lawn Size
Using the wrong equipment is the most common cause of lawn failure during this procedure. Manual rakes are ineffective for severe thatch, while heavy gas-powered rakes can destroy small or delicate lawns if not calibrated correctly.
| Method | Equipment Cost | Best For | Limitations |
|---|---|---|---|
| Manual Thatching Rake (e.g., Ames True Temper) | $40 - $60 | Small patches under 500 sq ft; light thatch (0.5") | Extreme physical labor; inconsistent depth |
| Electric Dethatcher (e.g., Sun Joe AJ801E 12-Amp) | $160 - $200 | Lawns up to 3,000 sq ft; moderate thatch | Limited torque; tines can bend on hard soil |
| Gas Power Rake Rental (e.g., Billy Goat HR1800B) | $75 - $95 / day | Lawns over 5,000 sq ft; severe thatch (>0.75") | Heavy (150+ lbs); requires truck transport |
| Professional Service | $0.15 - $0.25 / sq ft | All sizes; zero physical labor; commercial cleanup | High upfront cost ($750 - $1,250 for 5k sq ft) |
Step-by-Step Dethatching Procedure
If your diagnostic test confirms a thatch layer exceeding 0.5 inches, follow this precise execution protocol to minimize crown damage and maximize recovery speed.
Step 1: Timing and Moisture Preparation
Timing is dictated by your grass type. Cool-season grasses (Kentucky Bluegrass, Fescue, Ryegrass) must be dethatched in early fall (late August to September) or early spring when they are actively growing and can recover quickly. Warm-season grasses (Bermuda, Zoysia, St. Augustine) should be dethatched in late spring to early summer, immediately after the lawn has fully greened up.
Two days before dethatching, water the lawn deeply. The soil should be moist to a depth of 2 inches. If the soil is too dry, the tines will bounce off the surface; if it is muddy, the machine will tear out entire root systems and cause severe compaction.
Step 2: Mowing and Machine Calibration
Mow the lawn to 50% of its normal height. This exposes the thatch layer and prevents the machine from clogging with long grass blades. If using a power dethatcher, calibrate the blade depth. The flail blades should penetrate the thatch and barely scratch the top 1/8 inch of the mineral soil. Warning: Setting the blades deeper than 1/4 inch will sever the primary root mass and crown, potentially killing the turf.
CRITICAL WARNING: Never dethatch St. Augustine or Centipede grass with a vertical mower (power rake). These grasses spread via above-ground stolons, and aggressive dethatching will rip out the primary vascular system of the lawn. Use a manual thatching rake or a specialized flail blade attachment set to a shallow depth for these species. For more on species-specific care, consult the Clemson University Home & Garden Information Center.
Step 3: Execution and Debris Removal
Run the dethatcher in straight, overlapping lines across the lawn. For severe thatch (over 0.75 inches), make a second pass perpendicular to the first (in a grid pattern). The surface will look heavily damaged and brown—this is normal.
Immediately remove the debris. Leaving pulled thatch on the lawn will smother the remaining grass and invite fungal diseases. Use a heavy-duty leaf rake for small areas, or rent a commercial lawn vacuum system for large properties. Bag the debris for municipal composting; do not use it as mulch in garden beds, as it may harbor turf pathogens or weed seeds.
Post-Dethatching Recovery Protocol
The lawn is now highly vulnerable. The recovery phase dictates whether your turf will bounce back thicker or be overrun by weeds.
- Core Aeration: If the soil is compacted, immediately follow dethatching with core aeration. The exposed soil allows aeration tines to penetrate deeply, pulling out plugs that will act as a natural topdressing over the exposed roots.
- Overseeding: Dethatching creates ideal seed-to-soil contact. Apply a premium turf-type tall fescue or Kentucky bluegrass seed blend at a rate of 5 to 8 lbs per 1,000 square feet for cool-season lawns.
- Fertilization: Apply a high-phosphorus starter fertilizer (e.g., 18-24-12 NPK ratio) at a rate of 1 lb of nitrogen per 1,000 square feet to stimulate rapid root regeneration.
- Irrigation: Water lightly 2 to 3 times a day for the first 14 days to keep the top 1 inch of soil consistently moist, ensuring seed germination and crown recovery.
Long-Term Thatch Prevention
To avoid needing to dethatch again in the future, shift your maintenance strategy. Reduce high-nitrogen synthetic fertilizers that cause rapid, lignin-heavy growth. Instead, utilize slow-release organic fertilizers and apply a 1/4-inch layer of screened compost annually in the fall. The compost introduces diverse microbial populations that naturally digest thatch, maintaining the ideal 0.25 to 0.5-inch protective layer without mechanical intervention.

