
Lawn Care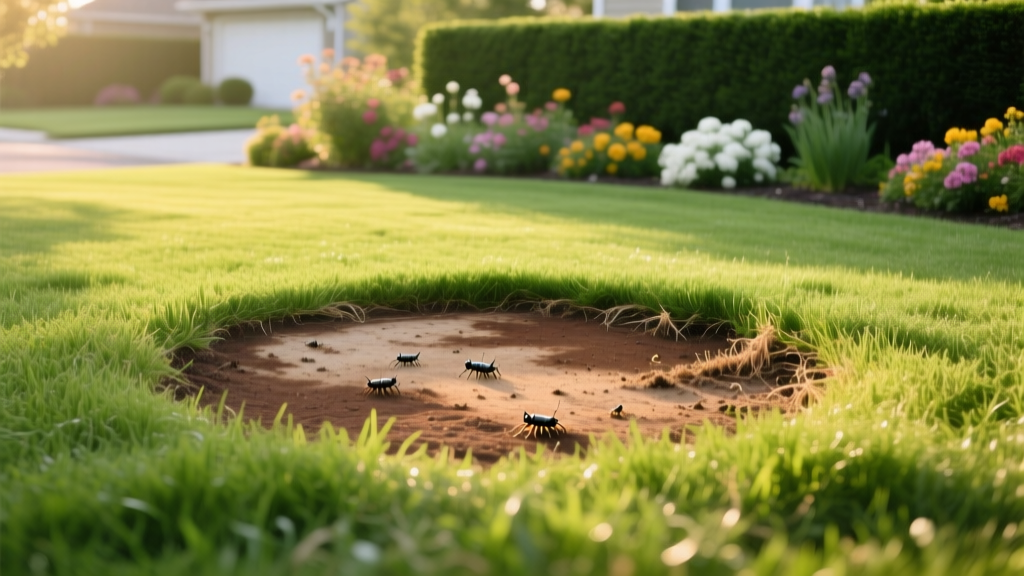
Diagnose and Fix a Brown Spot in Lawns: Rescue Guide
A brown spot in lawns is a distress signal, not a death sentence. The most common mistake homeowners make is assuming all brown patches are caused by drought and immediately increasing irrigation. If the underlying cause is a fungal pathogen like Rhizoctonia solani (Brown Patch), adding water will accelerate the disease and destroy the entire turf canopy within 48 hours. Accurate triage is the only way to save your grass.
This diagnostic framework isolates the exact cause of the damage and provides specific, chemical-grade rescue protocols to halt the spread and initiate recovery.
The 3-Point Triage Test for Brown Spots
Before purchasing any treatments, perform these three physical tests on the margin of the brown spot (the transition zone between dead and healthy grass).
1. The Tug Test (Root Integrity)
Grab a handful of the brown grass at the base and pull upward with moderate force.
- Result A: The grass lifts easily with no root resistance, and you see severed or missing roots. Diagnosis: Root-feeding insects (grubs) or severe root rot.
- Result B: The grass breaks off at the crown or requires significant force to pull, indicating the root system is still anchored. Diagnosis: Fungal leaf blight, drought, or chemical burn.
2. The Screwdriver Test (Soil Moisture & Compaction)
Push a standard 6-inch flathead screwdriver into the soil in the brown area, then repeat in a healthy green area.
- Result A: The tool penetrates easily in the green zone but refuses to sink past 1 inch in the brown zone. Diagnosis: Severe soil compaction or hydrophobic (water-repellent) soil causing localized drought.
- Result B: The screwdriver slides in easily in both zones, but the soil in the brown zone is bone dry below the thatch layer. Diagnosis: Irrigation head blockage or uneven water distribution.
3. The Pattern & Margin Check
Observe the shape of the damage from a second-story window or via a drone.
- Perfect Circles (1 to 5 feet wide): Classic fungal signature or dog urine burn.
- Irregular, Coalescing Blotches: Chinch bug damage, drought stress, or dull mower blade tearing.
- Smoke Rings: If the margin of the circle has a dark, purplish-brown "smoke ring" in the early morning, you have an active fungal infection.
Diagnostic Matrix: Symptom to Rescue Protocol
Use this matrix to cross-reference your triage results with the correct active ingredient and application rate. According to Penn State Extension, misapplication of fungicides for insect damage is a leading cause of turf loss.
| Symptom Profile | Primary Suspect | Confirmation Method | Rescue Treatment & Active Ingredient |
|---|---|---|---|
| Circular patches, smoke rings, morning cobwebs | Brown Patch / Dollar Spot (Fungus) | Visual margin check; high humidity/night temps >65°F | Azoxystrobin (Scotts DiseaseEX) or Propiconazole (Patch Pro) |
| Grass pulls up easily; white C-shaped larvae visible | White Grubs | Tug test; peel back 1 sq ft of sod to count larvae (>5 is threshold) | Trichlorfon (Dylox 6.2) for immediate curative kill |
| Yellowing at margins, tiny black/white bugs at soil line | Chinch Bugs | Coffee can float test (sink can into soil, fill with water) | Bifenthrin (Talstar P) or clothianidin |
| Perfect 6-inch brown circles with dark green outer ring | Dog Urine (Nitrogen Burn) | Pattern recognition; high salt concentration in soil | Pelletized Gypsum (calcium sulfate) + soil flushing |
| Irregular brown streaks, mower wheel track patterns | Drought / Compaction | Screwdriver test; check irrigation zone coverage | Core aeration + wetting agents (e.g., Aqua-Aid) |
Targeted Rescue Fixes by Category
Rescue Fix 1: Fungal Pathogens (Brown Patch & Dollar Spot)
Fungal diseases thrive when leaf wetness persists for more than 10 hours and nighttime temperatures remain above 65°F. If you spot active mycelium (white cobweb-like threads) in the morning dew, immediate curative action is required.
Warning: Do not apply nitrogen fertilizer to a lawn with an active fungal infection. Nitrogen forces rapid, succulent leaf growth that is highly susceptible to pathogen penetration.
The Protocol: Apply a systemic fungicide containing Azoxystrobin (e.g., Scotts DiseaseEX, approx. $28 for 5,000 sq ft). For severe Dollar Spot, use Propiconazole (e.g., Patch Pro, approx. $65 per bottle). Apply at the curative rate (usually 2.0 to 4.0 oz per 1,000 sq ft, check label). Water the fungicide into the soil-thatch interface with exactly 0.1 inches of irrigation immediately after application. Halt all evening watering; switch to deep, infrequent watering at 4:00 AM to minimize leaf wetness duration.
Rescue Fix 2: Subsurface Insects (Grubs)
If the tug test fails and you find more than 5 to 7 grubs per square foot, the root system is being actively consumed. Preventative products like Imidacloprid will not work at this stage; you need a fast-acting curative insecticide.
The Protocol: Apply Trichlorfon (e.g., Dylox 6.2, approx. $40 for a 30 lb bag covering 10,000 sq ft). Trichlorfon has a very short half-life in soil, meaning it must be watered in immediately. Apply the granules and run your irrigation system for 30 to 45 minutes to push the active ingredient 2 inches deep into the soil profile where the grubs are feeding. Expect the grubs to die within 24 to 48 hours. Note: The brown spots will not turn green again immediately; the existing dead grass must be raked out and overseeded once the grub population is neutralized.
Rescue Fix 3: Chemical & Salt Burns (Dog Urine)
Dog urine contains high concentrations of urea and soluble salts. The center of the spot dies from salt toxicity, while the outer ring turns dark green from the diluted nitrogen fertilizer effect.
The Protocol: First, flush the area with 2 gallons of water per square foot to leach the salts below the root zone. Next, apply pelletized gypsum (calcium sulfate) at a rate of 50 lbs per 1,000 sq ft. The calcium in the gypsum displaces the sodium in the soil, restoring soil structure and permeability. Wait 14 days, then core aerate the specific spot and overseed with a urine-tolerant grass species like Perennial Ryegrass or Tall Fescue.
Step-by-Step Lawn Patching Protocol
If the triage tests reveal that the grass crown is entirely dead (common with severe grub damage or prolonged drought), no chemical will bring it back. You must renovate the spot using this precise sequence to ensure seed germination and prevent weed invasion.
- Excavate the Damage: Use a sharp spade to cut out the brown spot and remove the top 2 inches of dead thatch and soil. This eliminates fungal spores and insect eggs lingering in the organic matter.
- Amend the Base: Fill the void with a 50/50 mix of native topsoil and screened compost. Tamp it down firmly so the final grade sits 0.5 inches below the surrounding healthy lawn. This prevents the new seed from being scalped by your mower later.
- Apply Coated Seed: Select a seed variety matching your existing turf. Use a polymer-coated seed (e.g., Scotts Turf Builder Grass Seed, approx. $35 for 10 lbs) which retains moisture and contains starter fertilizer. Apply at 5 to 8 seeds per square inch.
- Top-Dress and Mulch: Cover the seed with 1/4 inch of sphagnum peat moss or a specialized lawn mulch like Penn Mulch. This protects the seed from birds and UV degradation.
- The 14-Day Watering Matrix: For the first 14 days, water the patch 3 times a day for 5 minutes each. The goal is to keep the top 1 inch of soil constantly moist but not waterlogged. Once seedlings reach 2 inches tall, transition to one 20-minute deep watering per day.
Pro Tip for Mowing: Do not mow the newly patched brown spot until the new grass reaches 3.5 inches in height. When you do mow, ensure your mower blade is freshly sharpened. A dull blade will tear the tender new grass blades, creating open wounds that invite fungal pathogens right back into the vulnerable area. Consult the University of Minnesota Extension for regional mowing height guidelines specific to your grass type.
By systematically isolating the variable causing the brown spot in lawns—whether biological, environmental, or chemical—you can deploy targeted rescue treatments that halt damage in days rather than weeks. Stop guessing with the hose, and start diagnosing with the data.

