
Lawn Care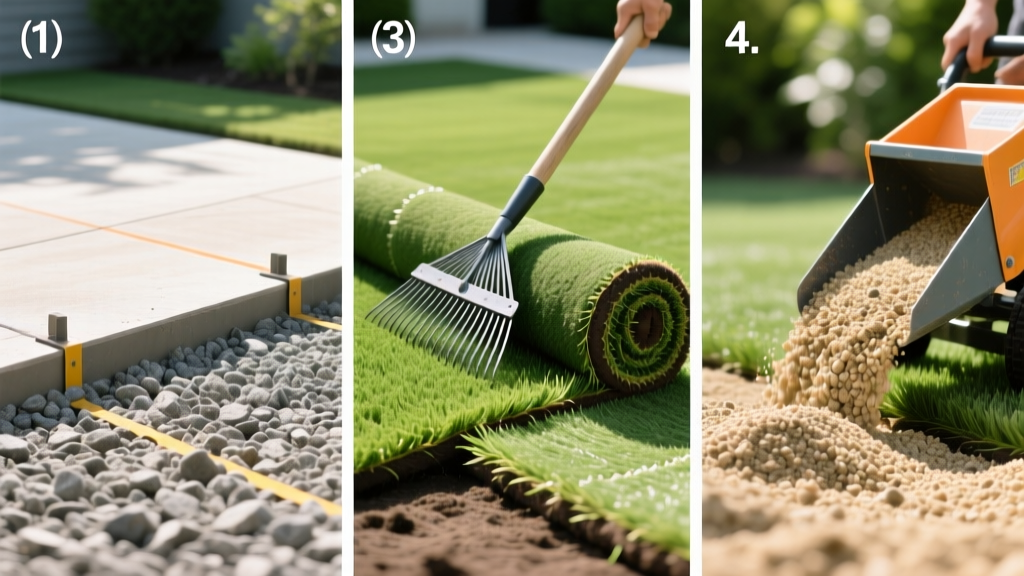
DIY Artificial Lawn Installation: Step-by-Step Base & Turf Guide
The Engineering Mindset: Treat Turf Like Permeable Hardscape
Successful artificial lawn installation is rarely about the grass itself; it is about the permeable hardscape you build beneath it. While natural grass relies on deep root systems to manage water and stabilize soil, synthetic turf depends entirely on a mechanically compacted sub-base and precise drainage engineering. According to guidelines from the Synthetic Turf Council, over 85% of synthetic turf failures—such as buckling, pooling water, and seam separation—stem from improper base preparation rather than defects in the turf manufacturing.
This guide approaches artificial lawn installation from an establishment perspective, detailing the exact material specifications, compaction densities, and infill ratios required to create a permanent, drainage-compliant landscape surface. Expect DIY material costs to range from $8.50 to $14.00 per square foot in 2026, depending on base depth and infill quality.
Phase 1: Excavation and Subgrade Sloping
Before importing base materials, the native subgrade must be excavated and contoured. The standard excavation depth is 3.5 to 4 inches for well-draining sandy loams, but heavy clay soils require 4.5 to 5 inches to accommodate a thicker drainage layer.
Warning: The 1% Slope Rule
Never excavate a perfectly flat subgrade. You must establish a minimum 1% slope (1 inch of drop per 8 feet of run) directed away from structures. Synthetic turf backing typically features perforations that drain at 30+ inches per hour, but if the subgrade below it is flat, water will pool beneath the turf, causing anaerobic bacterial growth and foul odors.
Subgrade Compaction
Once excavated, the native soil must be compacted. If the subgrade is highly expansive clay, lay a biaxial geogrid mesh over the dirt before adding base rock. This prevents the clay from heaving upward during freeze-thaw cycles or heavy saturation, which would otherwise telegraph through the turf as visible ripples.
Phase 2: Sub-Base Material and Compaction
The sub-base is the structural foundation of your artificial lawn installation. Avoid pea gravel or washed river rock; these lack fines (dust) and cannot be locked together into a rigid surface.
- Material Selection: Use Class II Road Base or 3/4-inch minus crushed drain rock. The 'minus' designation means it includes stone dust, which acts as a binder when wet and compacted.
- Moisture Conditioning: Base rock must be compacted at optimum moisture content (typically 5% to 7%). If the rock is bone dry, it will not lock. Lightly mist the aggregate with a hose before compacting.
- Mechanical Compaction: Use a walk-behind vibratory plate compactor generating a minimum of 3,000 lbs of centrifugal force. Hand tampers are entirely insufficient for achieving the required 95% Proctor density.
- Lift Thickness: Compact the base in 2-inch lifts (layers). If you need a 4-inch base, lay down 2 inches, compact, lay down the next 2 inches, and compact again.
For optimal water conservation and landscape integration, the EPA WaterSense program notes that properly graded permeable bases reduce residential runoff significantly compared to traditional impermeable hardscapes, allowing rainwater to percolate back into the local water table.
Phase 3: Laying the Turf and Seam Engineering
Once the base is compacted and swept smooth, roll out a woven geotextile weed barrier. While some installers place this beneath the base rock, placing it directly on top of the compacted base prevents base material from migrating upward into the turf backing while still blocking weed growth.
Seaming Methods: Adhesives vs. Tape
The seams are the most vulnerable points in any artificial lawn installation. Thermal expansion and contraction will test the integrity of your seams year-round. Below is a comparison of standard seaming methodologies:
| Method | Materials Required | Durability & Use Case |
|---|---|---|
| Polyurethane Glue + Tape | 400mm seaming tape, single-part moisture-curing polyurethane adhesive. | Best. Creates a permanent, flexible chemical bond. Ideal for high-traffic areas and regions with extreme temperature swings. |
| Double-Sided Carpet Tape | Specialized outdoor turf tape with aggressive acrylic adhesive. | Fair. Prone to failure if the base is damp during installation. Only recommended for low-traffic ornamental areas. |
| Seaming Staples Only | 6-inch galvanized sod staples spaced every 3 inches. | Poor. Leaves visible divots and allows seams to separate under tension. Not recommended for modern installations. |
Pro Tip: When gluing seams, use a super-seamer board or a straight 2x4 to keep the turf edges perfectly aligned. Apply the glue to the tape, fold the turf edges over, and immediately place heavy weights (like bags of infill) along the seam for 45 minutes while the polyurethane cures.
Phase 4: Perimeter Fastening and Thermal Management
Synthetic turf expands in the heat and contracts in the cold. To prevent buckling, artificial lawn installation must occur when ambient temperatures are above 60°F (15°C). If installed on a freezing day, the turf will expand and ripple when summer arrives.
Secure the perimeter using 6-inch non-galvanized steel spikes or 40D galvanized sod staples. Non-galvanized spikes are preferred by master installers because they develop a light surface rust over time, creating a mechanical lock with the surrounding base rock that prevents pull-out. Space fasteners 4 inches apart along the entire perimeter, and drive them flush with the backing—do not pound them so deep that they cut through the primary backing.
Phase 5: Infill Selection and Application
Infill is not optional. It serves three critical functions: it weighs the turf down to prevent wind uplift, it protects the primary latex/polyurethane backing from UV degradation, and it supports the grass fibers so they stand upright. According to detailed technical data from Purchase Green Artificial Grass, skipping infill will void most manufacturer warranties and reduce the turf lifespan by half.
| Infill Type | Mesh / Size | Application Rate | Primary Benefit |
|---|---|---|---|
| Silica Sand | Mesh 12-20 | 1.5 - 2.5 lbs / sq ft | Cost-effective ballast; keeps blades upright. |
| Envirofill (Acrylic) | Coated granules | 1.5 - 2.0 lbs / sq ft | Antimicrobial; resists compaction; stays cool. |
| Zeofill (Zeolite) | Granular mineral | 1.5 - 3.0 lbs / sq ft | Neutralizes ammonia from pet urine; high absorbency. |
The "Establishment" Protocol: Settling the System
Just as natural seed requires watering to establish roots, synthetic turf requires mechanical and hydraulic settling to integrate the infill. 1. Dry Brushing: Use a gas-powered power broom with stiff nylon bristles to brush the turf against the grain. This opens the thatch layer and allows the infill to drop to the base. 2. Infill Drop: Use a drop spreader to apply the infill evenly in two passes (crisscross pattern). 3. Hydraulic Settling: Water the entire lawn heavily. The water washes dust off the blades, settles the infill deep into the backing, and eliminates static electricity that causes turf fibers to cling together.
Troubleshooting Common Installation Failures
- Visible Seams: Usually caused by cutting the turf off-manufacture (cutting between the stitch rows instead of counting exactly 3 stitches in from the edge). Always count stitches to ensure the gauge matches perfectly across the seam.
- Turf Ripples: Caused by insufficient base compaction or installing the turf on a cold day without allowing it to acclimate and expand in the sun before fastening.
- Pet Odor Buildup: Occurs when non-permeable weed barriers are used, or when the base lacks a 1% slope. For pet-heavy yards, use a permeable geotextile and Zeofill infill to manage ammonia gas.
By treating your artificial lawn installation as a structural engineering project rather than a simple landscaping task, you ensure a surface that remains flat, drains flawlessly, and mimics the aesthetic of natural grass for 15 to 20 years.

