
Lawn Care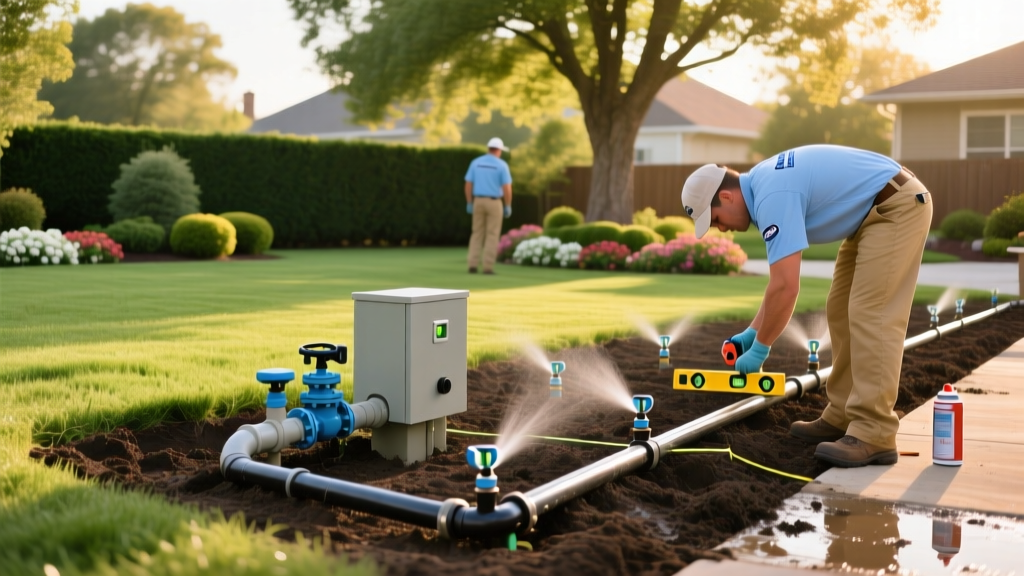
Irrigation Sprinkler Installation: Zone Mapping, Trenching, and Costs
Pre-Installation: Utility Locates and Hydraulic Baselines
Successful irrigation sprinkler installation begins long before the first trench is dug. The initial phase requires establishing your property's hydraulic baselines and securing utility clearances. Contact your local 811 utility locate service at least three to five business days before breaking ground. This free service marks underground gas, water, and electrical lines, preventing catastrophic damage and severe injury.
Next, determine your home's static water pressure and available flow rate. Attach a pressure gauge to an exterior hose bib to measure your static PSI (pounds per square inch). Most municipal water supplies deliver between 45 and 65 PSI. To measure your available flow rate in Gallons Per Minute (GPM), use a 5-gallon bucket and a stopwatch. Time how many seconds it takes to fill the bucket, then divide 300 by the number of seconds. If it takes 15 seconds to fill a 5-gallon bucket, your available flow rate is 20 GPM (300 / 15 = 20). This maximum GPM dictates how many sprinkler heads you can run simultaneously on a single zone.
Warning: Never design a zone that exceeds 80% of your measured available GPM. If your home supplies 20 GPM, limit each zone's total head output to 16 GPM to account for friction loss within the PVC pipes and valves.
Designing the Zone Layout and Hydrozoning
According to the EPA WaterSense program, grouping plants with similar water needs into distinct hydrozones reduces outdoor water waste by up to 30%. Do not mix full-sun turfgrass with shaded shrub beds on the same valve. Furthermore, separate rotor heads and spray heads into different zones; rotors apply water at a much slower rate (inches per hour) than traditional spray nozzles, meaning mixing them results in either underwatered rotors or flooded spray areas.
Selecting the Right Nozzles for GPM Efficiency
Traditional fixed spray nozzles (like the Rain Bird 15H or Hunter MP20) consume between 1.5 and 2.5 GPM per head. If you have a low-flow well system or restricted municipal GPM, switch to rotary nozzles like the Hunter MP Rotator or Rain Bird R-VAN. These multi-stream nozzles apply water at just 0.4 to 0.6 GPM per head, allowing you to place up to four times as many heads on a single zone while maintaining uniform precipitation rates.
| Pipe Diameter | Max Safe GPM | Velocity Limit (5 ft/s) | Best Application |
|---|---|---|---|
| 3/4 inch | 10 GPM | 7 GPM | Single lateral lines, drip zones |
| 1 inch | 16 GPM | 13 GPM | Standard residential zone laterals |
| 1.25 inch | 26 GPM | 21 GPM | Mainlines, large estate zones |
| 1.5 inch | 38 GPM | 30 GPM | Commercial mainlines, multi-valve manifolds |
Trenching and Mainline Routing Protocols
The Colorado State University Extension recommends trenching lateral lines between 8 and 12 inches deep. In regions with deep frost lines, the mainline (the pressurized pipe running from the backflow preventer to the valve manifolds) must be buried below the local frost depth—often 18 to 36 inches in northern climates—to prevent winter freeze fractures.
Bedding and Pipe Selection
Use Schedule 40 PVC for the mainline and valve manifolds due to its high burst pressure rating. For lateral lines extending from the valves to the sprinkler heads, Class 200 PVC or polyethylene pipe is acceptable and more forgiving of soil shifting. When laying PVC in rocky soil, bed the trench with 2 inches of masonry sand to prevent point-loads from sharp stones from cracking the pipe under hydrostatic pressure. Always use purple PVC primer and medium-body clear cement, holding the joint firmly for 15 seconds after insertion to prevent the pipe from pushing out of the fitting during the chemical weld.
Component Selection: Valves, Controllers, and Heads
Choosing the right hardware prevents the most common irrigation failure modes: low-head drainage and pressure misting.
- Valves: The Hunter PGV 100 or Rain Bird DV 100 (1-inch inline valves) are industry standards. If your valve manifold is located above ground or on a hill, you must use anti-siphon valves (like the Weathermatic 12000 series) to prevent backflow contamination.
- Sprinkler Heads: For sloped lawns, low-head drainage is a major issue where water drains out of the lowest sprinkler head after the zone shuts off. Specify heads with built-in check valves, such as the Rain Bird 1800-SAM or Hunter Pro-Spray PRS30 with Check Valve, which hold up to 10 feet of elevation head pressure.
- Pressure Regulation: If your static PSI exceeds 60, spray nozzles will mist and drift in the wind. Use pressure-regulating stem (PRS) bodies that cap the output at exactly 30 PSI at the nozzle, ensuring optimal droplet size and uniform coverage.
Smart Controller Comparison
Upgrading to an EPA WaterSense-certified smart controller adjusts watering schedules based on local evapotranspiration (ET) data. Below is a comparison of the two leading models for residential irrigation sprinkler installation:
| Feature | Rachio 3 (8-Zone) | Hunter Hydrawise Pro-C |
|---|---|---|
| Weather Intelligence | Automatic skips via local weather stations | Predictive ET adjustments via Hunter network |
| Wiring Compatibility | Standard 24VAC, requires indoor/covered mount | Standard 24VAC, NEMA 3R outdoor rated enclosure |
| Flow Meter Support | No native hardware support | Yes, integrates with Hunter flow sensors for leak detection |
| Average Retail Price | $229 - $249 | $280 - $320 (with Wi-Fi module) |
Cost Breakdown: DIY vs. Professional Installation
The financial outlay for irrigation sprinkler installation varies drastically based on labor, soil composition, and yard square footage. Below is a realistic cost matrix for a standard 5,000-square-foot residential lawn requiring 5 to 6 zones.
| Cost Category | DIY Installation | Professional Contractor |
|---|---|---|
| Materials (Pipe, Valves, Heads, Wire) | $800 - $1,200 | Included in total bid |
| Equipment Rental (Trencher, Pipe Puller) | $250 - $400 (weekend rate) | Included in total bid |
| Backflow Preventer & Permit Fees | $150 - $250 | $200 - $350 |
| Labor (Trenching, Gluing, Wiring, Tuning) | $0 (40-60 hours of your time) | $2,500 - $4,500 |
| Total Estimated Cost | $1,200 - $1,850 | $3,500 - $5,500 |
Winterization and Blowout Prep
If you live in a climate where temperatures drop below freezing, your irrigation sprinkler installation must include a dedicated blowout port. Install a tee fitting with a brass hose bib or a specialized blowout valve immediately downstream of the backflow preventer. This allows you to connect an air compressor (capable of 10-15 CFM at 50 PSI) to evacuate residual water from the lateral lines. Never exceed 80 PSI of air pressure when blowing out PVC lines, as the friction heat generated by compressed air can melt PVC fittings and warp sprinkler head seals.
Frequently Asked Questions
Can I connect my irrigation system directly to a garden hose?
Only for temporary, above-ground micro-irrigation or single-zone drip systems. Permanent underground irrigation sprinkler installation requires a hardline connection to the home's main water supply with an approved backflow prevention device to protect the municipal drinking water from fertilizer and soil contamination.
How deep should sprinkler wire be buried?
Low-voltage 24VAC irrigation wire does not require conduit, but it should be buried at least 6 inches deep. In practical application, laying the wire directly on top of the PVC pipe in the same trench provides natural protection and makes future troubleshooting significantly easier.

