
Lawn Care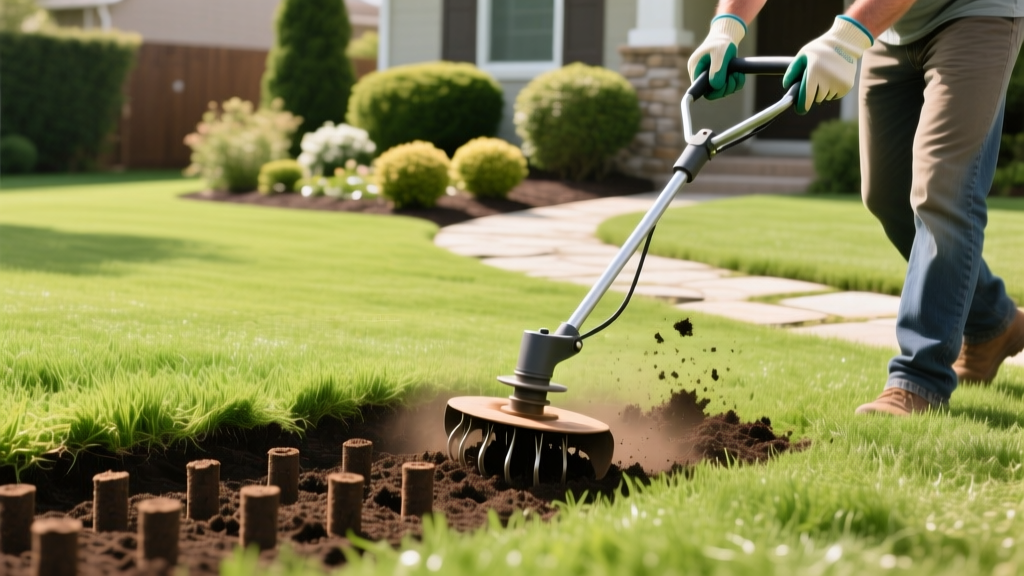
Do It Yourself Lawn Aeration: Core vs Spike Methods & Tool Guide
Identifying Soil Compaction: Does Your Lawn Actually Need Aeration?
Soil compaction restricts root growth, limits water infiltration, and starves turfgrass of oxygen. When soil bulk density exceeds 1.4 g/cm³ in clay soils or 1.6 g/cm³ in sandy soils, turfgrass roots physically cannot penetrate the soil profile. Before renting equipment or purchasing tools, you must confirm that compaction is the actual issue.
The 6-Inch Screwdriver Test
The most reliable field test for residential lawn compaction requires a standard 6-inch flathead screwdriver. Push the screwdriver into the soil at multiple locations across your lawn. If the metal shaft stops or meets severe resistance before reaching the 3-inch mark, your soil suffers from severe compaction and requires mechanical intervention. If it slides in easily to the handle, your soil structure is healthy, and surface issues may stem from thatch or nutrient deficiencies instead.
Warning: The Thatch vs. Compaction Trap
Many homeowners confuse a thick thatch layer (greater than 0.5 inches) with soil compaction. If your lawn feels spongy underfoot, you likely need dethatching, not aeration. Aerating through a thick thatch layer prevents the tines from reaching the soil, rendering the process useless.
Many homeowners confuse a thick thatch layer (greater than 0.5 inches) with soil compaction. If your lawn feels spongy underfoot, you likely need dethatching, not aeration. Aerating through a thick thatch layer prevents the tines from reaching the soil, rendering the process useless.
Core Aeration vs. Spike Aeration: The Technical Breakdown
When exploring do it yourself lawn aeration, you will encounter two primary mechanical methods: core (plug) aeration and spike aeration. Understanding the soil physics behind each is critical for selecting the right approach for your specific turf.
| Feature | Core (Plug) Aeration | Spike Aeration |
|---|---|---|
| Mechanism | Hollow tines extract 2-3 inch soil cores | Solid tines punch holes into the ground |
| Soil Displacement | Relieves compaction by removing mass | Displaces soil laterally, worsening compaction |
| Best Soil Type | Heavy clay and compacted loam | Sandy soils with minor surface crusting |
| Thatch Reduction | High (soil microbes break down thatch) | None |
| Long-Term Efficacy | 12 to 24 months | 2 to 4 weeks |
According to turfgrass researchers at Penn State Extension, spike aeration on heavy clay soils actually causes 'smearing'—the solid tines compress the surrounding soil laterally, creating a hardpan layer just below the surface. For 90% of residential lawns, core aeration is the only scientifically validated method for long-term compaction relief.
Equipment Selection: Renting vs. Buying for DIY Aeration
Professional-grade core aerators are heavy, gas-powered machines designed to pull hollow tines deep into the earth. The two industry-standard models you will find at rental yards are the Billy Goat PL1800H and the Ryan Ren-O-Thin.
The Weight Factor
The effectiveness of a core aerator is directly tied to its downward force. A standard walk-behind aerator weighs between 150 and 250 pounds. However, to pull 3-inch plugs from heavily compacted clay, the machine requires up to 350 pounds of downward pressure. Always utilize the machine's weight tray. Loading two 50-pound bags of Quikrete sand into the tray ensures the hollow tines penetrate to the necessary depth.
2026 Rental Cost Breakdown
Expect to pay between $85 and $120 for a 4-hour rental from major hardware stores or local equipment rental shops. Buying a commercial-grade Billy Goat aerator costs upwards of $4,500, making rental the only economically viable option for residential DIYers unless you plan to sub-contract to neighbors.
Expect to pay between $85 and $120 for a 4-hour rental from major hardware stores or local equipment rental shops. Buying a commercial-grade Billy Goat aerator costs upwards of $4,500, making rental the only economically viable option for residential DIYers unless you plan to sub-contract to neighbors.
Manual and Tow-Behind Alternatives
If you are on a strict budget or have a very small yard (under 1,000 square feet), manual step-aerators or tow-behind models exist. Manual aerators (like the Yard Butler Lawn Coring Aerator) cost around $45 but require immense physical exertion. Tow-behind models (like the Agri-Fab 40-inch plug aerator, priced around $180) require a riding mower and the addition of concrete blocks for weight, but they struggle to penetrate dry, hard clay compared to motorized walk-behind units.
Step-by-Step Execution: The 48-Hour DIY Aeration Protocol
Proper preparation dictates the success of your aeration. Attempting to aerate dry, rock-hard soil will result in bent tines and shallow, ineffective holes.
Day -1: Moisture Calibration
The soil must be at field capacity—moist, but not saturated. Apply exactly 1 inch of water via your irrigation system or a sprinkler 24 hours before aeration. If the soil is too dry, the tines will bounce off the surface. If the soil is muddy and saturated, the extracted cores will turn into sludge and clog the hollow tines, and you risk tearing the turfgrass root system.
Day 0: Execution and Overlap
- Mark Utilities: Use bright orange flagging tape to mark all shallow sprinkler heads, valve boxes, and invisible dog fence lines. Hitting a sprinkler head with a 250-pound aerator will shatter the PVC piping.
- First Pass: Drive the aerator in straight lines across the lawn, mimicking your standard mowing pattern.
- Second Pass: Make a second pass at a 45-degree angle to the first. The goal is to achieve a plug density of roughly 15 to 20 holes per square foot, with plugs spaced 2 to 4 inches apart.
- Leave the Plugs: Do not rake or collect the extracted soil cores. Allow them to dry and break down naturally over the next two weeks. As they dissolve, the soil microbes within the plugs will migrate into the thatch layer and accelerate its decomposition.
Day +1: Post-Aeration Fertilization
The holes created by the aerator provide a direct conduit to the root zone. According to Michigan State University Extension, applying fertilizer immediately after aeration increases nutrient uptake efficiency by up to 30%. Apply a high-quality, slow-release fertilizer at a rate of 1.0 lb of Nitrogen per 1,000 square feet. A 20-0-10 or 24-0-10 NPK ratio with methylene urea or sulfur-coated urea is ideal for this application.
Timing Your Aeration by Grass Type
Aerating at the wrong time of year can invite weed invasion and stress the turf during dormancy. You must align your aeration schedule with your grass's peak growing season to ensure rapid recovery.
| Grass Category | Common Varieties | Optimal Aeration Window | Recovery Time |
|---|---|---|---|
| Cool-Season | Kentucky Bluegrass, Tall Fescue, Perennial Ryegrass | Late August to Late September | 14 to 21 days |
| Warm-Season | Bermudagrass, Zoysia, Centipede, St. Augustine | Late May to Early July | 10 to 14 days |
For cool-season lawns, early fall aeration coincides with the natural root-growth surge and provides an ideal seedbed if you plan to overseed immediately after. For warm-season lawns, waiting until the soil temperature consistently reaches 65°F at a 2-inch depth ensures the grass is actively growing and can heal the mechanical damage caused by the tines.
Overseeding Synergy
If your lawn suffers from thinning or bare patches, combine core aeration with overseeding. Drop your grass seed immediately after the second aeration pass. The seeds will fall into the aeration holes, establishing direct seed-to-soil contact and protecting the seedlings from drying winds and foraging birds. Water the lawn lightly twice daily for 14 days to maintain surface moisture until germination is complete.

