
Lawn Care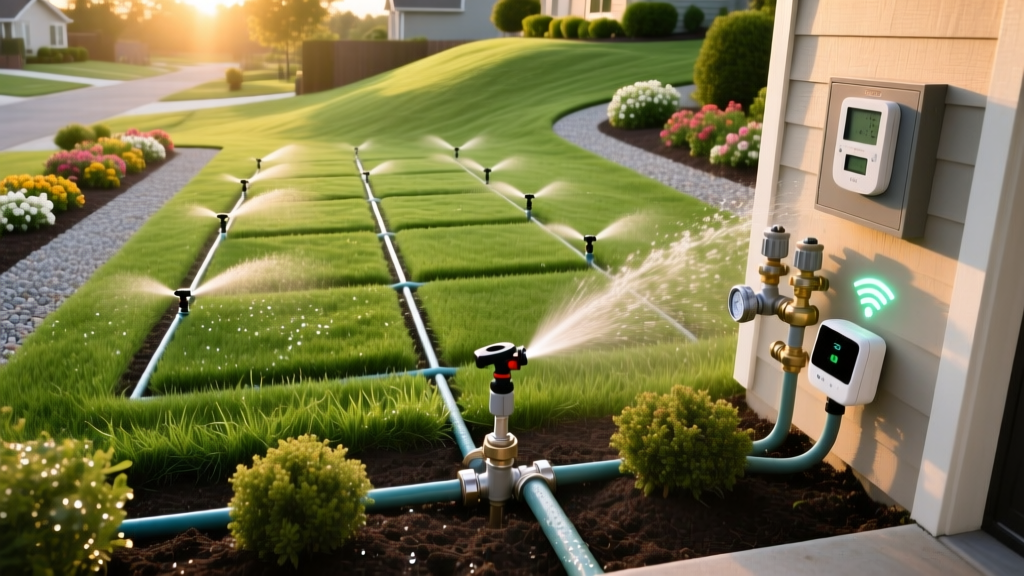
Complete Lawn Irrigation Installation Guide: Zones, Parts, and Costs
A successful lawn irrigation installation hinges on hydraulic math, not just digging trenches. Most DIY system failures stem from overloading a single zone, resulting in low-pressure misting, uneven distribution, and dry brown patches. According to EPA WaterSense, improperly designed systems can waste up to 50% of the water they apply due to wind drift, evaporation, and runoff. This guide details the exact hydraulic calculations, component selections, and trenching protocols required to build a professional-grade underground sprinkler system from scratch.
Pre-Installation: Mapping Your Lawn and Water Pressure
Before buying a single pipe or sprinkler head, you must determine your water source's static pressure (measured in PSI) and dynamic flow rate (measured in Gallons Per Minute, or GPM). These two metrics dictate the absolute maximum size of your system.
Testing Static Pressure (PSI)
Attach a standard irrigation pressure gauge to your main outdoor hose bib. Ensure no other water sources in the house are running (showers, washing machines, dishwashers). Turn the spigot on fully. Most municipal water supplies deliver between 45 and 65 PSI. If your pressure exceeds 75 PSI, you must install a pressure regulator at the main shut-off valve to prevent blown sprinkler seals and pipe joint failures.
Testing Dynamic Flow Rate (GPM)
Your flow rate determines how many sprinkler heads can operate simultaneously on a single zone.
The 5-Gallon Bucket Test:
1. Place a 5-gallon bucket under your hose bib.
2. Turn the spigot on fully and start a stopwatch.
3. Stop the watch the moment the bucket is full.
4. Calculate GPM: Divide 300 by the number of seconds it took. (e.g., 300 / 30 seconds = 10 GPM).
Rule of Thumb: Never design a zone that exceeds 80% of your total available GPM to account for pressure loss through pipes and valves.
1. Place a 5-gallon bucket under your hose bib.
2. Turn the spigot on fully and start a stopwatch.
3. Stop the watch the moment the bucket is full.
4. Calculate GPM: Divide 300 by the number of seconds it took. (e.g., 300 / 30 seconds = 10 GPM).
Rule of Thumb: Never design a zone that exceeds 80% of your total available GPM to account for pressure loss through pipes and valves.
Designing the Zone Layout (The 80% Rule)
A zone is a group of sprinkler heads controlled by a single valve. The most critical rule in lawn irrigation installation is never to mix different types of sprinkler heads on the same zone, and never to exceed 80% of your available GPM per zone.
If your bucket test yielded 10 GPM, your maximum zone capacity is 8 GPM. If you choose Hunter PGP-Ultra rotors that consume 2.5 GPM each at 45 PSI, you can install exactly three rotors per zone (7.5 GPM total). Attempting to add a fourth head will drop the system pressure below the rotor's operating threshold, causing the streams to collapse into a fine mist that evaporates before hitting the turf.
| Head Type | Model Example | Operating PSI | Avg. GPM | Best Application |
|---|---|---|---|---|
| Fixed Spray | Rain Bird 15FQ | 30 PSI | 1.5 - 2.0 | Small strips, tight corners |
| Gear-Driven Rotor | Hunter PGP-Ultra | 45 PSI | 2.0 - 3.5 | Large open lawns (20-35ft radius) |
| Multi-Stream Rotary | Hunter MP800 | 40 PSI | 0.4 - 0.6 | Clay soils, low-flow zones, slopes |
Essential Components and Current Pricing Breakdown
Building a 4-zone system for a standard 5,000-square-foot lawn requires specific commercial-grade or high-end residential components. Avoid big-box store contractor packs, which often include brittle poly-pipe and low-flow valves that degrade within three years.
- Smart Controller: The Irrigation Association strongly recommends Weather-Based Irrigation Controllers (WBIC). The Rachio 3 (8-Zone) retails for roughly $230 and uses hyper-local weather data to automatically skip watering during rain events, saving an average of 30% on water bills.
- Valves: Use 1-inch Hunter PGV or Rain Bird DV valves (approx. $18 each). These feature flow-control knobs and bleed screws for easy manual testing.
- Valve Box: Standard 12-inch rectangular plastic valve box ($25). Always lay a 2-inch bed of crushed gravel at the bottom for drainage to prevent the solenoids from sitting in standing water.
- Piping: 1-inch Schedule 40 PVC for the mainline and lateral lines ($0.65 per foot). For the connection from the valve to the sprinkler head (the 'swing joint'), use 1/2-inch funny pipe ($0.30 per foot).
- Backflow Preventer: A Pressure Vacuum Breaker (PVB) like the Watts 007MDC ($135). This is legally required in almost all municipalities to prevent contaminated lawn water from siphoning back into your home's drinking water supply.
Trenching and Pipe Assembly Step-by-Step
The physical installation phase requires precise depth management and solvent welding techniques.
- Mark the Layout: Use marking paint to outline the trench routes. Sprinkler heads should be spaced at exactly the distance of their spray radius to achieve 'head-to-head' coverage. If a rotor throws 30 feet, the next rotor must be placed exactly 30 feet away.
- Dig the Trenches: Trenches must be 8 to 12 inches deep. This depth protects the PVC from surface aeration spikes and provides minor frost protection. For a 5,000 sq ft lawn, renting a walk-behind trencher (approx. $150/day) will save you 20 hours of manual labor with a trenching shovel.
- Glue the PVC: Use a two-step solvent welding process. Apply purple primer to both the pipe exterior and the fitting interior to soften the PVC. Immediately follow with a heavy coat of clear PVC cement (e.g., Weld-On 711). Push the pipe into the fitting and give it a quarter-turn to distribute the cement. Hold for 15 seconds. Warning: PVC cement cures in 15 minutes but requires 2 hours to reach full pressure-holding strength before testing.
- Install Swing Joints: Do not glue rigid PVC directly to the sprinkler body. Attach a 1/2-inch funny pipe swing joint to the lateral line. This flexible pipe acts as a shock absorber; if a car drives over the sprinkler head or the ground shifts during a freeze-thaw cycle, the funny pipe bends rather than snapping the PVC fitting.
Common Installation Mistakes to Avoid
"The number one callback we get for DIY system repairs is mixing rotary nozzles and fixed spray heads on the same zone. The sprays put down water four times faster than the rotors, meaning the zone either floods the spray areas or starves the rotary areas."
Mistake 1: Ignoring Sun and Shade Microclimates. Grouping a fully shaded backyard zone and a sun-baked front yard zone on the same controller program will result in overwatering the shade (inviting fungal diseases like brown patch) and underwatering the sun. Always separate sun and shade areas into distinct zones.
Mistake 2: Poor Head-to-Head Coverage. Many homeowners space sprinklers 40 feet apart using 30-foot rotors to save money on heads and trenches. This creates 'donuts' of dry grass between the heads. Sprinkler systems rely on overlapping precipitation; the edge of the spray pattern must reach the adjacent sprinkler body.
Final System Flush and Controller Programming
Before screwing the nozzles into the sprinkler bodies, you must flush the system. Turn on the main water supply and manually open each valve one by one using the bleed screw. Let the water run through the open PVC pipes for 60 seconds per zone. This blows out dirt, PVC shavings, and rocks that entered the pipes during trenching. If you skip this step, debris will instantly clog the microscopic filters inside the sprinkler nozzles.
Once flushed, install the nozzles and program the smart controller. Set the root depth to 6 inches, the soil type to your local composition (clay, loam, or sand), and the slope gradient. The smart controller will automatically calculate the exact run times and utilize 'cycle and soak' programming—breaking a 20-minute watering session into two 10-minute cycles to allow heavy clay soils to absorb the water without generating surface runoff.