
Lawn Care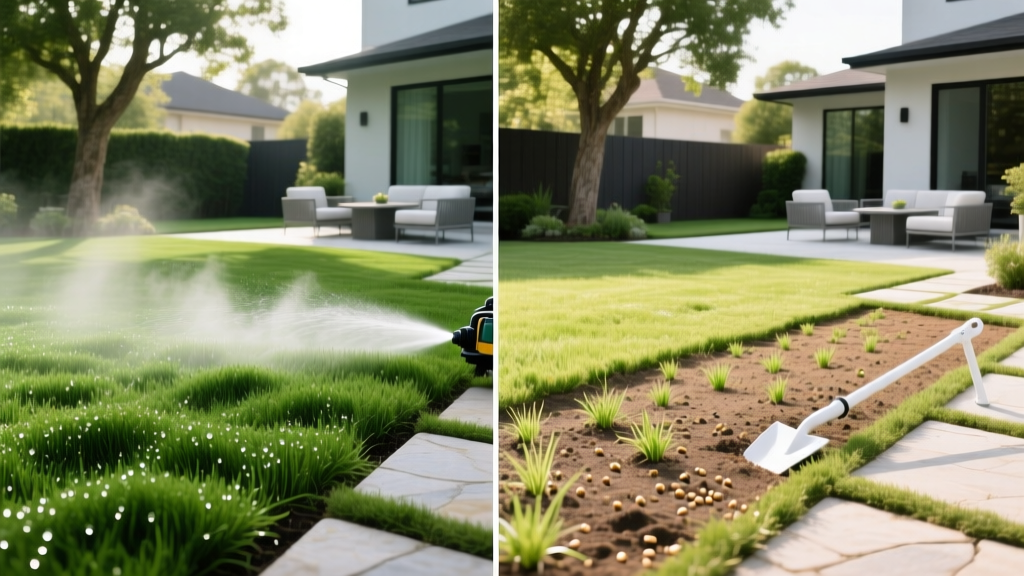
Does Spray On Lawn Seed Work? Hydroseeding vs Dry Seeding
The Reality of Spray-On Lawn Seed (Hydroseeding Explained)
The concept of spray on lawn seed—technically known as hydroseeding—has dominated social media and home improvement aisles. The premise is highly appealing: attach a canister to your garden hose, spray a vibrant green liquid over bare dirt, and watch a lush lawn emerge in days. However, the efficacy of this method depends entirely on whether you are using a professional truck-mounted hydroseeder or a consumer-grade DIY hose-end kit.
Professional hydroseeding utilizes a slurry of premium seed, 100% wood fiber or Bonded Fiber Matrix (BFM) mulch, starter fertilizer, and industrial tackifiers. Consumer DIY spray on lawn seed kits (such as Hydro Mousse or similar generic brands) typically rely on recycled paper mulch, a temporary green tracking dye, and fast-germinating perennial ryegrass. According to turfgrass researchers at the University of Nebraska-Lincoln Turfgrass Science program, seed-to-soil contact and moisture retention are the primary drivers of germination success. While DIY spray kits excel at moisture retention, they often fall short on long-term turf viability compared to traditional methods if not applied with precise soil preparation.
Cost & Performance Matrix: Spray Kits vs. Professional vs. Dry Seed
Before purchasing a spray on lawn seed kit, evaluate the financial and labor trade-offs. The pricing below reflects 2026 market averages for a standard 1,000 square foot area.
| Establishment Method | Cost per 1,000 sq ft | Labor Intensity | Germination Speed | Slope Erosion Control |
|---|---|---|---|---|
| DIY Spray-On Kits | $60 - $90 | Low (Hose attachment) | 5 - 9 Days | Moderate (Paper mulch) |
| Professional Hydroseeding | $120 - $200 | None (Contractor) | 7 - 14 Days | Excellent (BFM/Tackifier) |
| Traditional Dry Seed + Straw | $25 - $45 | High (Spreading & raking) | 7 - 21 Days | Poor (Straw blows away) |
While DIY spray kits are more expensive per square foot than broadcasting dry seed, they eliminate the physical labor of raking in seed and spreading straw. However, they are rarely cost-effective for entire lawn renovations exceeding 2,500 square feet.
Step-by-Step Application Guide for DIY Spray Kits
The most common failure mode with spray on lawn seed is applying it directly over compacted, unprepared soil. The mulch in the slurry cannot penetrate hard clay; it will simply dry into a crust and blow away. Follow this exact protocol to ensure establishment.
⚠️ WARNING: The Green Dye Illusion
Consumer kits use a biodegradable green dye to help you track your spray pattern. This dye will fade and turn brown within 48 to 72 hours. This is normal and indicates the paper mulch is curing. Do not assume the seed has died or washed away when the green color vanishes.
- Soil Scarification: Use a heavy-duty steel lawn rake or a mechanical dethatcher to scratch the top 1/4 inch of bare soil. This breaks the surface tension and creates micro-furrows for the seed to settle into.
- Slurry Agitation: Shake the DIY canister vigorously for 60 seconds before attaching it to the hose. The heavy seed and tackifier settle at the bottom of the container during shipping.
- Application Technique: Spray using a steady, sweeping motion overlapping each pass by 50%. Hold the nozzle 3 to 4 feet above the ground to ensure an even distribution of the mulch matrix.
- Edge Locking: Pay special attention to the perimeter of the sprayed area. Apply a slightly heavier coat of slurry along the edges to act as a structural dam, preventing the mulch from washing into adjacent beds or driveways during heavy rain.
Germination Timelines and the Critical Watering Protocol
Once the spray on lawn seed is applied, the mulch acts as a sponge. Your watering strategy must shift from traditional deep-root watering to frequent, shallow micro-irrigation. The UMass Amherst Center for Agriculture, Food and the Environment emphasizes that newly germinated turfgrass seedlings lack the root mass to access deep soil moisture and will perish within hours if the surface dries out.
The 21-Day Watering Schedule
- Days 1-10 (Pre-Germination): Water 3 to 4 times daily for 5 to 10 minutes per zone. The goal is to keep the top 1 inch of the mulch matrix consistently damp, but never pooling or soggy. Avoid watering in the late evening to prevent fungal damping-off disease.
- Days 11-18 (Early Growth): Reduce frequency to 2 times daily, but increase the duration to 15 minutes. This encourages the emerging roots to stretch slightly deeper into the soil profile.
- Days 19-21 (Establishment): Transition to a standard deep-watering schedule: 1 inch of water per week, applied in 1 or 2 heavy sessions to build drought tolerance.
Troubleshooting Common Failure Modes
Even with perfect application, environmental variables can disrupt the establishment of spray on lawn seed. Here is how to diagnose and correct the three most frequent issues.
1. Hydrophobic Crusting
Symptom: The mulch dries into a hard, paper-like shell, and seedlings are trapped underneath, unable to penetrate the surface.
Cause: Under-watering during high-wind or high-heat days causes the paper mulch to bake and seal.
Fix: Lightly mist the area with a hose nozzle set to 'shower' to soften the crust. Do not use a jet stream, which will displace the seed. Once softened, the seedlings will push through naturally.
2. Hydraulic Washout
Symptom: Bare streaks or gullies appear in the sprayed area after a rainstorm.
Cause: Heavy rainfall occurred before the tackifier (the glue-like substance in the kit) had time to cure. Most DIY tackifiers require 24 hours of dry weather to bond to the soil.
Fix: Allow the area to dry completely, re-rake the gullies, and apply a secondary patch kit specifically to the washed-out channels.
3. Bird Predation
Symptom: Seeds are visibly missing from the mulch matrix, often accompanied by small peck marks.
Cause: While the mulch hides most seeds, birds are attracted to the moisture and will forage in the slurry.
Fix: If bird pressure is high in your region, lay biodegradable jute netting over the sprayed area immediately after application. The jute will decompose into the soil within one season.
Expert Verdict: When to Choose Spray-On Seed
Spray on lawn seed is not a universal replacement for traditional turf establishment, but it is a highly specialized tool for specific landscaping scenarios. It is the superior choice for repairing localized bare spots caused by dog urine or heavy foot traffic, and it is vastly superior to dry seeding on slopes graded between 10% and 20%, where straw and loose seed would immediately slide into drainage ditches.
For full-yard renovations on flat terrain, traditional dry seeding combined with a thin layer of compost remains the most economically viable and genetically diverse option. Reserve DIY spray kits for targeted patch repairs, erosion-prone inclines, and areas where physical raking is impractical.
By understanding the chemical makeup of the slurry and adhering to a strict micro-irrigation schedule, homeowners can leverage the convenience of hydroseeding technology to achieve professional-grade turf establishment in their own backyards.

