
Lawn Care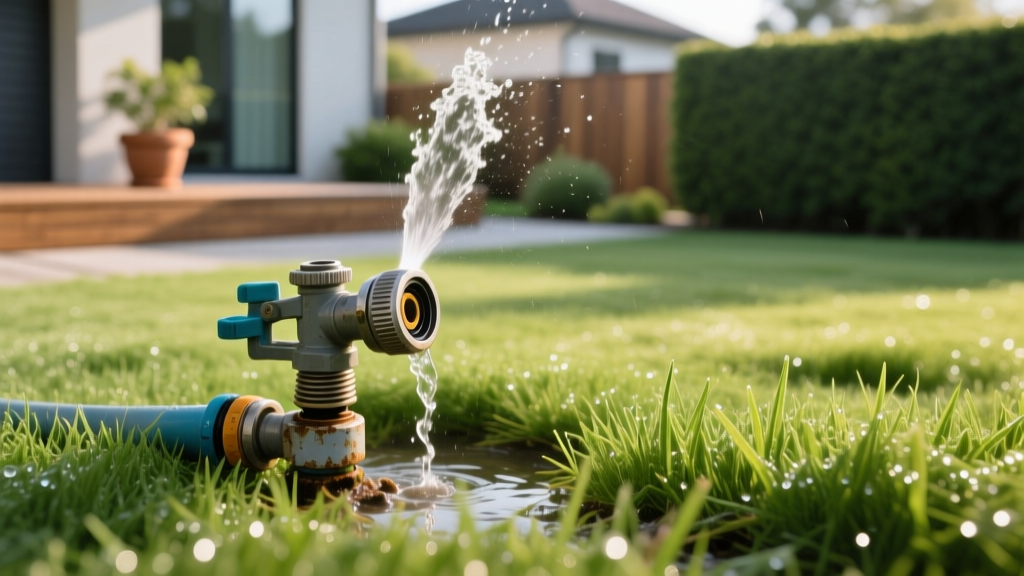
Sprinkler Head Repair Guide: Fix Leaks, Geysers and Low Pressure
The Diagnostic Matrix: Identify Your Sprinkler Failure
Before digging up your lawn, accurately diagnose the failure mode. Misdiagnosing a zone pressure issue as a broken head leads to unnecessary parts and wasted labor. Use this matrix to pinpoint the exact root cause of your irrigation failure.
| Symptom | Root Cause | Exact Fix |
|---|---|---|
| Geyser (water shooting 5+ feet straight up) | Missing nozzle or stripped riser threads | Replace nozzle and internal filter screen; inspect riser threads. |
| Low pressure on a single head | Clogged 40-mesh filter screen or debris in nozzle | Extract and rinse filter screen; flush the line before reinstalling. |
| Low pressure across the entire zone | Underground leak in the lateral line or zone valve failure | Check valve diaphragm; probe soil for saturated areas between heads. |
| Water pooling around base when off | Failing wiper seal or sunken head trapping runoff | Replace pop-up stem/wiper seal assembly; raise head with a swing joint. |
| Head won't pop up fully | Grass roots binding the stem or low static pressure | Clear thatch from around the body; check zone precipitation rate. |
Essential Tools and Specific Replacement Parts
Generic hardware store kits often lack the specific components required for modern irrigation systems. According to EPA WaterSense outdoor watering guidelines, maintaining proper distribution uniformity requires matching exact nozzle specifications. Here is the professional-grade toolkit and parts list for a standard 4-inch pop-up repair.
The Toolkit
- 4-Inch Trenching Spade: Do not use a standard round-point shovel. A narrow trenching spade (like the Bully Tools 50-006) minimizes turf damage and prevents severing the 1/2-inch polyethylene 'funny pipe' feeding the head.
- Needle-Nose Pliers: Required for extracting the internal cylindrical filter screen without cracking the plastic housing.
- PVC Pipe Cutter or Hacksaw: For trimming damaged risers.
- Thread Sealant: Avoid standard white PTFE (Teflon) tape on plastic irrigation threads. Tape acts as a wedge and frequently cracks the female PVC fitting. Use a non-hardening pipe thread sealant (like Oatey Great White) or rely on the rubber O-ring gasket if using a swing joint.
Recommended Replacement Bodies (2026 Pricing)
- Hunter Pro-Spray PRS30: ($12 - $15) Features a built-in pressure regulator that caps output at 30 PSI, preventing misting and fogging in high-pressure municipal water systems.
- Rain Bird 1800 Series: ($8 - $11) The industry standard for durability. The 1800-SAM model includes a Seal-A-Matic check valve to prevent low-head drainage on sloped properties.
CRITICAL WARNING: The MP Rotator Run-Time Trap
If you are upgrading from standard spray nozzles to Hunter MP Rotators or Rain Bird R-VANs to improve efficiency, you must increase your zone run time. Standard sprays apply water at roughly 1.5 inches per hour, while rotary nozzles apply at 0.4 inches per hour. Failing to triple your controller run time will result in severe underwatering, even though the head is technically 'fixed' and operating perfectly.
If you are upgrading from standard spray nozzles to Hunter MP Rotators or Rain Bird R-VANs to improve efficiency, you must increase your zone run time. Standard sprays apply water at roughly 1.5 inches per hour, while rotary nozzles apply at 0.4 inches per hour. Failing to triple your controller run time will result in severe underwatering, even though the head is technically 'fixed' and operating perfectly.
Step-by-Step: Replacing a Broken Pop-Up Body
When a mower runs over a sprinkler head, the PVC riser or the body itself usually cracks. Follow this sequence to replace the assembly without damaging the lateral line.
- Excavate Safely: Insert your trenching spade 6 inches away from the head in a circular pattern. Gently pry the soil outward. Never step on the shovel near the head, as the lateral force will snap the rigid PVC riser below ground.
- Expose the Connection: Clear dirt until you see the connection point. Most modern systems use a 'swing joint' (a threaded PVC elbow with a rubber O-ring) or 'funny pipe' (1/2-inch black polyethylene tubing with a barbed insert fitting).
- Disconnect the Body: For swing joints, unscrew the body counter-clockwise by hand. For funny pipe, use a flathead screwdriver to loosen the stainless steel hose clamp, then twist and pull the body off the barbed fitting.
- Flush the Line: Before installing the new head, briefly turn on the zone manually from the controller to blast out any soil or debris that entered the open pipe. Warning: Stand clear, as this will create a temporary geyser.
- Install and Align: Thread the new Hunter or Rain Bird body onto the swing joint. Hand-tighten, then use channel-lock pliers for exactly one-quarter turn past hand-tight. Do not overtighten.
- Backfill and Tamp: Push the soil back into the trench. Ensure the top of the sprinkler cap is exactly flush with the soil grade—not sitting on top of the grass, and not sunken in a dirt pit.
Fixing Low Pressure: The Hidden Filter Screen
If a single head is barely popping up or throwing a weak, distorted stream while the rest of the zone operates normally, the issue is rarely a broken pipe. It is almost always a clogged filter screen. Debris from municipal water main breaks or deteriorating well pumps travels through the lateral lines and gets trapped in the head's internal filter.
The Extraction Process
You do not need to dig up the body to clean the screen. Use a specialized nozzle tool or small needle-nose pliers to grip the top of the existing nozzle and twist counter-clockwise. Once the nozzle is removed, look inside the riser. You will see a small, cylindrical plastic mesh screen (usually blue or black). Pull it straight up. Rinse it with a hose, reinsert it, and thread the nozzle back on. According to University of Minnesota Extension turf management protocols, checking these filters annually during spring startup prevents 80% of localized dry-spot complaints.
Cost & Time Matrix: DIY vs. Professional Repair
Understanding the financial breakdown helps you decide whether to tackle the repair yourself or hire a licensed irrigation contractor. Prices reflect average 2026 material and labor rates.
| Repair Scenario | DIY Material Cost | DIY Time Investment | Professional Service Cost |
|---|---|---|---|
| Single Head Replacement (Swing Joint) | $12 - $18 | 30 - 45 Minutes | $85 - $125 (Minimum service call fee) |
| Nozzle & Filter Screen Cleaning | $0 - $5 | 10 Minutes | $65 - $95 (Hourly diagnostic rate) |
| Broken Lateral Line (PVC Glue Repair) | $15 - $30 | 1.5 - 2 Hours | $250 - $400 (Includes excavation and backfill) |
| Complete Zone Valve Diaphragm Rebuild | $18 - $25 | 45 Minutes | $120 - $175 |
Frequently Asked Questions
Why does my sprinkler head leak water even when the system is completely off?
This is known as 'low-head drainage.' If your sprinkler head is located at the bottom of a slope, the water remaining in the lateral line slowly drains out of the lowest head due to gravity. To fix this, replace the standard body with a model featuring a built-in check valve, such as the Rain Bird 1800-SAM or Hunter Pro-Spray with Check Valve, which holds up to 10 feet of head pressure to prevent weeping.
Can I use PVC primer and glue to fix a cracked sprinkler body?
No. Sprinkler bodies are typically made of ABS plastic or specialized polymers that do not bond well with standard PVC cement. Furthermore, the stress of soil shifting and mower impacts will quickly break a glued joint. Always use threaded connections or barbed insert fittings with hose clamps to allow for flex and future maintenance.
How deep should the trench be when digging around a sprinkler head?
You only need to dig deep enough to expose the connection point, which is usually 8 to 12 inches below the surface. Digging deeper risks severing the main lateral line, which operates under constant pressure and will cause massive flooding if cut. Stop digging as soon as you see the black funny pipe or the white PVC swing joint elbow.

