
Lawn Care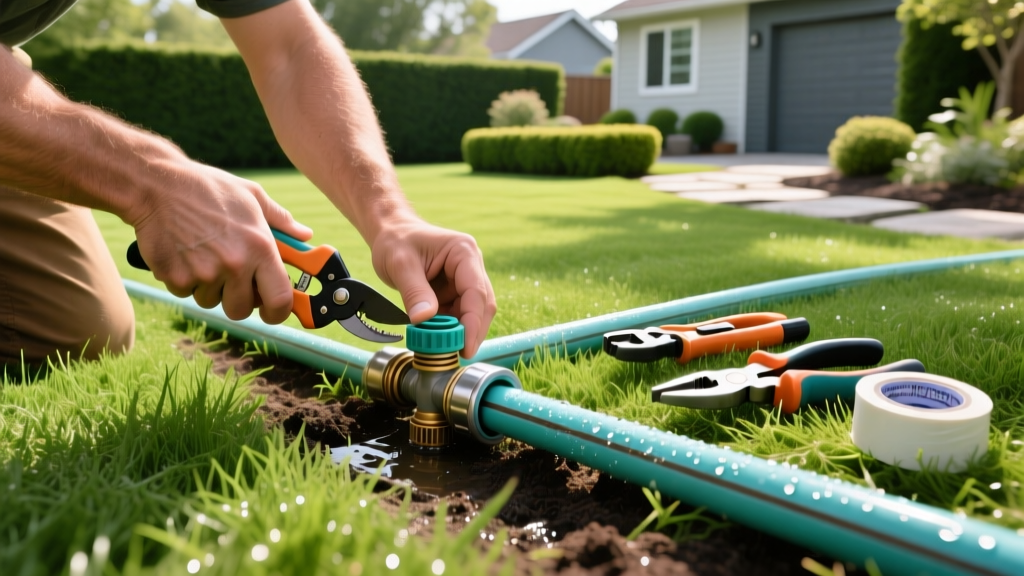
DIY Sprinkler Line Repair: Fixing PVC and Poly Pipe Leaks
Unexplained soggy spots in your yard, a sudden drop in zone water pressure, or a geyser erupting from a sprinkler head usually point to a compromised underground irrigation pipe. According to the EPA WaterSense program, a single leak in a pressurized lateral line can waste thousands of gallons of water per month while simultaneously drowning your turf and promoting fungal diseases like brown patch.
Performing a DIY sprinkler line repair is highly achievable for most homeowners. Whether your system utilizes rigid Schedule 40 PVC or flexible polyethylene (poly) tubing, fixing a break requires understanding pipe sizing, proper joint preparation, and pressure-rated materials. This guide provides exact material specifications, step-by-step repair protocols, and diagnostic frameworks to get your irrigation system back online without calling a contractor.
Diagnosing the Leak: Symptom vs. Root Cause Matrix
Before digging, confirm that the leak is actually in the lateral line. Many homeowners mistakenly dig up pipes when the issue is a failing valve diaphragm or a cracked sprinkler housing. Use this diagnostic matrix to isolate the failure point.
| Observed Symptom | Likely Root Cause | Required Repair Action |
|---|---|---|
| Geyser at sprinkler head | Broken riser or stripped swing joint threads | Replace riser, apply PTFE thread seal tape |
| Soggy lawn when system is OFF | Leaking zone valve diaphragm or debris in valve | Clean valve body or replace diaphragm kit |
| Soggy lawn ONLY when zone is ON | Cracked lateral PVC or Poly pipe | Excavate and use slip-fix or insert coupling |
| Low pressure across entire zone | Partial pipe collapse, root intrusion, or massive leak | Replace damaged pipe section, check mainline |
Essential Tools and Materials for Sprinkler Line Repair
Underground irrigation lateral lines typically operate between 40 and 80 PSI. Standard hardware store hose clamps and silicone repair tapes will fail under this constant pressure. You must use pressure-rated irrigation components.
PVC vs. Polyethylene Repair Materials
| Material Type | Pipe Characteristics | Required Fittings & Adhesives | Average Cost |
|---|---|---|---|
| Schedule 40 PVC | Rigid, white pipe, glued joints, handles up to 280 PSI | PVC Slip-Fix, Oatey Purple Primer, Medium-Bodied PVC Cement | $15 - $25 per repair |
| Class 200 PVC | Thinner wall, flexible, handles up to 200 PSI | Expansion coupling, Oatey Primer, Medium-Bodied PVC Cement | $12 - $20 per repair |
| Polyethylene (Poly) | Flexible black tubing, no glue, handles 50-80 PSI | Barbed insert fittings, Stainless steel hose clamps (Size #10 or #14) | $8 - $15 per repair |
⚠️ CRITICAL WARNING: Never use duct tape, Flex Seal, or silicone wrap on pressurized underground sprinkler lines. These products are designed for low-pressure, gravity-fed plumbing and will instantly blow off when your irrigation pump or municipal supply pushes 60+ PSI through the lateral line.
Step-by-Step PVC Sprinkler Line Repair
PVC is the most common material for modern irrigation systems. Because PVC is rigid, repairing a break in the middle of a trench is notoriously difficult—you cannot easily bend the pipe to slide a standard coupling over the ends. The solution is an expansion coupling, commonly known by the brand name Toro Slip-Fix.
1. Excavation and Pipe Preparation
Dig a hole roughly 18 inches long and 12 inches wide around the break. You need enough lateral space to maneuver a PVC cutter and your hands. Drain any standing water from the trench using a sponge or wet-dry vac. Use a clean rag to wipe away all mud and debris from the pipe. PVC cement will not adhere to wet or dirty surfaces.
2. Cutting and Dry-Fitting the Slip-Fix
Using a ratcheting PVC pipe cutter (which ensures a perfectly square cut without creating plastic burrs), cut out the damaged section of the pipe. Measure the exact gap. A standard Toro Slip-Fix expands from 6 inches to 11 inches. Dry-fit the slip-fix into the gap to ensure it sits flush without putting excessive lateral tension on the surrounding pipe.
3. Priming and Cementing (The 30-Second Rule)
Apply a generous coat of Oatey Purple Primer to the outside of the existing pipe ends and the inside of the slip-fix sockets. The primer softens the PVC and creates a chemical welding surface. Immediately apply a uniform layer of Oatey Medium-Bodied PVC Cement over the primed areas. Push the slip-fix onto the pipe, giving it a quarter-turn to distribute the cement. Hold it firmly for 30 seconds to prevent the pipe from pushing back out due to hydraulic pressure.
Expert Tip: The Penn State Extension recommends waiting at least two hours for the solvent weld to fully cure before repressurizing the system. Turning the water on too soon can cause the joint to blow apart under 60 PSI of municipal water pressure.
Fixing Polyethylene (Poly) Irrigation Lines
Poly pipe is highly prevalent in regions with heavy clay soil or extreme freeze-thaw cycles because its flexibility prevents cracking. Repairing poly pipe is significantly easier than PVC since it requires no chemical solvents.
- Cut the Pipe: Use a sharp utility knife or a dedicated poly-pipe cutter to remove the crushed or split section. Ensure the cut is perfectly straight; angled cuts will compromise the seal on the barbed fitting.
- Insert the Barbed Fitting: Push a poly insert coupling (such as a Watts 3/4' or 1' barbed coupling) into both ends of the pipe. If the poly pipe is stiff from cold weather, dip the pipe ends in hot water for 30 seconds to soften and expand the plastic.
- Secure with Stainless Steel Clamps: Slide two stainless steel hose clamps (Size #10 for 3/4' pipe, Size #14 for 1' pipe) over each joint. Position them in opposite directions to ensure uniform compression. Tighten the clamps using a 5/16' nut driver until the plastic slightly bulges around the barbed ridges.
Pressure Testing and Proper Backfilling
Do not immediately bury the repair. Turn on the specific zone manually from your irrigation controller. Let the system run for 10 minutes at full pressure. Inspect the slip-fix joints or poly clamps for micro-drips. If a PVC joint is weeping, the solvent weld has failed; you must cut it out and start over. There is no patching a failed PVC glue joint.
Once confirmed leak-free, backfill the hole. Do not throw large rocks or compacted clay directly onto the repaired pipe. First, add a 2-inch layer of loose topsoil or sand to cushion the pipe, then fill the remainder of the hole and tamp it down to prevent future settling.
When to Call a Professional Irrigation Contractor
While lateral line repairs are straightforward DIY projects, certain scenarios require professional equipment and expertise:
- Mainline Breaks: If the leak is located on the mainline (the pipe running from the water meter/backflow preventer to the zone valves), it is under constant municipal pressure. Repairing this requires shutting off the home's main water supply and often dealing with 1.5' to 2' Schedule 80 PVC.
- Under-Hardscape Leaks: If a leak is suspected beneath a concrete driveway or patio, professionals use acoustic leak detectors and pipe-thrusting equipment to tunnel under the concrete without destroying your hardscaping.
- System-Wide Pressure Drops: If multiple zones are failing and no visible leaks are present, you may have a failing pressure regulator or a compromised backflow preventer, which requires a licensed plumber to service in many municipalities.
For comprehensive system schematics and advanced troubleshooting guides, the Rain Bird Resource Center offers extensive documentation on valve manifolds and mainline configurations. By correctly identifying your pipe material and using pressure-rated repair fittings, you can restore your lawn's irrigation efficiency and protect your landscape from water damage.

