
Lawn Care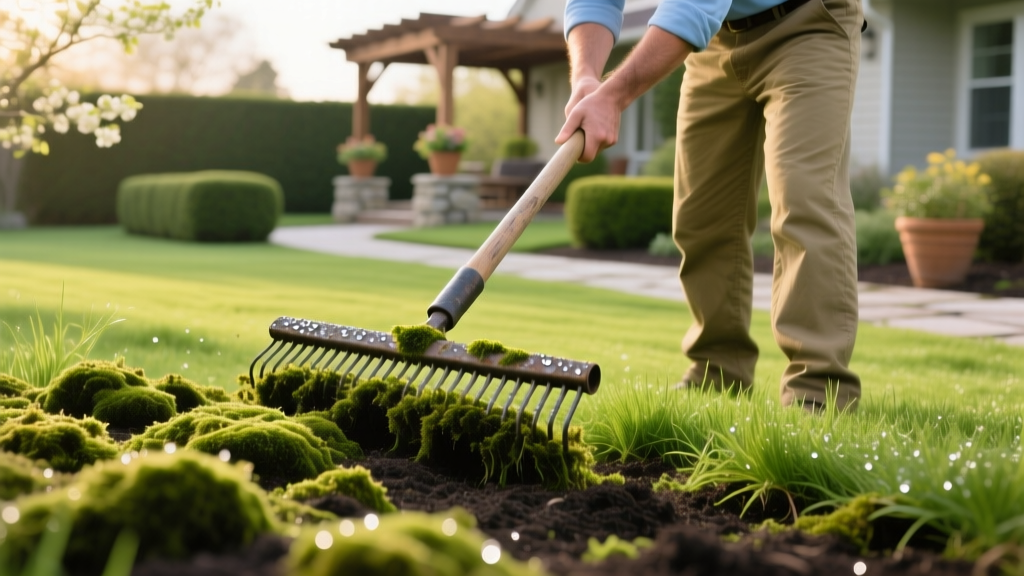
How to Eradicate Moss From Lawns: A Step-by-Step Playbook
Moss does not invade healthy turf; it opportunistically fills the void left by struggling grass. Learning how to eradicate moss from lawns permanently requires shifting your mindset from treating the symptom to curing the underlying environmental disease. If you simply kill the moss without altering the soil conditions, it will return within a single growing season. This playbook details the exact chemical, physical, and cultural protocols required to eliminate moss and establish a dense, resilient turfgrass canopy.
The 4 Root Causes of Moss Invasion
Before purchasing any treatment products, you must diagnose why the moss is thriving. Moss requires specific environmental triggers that turfgrass generally despises. According to turfgrass pathology research, moss dominance is almost always linked to one or more of the following four stressors:
Diagnostic Checklist
- Insufficient Light: Less than 4 hours of direct, unfiltered sunlight per day.
- Soil Acidity: Soil pH below 5.5, which locks up essential macronutrients like phosphorus and potassium.
- Severe Compaction: Soil penetration resistance exceeding 200 PSI, suffocating grass roots while moss (which lacks true roots) thrives on the surface.
- Poor Drainage: Standing water or consistently saturated topsoil for more than 24 hours after a rain event.
Step 1: Chemical Eradication Protocols
To clear the canvas, you must first kill the existing moss. There are two primary chemical avenues for homeowners and professionals: Iron-based desiccants and Fatty Acid salts. The choice depends on your hardscape proximity and soil pH goals.
| Active Ingredient | Application Rate | Pros | Cons & Warnings |
|---|---|---|---|
| Ferrous Sulfate (e.g., Lilly Miller Moss Out, generic Iron Sulfate) | 3 to 5 lbs per 1,000 sq ft (granular) or 3-5 oz per 1,000 sq ft (liquid chelated iron) | Rapid blackening of moss (24-48 hours). Provides a deep green color boost to existing grass. Low cost ($15-$25 per 5,000 sq ft). | Warning: Will instantly and permanently stain concrete, stone, and brick orange/rust. Must be swept off hardscapes immediately. Slightly lowers soil pH. |
| Potassium Salts of Fatty Acids (e.g., Safer Brand Moss & Algae Killer) | 20 oz per 1,000 sq ft (ready-to-spray liquid) | Safe for use near hardscapes, patios, and garden beds. Will not stain concrete. Effective on contact. | More expensive per square foot. Requires thorough, soaking coverage. Does not provide any secondary nutrient benefits to the grass. |
Pro Tip: Apply ferrous sulfate when the grass is damp (such as early morning dew) to ensure the granules stick to the moss fronds, but avoid applying if heavy rain is forecast within 12 hours to prevent runoff.
Step 2: Physical Removal and Dethatching
Once the moss has turned black and brittle (typically 10 to 14 days after chemical application), it must be physically removed. Leaving dead moss in the canopy will smother emerging grass seedlings and create a hydrophobic thatch layer.
- Aggressive Raking: Use a stiff spring-tine rake or a motorized dethatcher (power rake) set to a shallow depth (1/4 inch) to pull up the dead moss mat.
- Debris Clearance: Remove all extracted moss from the property. Do not compost it if you used heavy chemical desiccants; municipal yard waste collection is preferable.
- Surface Grading: Use a landscaping rake to level any divots created during the raking process, ensuring water will not pool in low-lying areas.
Step 3: Correcting the Soil Environment
This is the most critical phase. As noted by the University of Minnesota Extension, moss will continually recolonize unless the soil profile is altered to favor turfgrass over bryophytes.
Adjusting Soil pH with Precision
Do not apply lime blindly. Purchase a professional soil test from a university extension lab (typically $20-$30) to determine your exact buffer pH. If your soil pH is below 6.0, apply pelletized dolomitic lime. Dolomitic lime is preferred over calcitic lime because it supplies both calcium and magnesium, addressing the severe magnesium deficiencies common in moss-prone, leached soils.
- pH 5.5 to 5.9: Apply 25 lbs of pelletized lime per 1,000 sq ft.
- pH 5.0 to 5.4: Apply 50 lbs of pelletized lime per 1,000 sq ft (split into two applications, 6 weeks apart).
- pH below 5.0: Apply 75 lbs per 1,000 sq ft over the course of the fall and spring seasons.
Alleviating Severe Compaction
Moss thrives on compacted surfaces because it absorbs moisture directly through its leaves. Grass dies in compacted soil because its roots cannot penetrate to access oxygen. You must perform hollow-tine core aeration. Solid tines merely punch holes and worsen compaction at the bottom of the hole.
Aeration Specifications:
- Depth: Minimum 3 inches (penetrating the primary compaction layer).
- Spacing: Cores must be spaced no more than 2 to 3 inches apart.
- Timing: Early fall for cool-season grasses; late spring for warm-season grasses.
- Follow-up: Leave the extracted soil plugs on the lawn to break down naturally, acting as a micro-topdressing that introduces soil microbes back into the thatch layer.
Step 4: Canopy Management and Shade Mitigation
If your lawn receives less than 4 hours of direct sunlight, no chemical or soil amendment will save it. You must manipulate the environment. According to turf management guidelines from Oregon State University Extension, increasing light penetration is non-negotiable for shaded lawns.
- Limbing Up: Prune the lower branches of surrounding trees to a height of at least 6 to 8 feet. This allows low-angle morning and late-afternoon sunlight to penetrate under the canopy.
- Crown Thinning: Selectively remove interior branches of shade trees to create "dappled" light. Aim for a 20% to 30% thinning of the leaf canopy.
- Mowing Height: In shaded areas, raise your mower deck to 3.5 or 4 inches. Taller grass blades have more surface area for photosynthesis, which is critical when light is limited.
Step 5: Overseeding with Shade-Tolerant Cultivars
Once the moss is removed and the soil is prepped, you must fill the void immediately before airborne moss spores can recolonize. Standard Kentucky Bluegrass will fail in the shade. Instead, select specialized shade-tolerant cultivars.
Recommended Seed Mixes for Moss-Prone Shade:
- Fine Fescues (Chewings, Hard, and Creeping Red Fescue): These require the least amount of light and excel in acidic, low-fertility soils where moss previously thrived. Seed at 5 to 6 lbs per 1,000 sq ft.
- Shade-Adapted Tall Fescue: Modern turf-type tall fescues (such as 'Titan Ultra' or 'Rhambler') have deeper root systems that can compete with tree roots for moisture. Seed at 6 to 8 lbs per 1,000 sq ft.
"The ultimate cure for moss is a thick, vigorous stand of turfgrass. When grass is dense and actively growing, moss spores cannot reach the soil surface to establish. Eradication is only half the battle; rapid turf recovery is the true finish line."
Troubleshooting: Why Did the Moss Return?
If moss reappears 6 to 12 months after following this playbook, audit your maintenance habits against these common failure points:
- Overwatering: Watering lightly every day keeps the surface moist, favoring moss. Switch to deep, infrequent watering (1 inch per week, applied in 1 or 2 sessions) to drive grass roots deep and dry the surface between waterings.
- Under-fertilizing: Shade grasses still require nutrients. Apply a slow-release nitrogen fertilizer at a rate of 1 lb of actual nitrogen per 1,000 sq ft in the fall to build root density.
- Dull Mower Blades: Tearing the grass tips with a dull blade creates entry points for fungal pathogens, weakening the turf and opening the canopy for moss invasion. Sharpen blades every 20 hours of use.

