
Lawn Care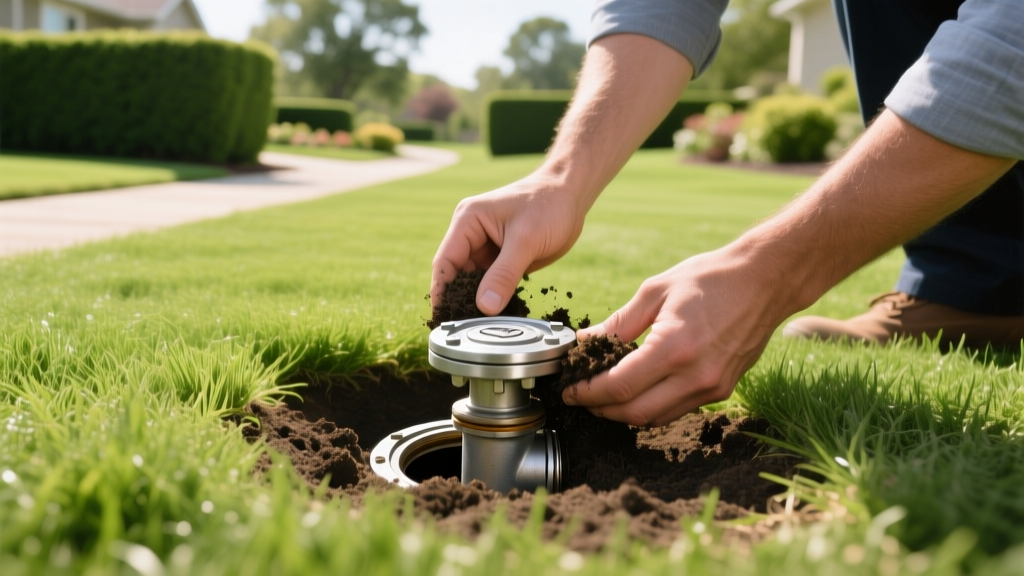
How to Find Sprinkler Valves Fast: 5 Proven Methods for Buried Lines
The High Cost of Blind Digging
Losing track of a sprinkler valve zone is one of the most frustrating issues in residential irrigation maintenance. Whether you are performing a spring startup, winterizing your system, or troubleshooting a dry patch of grass, digging blindly with a shovel is a high-risk strategy. A single misstep can sever a 1-inch PVC mainline or slice through low-voltage wiring, resulting in $150 to $300 in repair costs and hours of wasted labor. To efficiently find sprinkler valves without destroying your turf, you need a systematic approach based on irrigation topology and electronic tracing.
Understanding Your Irrigation Valve Layout
Before deploying tools, you must understand how residential irrigation manifolds are typically routed. According to University of Minnesota Extension guidelines, valves are generally installed 6 to 12 inches below the surface, though frost heave and soil settling over decades can push them as deep as 18 inches.
Every zone valve (such as the widely used Hunter PGV-101 or Rain Bird DV100) is connected to the controller via a multi-conductor underground wire. One wire is the 'common' (usually white), which daisy-chains through every valve solenoid. The remaining wires are 'hot' leads (color-coded), with one dedicated to each specific zone. This wiring architecture is the key to locating lost valves electronically.
⚠️ CRITICAL SAFETY WARNING: Before using any metal probes, trenching shovels, or digging equipment deeper than 4 inches, you must call 811 or visit Call 811 to have public utility lines marked. Private irrigation lines will not be marked by utility locators, but you must ensure you are not risking a strike on buried gas, power, or fiber optic lines.
Method 1: Electronic Wire and Valve Tracing (Most Reliable)
For valves buried under thick turf or obscured by years of landscaping, an electronic wire tracer is the industry standard. Professional-grade locators like the Tempo 501 or Armada Pro290 (retailing between $450 and $600) induce a radio frequency signal onto the valve wire, allowing you to trace the path and pinpoint the solenoid.
Step-by-Step Tracing Protocol
- Access the Controller: Open your irrigation timer and identify the common wire (typically white) and the hot wire for the lost zone.
- Connect the Transmitter: Disconnect the wires from the terminal strip. Attach the transmitter’s red lead to the zone’s hot wire and the black lead to a clean metal ground (like a copper water pipe or a grounding rod driven into the soil).
- Calibrate the Receiver: Turn on the handheld receiver wand. Adjust the sensitivity until you hear a steady, clear tone.
- Sweep the Lawn: Walk the area between the controller and the suspected valve zone. Keep the wand perpendicular to the ground. The tone will peak when you are directly over the buried wire.
- Pinpoint the Valve: As you follow the wire path, the signal will suddenly amplify and change pitch when you pass over the valve solenoid coil, which acts as an inductor. Mark this spot with landscaping paint.
Budget Alternative: If a professional tracer is out of your budget, the Klein Tools ET300 (approx. $50) can trace wires up to 12 inches deep, though it struggles heavily with wet soil and deep-buried manifolds.
Method 2: The Solenoid 'Click' and Hum Test
If your wiring is intact but you cannot afford a wire tracer, you can use acoustic feedback to find sprinkler valves. When a 24VAC signal is sent from the controller to the solenoid, the magnetic plunger physically snaps upward, creating an audible 'click'. Furthermore, the alternating current creates a subtle 60Hz hum.
Executing the Acoustic Test
- Set your irrigation controller to 'Manual Start' for the lost zone.
- Use a mechanic’s stethoscope or simply press your ear against the handle of a metal spade driven into the ground in the suspected area.
- Have a helper trigger the zone at the controller.
- Listen for the sharp mechanical click or the low electrical hum. Move the spade in a grid pattern until the sound is loudest.
Limitation: This method fails if the solenoid is burned out, the wire is severed, or ambient noise (wind, traffic) drowns out the frequency.
Method 3: Topographical and Mainline Routing Clues
When technology fails, rely on irrigation design logic. Installers follow the path of least resistance and adhere to specific hydraulic principles.
| Topographical Clue | Why It Indicates a Valve Location |
|---|---|
| Rectangular Turf Depressions | Plastic valve boxes (like the NDS 12x18) often settle into the soil over time, creating a subtle 12-inch by 18-inch rectangular dip in the grass. |
| Unusually Green Grass Patches | A slow leak at the valve diaphragm or manifold joint will keep a 3-foot radius of soil perpetually moist, resulting in darker, faster-growing grass. |
| Proximity to the Backflow Preventer | Mainlines usually run straight from the backflow device. Valves are typically clustered in manifolds within 15 to 30 feet of the water source to minimize pressure loss. |
| Edge of Property Lines | Installers often route mainlines along fences or property borders to avoid crossing high-traffic lawn areas, placing valve manifolds in corners or near gates. |
Method 4: Using a Metal Detector
While not the primary tool for plastic irrigation systems, a standard beachcombing metal detector can find sprinkler valves if they feature brass components. Many high-end valves (like the Toro 254 or Rain Bird JTV) use brass solenoid casings or brass flow control stems. Sweep the detector at a low sensitivity setting to ignore small nails and focus on the larger metallic mass of the solenoid and flow control hardware.
Method 5: The 'Blow-Out' Air Trace
If you are attempting to find sprinkler valves in the late fall during winterization, use an air compressor. Connect an air compressor to the mainline blow-out port. Close all zone valves except the lost zone. If the valve is slightly open or leaking, you will hear air hissing through the sprinkler heads. If the valve is closed, the hissing will be localized at the manifold itself. Follow the sound of the pressurized air escaping the manifold fittings to pinpoint the exact location.
Comparison Matrix: Valve Locating Methods
| Method | Equipment Cost | Accuracy | Time Required | Best Use Case |
|---|---|---|---|---|
| Electronic Wire Tracer | $50 - $600 | Very High | 15 - 30 mins | Deep valves, intact wiring |
| Solenoid Click Test | $0 - $20 | Moderate | 30 - 60 mins | Shallow valves, quiet areas |
| Visual / Topographical | $0 | Low - Moderate | 10 - 20 mins | Older systems with settling |
| Metal Detector | $100 - $250 | Low | 45+ mins | Valves with brass components |
Post-Discovery Protocol: Protecting the Manifold
Once you successfully find sprinkler valves, do not simply backfill the hole with dirt. Proper housing is critical for future maintenance and freeze protection. The EPA WaterSense program emphasizes that accessible irrigation components reduce water waste by facilitating faster leak repairs.
Installing a Valve Box
- Excavate and Level: Dig a trench 4 inches wider than the manifold on all sides. Tamp the soil flat.
- Add a Gravel Base: Pour 2 to 3 inches of 3/4-inch crushed gravel beneath the valves. This ensures rapid drainage and prevents the solenoid from sitting in standing water, which causes premature electrical failure.
- Install the Box: Place an NDS 12x18 Heavy Duty rectangular valve box or a 12-inch round Ametek box over the manifold. Ensure the top of the box sits exactly 1/2 inch below the final mowing height to prevent mower deck scalping.
- Cap and Mark: Secure the lid. Drive a 12-inch steel rebar stake or a specialized irrigation valve locator stake into the ground immediately adjacent to the box, leaving 1 inch exposed, or log the GPS coordinates in your smart controller’s app for future reference.
Frequently Asked Questions
What if the wire is completely severed?
If the wire is cut, an electronic wire tracer will only lead you to the break point, not the valve. In this scenario, you must rely on topographical clues (Method 3) or use a pipe locator to trace the PVC/Poly mainline from the backflow preventer directly to the manifold. Locating the physical pipe is often easier than finding a severed 18-gauge wire.
Can I use a stud finder to locate buried valves?
No. Standard drywall stud finders rely on magnetic or capacitance sensors designed for detecting wood or metal within 1.5 inches of a flat, dry surface. They cannot penetrate wet soil or dense root systems, and they will yield constant false positives from small rocks and organic matter.
How deep should I dig to find the mainline?
In most non-freezing climates, the mainline is buried 8 to 12 inches deep. In regions with deep frost lines (like the Midwest or Northeast), mainlines and valves may be buried 12 to 18 inches deep to prevent winter cracking. Always use a blunt-nosed trenching shovel and dig in 2-inch layers to avoid slicing the pipe.

