
Lawn Care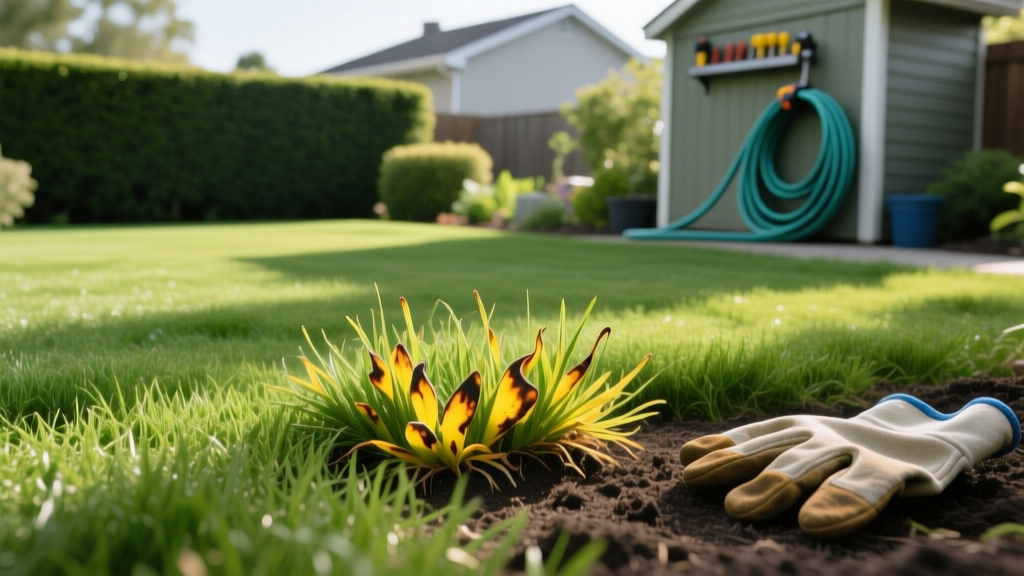
How to Fix Fertilizer Grass Burn: Step-by-Step Recovery
Understanding the Mechanics of Fertilizer Grass Burn
Fertilizer grass burn is not actually a thermal burn; it is a severe dehydration event caused by osmotic stress. When synthetic, water-soluble fertilizers (particularly those high in quick-release nitrogen and potassium) are applied at excessive rates or without adequate irrigation, soluble salts accumulate in the topsoil. According to Michigan State University Extension, this creates a hypertonic soil environment. Through reverse osmosis, moisture is drawn out of the turfgrass roots and into the soil, effectively desiccating the plant from the bottom up. The visible result is rapid chlorosis (yellowing) followed by necrosis (browning) of the leaf tissue, often appearing in streaks that match the overlap pattern of your broadcast spreader.
Recovering from grass burn requires a precise, phased approach to leach excess salts, restore soil structure, and reintroduce viable turf. The following step-by-step protocol is designed for cool-season grasses (Tall Fescue, Kentucky Bluegrass) and warm-season varieties (Bermuda, Zoysia) suffering from chemical or fertilizer burn.
Diagnostic Matrix: Identifying Your Burn Type
Before initiating treatment, confirm that your lawn is suffering from fertilizer burn rather than environmental stress or disease. Misdiagnosis leads to wasted amendments and further turf decline.
| Burn Type | Visual Symptoms | Root Condition | Primary Cause |
|---|---|---|---|
| Fertilizer Burn | Streaky browning matching spreader paths; tips burn first. | Roots appear shriveled, dark, and brittle. | Excess soluble salts; lack of post-application watering. |
| Dog Urine Burn | Isolated circular dead patches with a dark green ring. | Roots intact but localized soil is highly alkaline. | High nitrogen and salt concentration from canine waste. |
| Drought Stress | Uniform dull green/gray rolling; footprints remain visible. | Roots are pale, dry, and deeply retracted. | Lack of precipitation and irrigation over 14+ days. |
| Fungal Disease | Irregular lesions on blades; distinct margins; mycelium. | Roots may rot or show dark lesions (e.g., Take-All Patch). | High humidity, poor airflow, excessive thatch moisture. |
Phase 1: Immediate Triage and Salt Flushing (Days 1-3)
If you notice grass burn within 24 to 48 hours of a fertilizer application, your immediate priority is diluting the soil salt concentration. Do not apply any neutralizing chemical agents during this phase; water is the only effective solvent for soluble salts.
Step-by-Step Flushing Protocol
- Calibrate Your Sprinkler System: Place 3 to 5 straight-sided tuna cans or rain gauges across the affected zone. Run your irrigation system for 15 minutes and measure the water depth.
- Apply 1 Inch Daily: Based on your calibration, run the system long enough to deliver exactly 1 inch of water per day for three consecutive days. This equates to roughly 0.62 gallons per square foot, or 620 gallons per 1,000 square feet of lawn.
- Monitor Runoff: If the soil is heavily compacted and water begins to pool or run off into storm drains before the 1-inch mark, split the watering into two 0.5-inch cycles separated by two hours to allow for percolation.
- Halt All Chemical Inputs: Do not apply herbicides, fungicides, or additional fertilizers. The turf's vascular system is compromised and cannot process secondary chemicals.
Warning: Avoid flushing during the hottest part of the day (12:00 PM - 3:00 PM). While the goal is to move salts past the root zone, surface water on stressed blades under peak UV radiation can cause magnification scorching. Water between 4:00 AM and 8:00 AM.
Phase 2: Soil Amendment and Salinity Reduction (Days 4-7)
Once the initial flushing is complete, the soil structure must be rehabilitated. High salt concentrations destroy soil aggregation, leading to compaction and reduced cation exchange capacity (CEC). To counteract this, we utilize Calcium Sulfate (Gypsum).
According to research from Colorado State University Extension, the calcium in gypsum displaces sodium and excess potassium ions on the soil clay particles, allowing them to be leached away while improving soil porosity. Importantly, gypsum is pH-neutral, meaning it will not drastically alter your soil's acidity or alkalinity while amending the structure.
Gypsum Application Rates
- Product Recommendation: Nature's Helper Granular Gypsum or Espoma Organic Soil Acidifier (if your baseline pH is above 7.2).
- Application Rate: Apply 40 lbs of granular gypsum per 1,000 square feet of affected lawn.
- Spreader Calibration: For a Scotts EdgeGuard Mini broadcast spreader, set the dial to 4.5 for standard granular gypsum. Always test on a driveway to ensure an even spread pattern before engaging the turf.
- Watering In: Immediately follow the gypsum application with 0.5 inches of irrigation to activate the calcium exchange process.
Phase 3: Core Aeration and Overseeding (Days 8-21)
If the grass burn resulted in total necrosis (dead, brown patches where the crown of the plant has died), flushing and gypsum alone will not bring the grass back. Dead turf must be removed and replaced. For cool-season lawns, this phase is best executed in early fall or early spring. For warm-season lawns, target late spring when soil temperatures consistently exceed 65°F.
The Renovation Sequence
- Mow Low and Bag: Drop your mower deck to 1.5 inches and bag the clippings to remove dead thatch and expose the soil surface.
- Core Aeration: Rent a walk-behind core aerator (approx. $85/day from local hardware stores). Make two passes in perpendicular directions over the burnt areas to pull 3-inch soil plugs. This breaks up the compacted, salt-damaged soil crust.
- Topdressing: Apply a 1/4-inch layer of screened compost or a specialized topdressing mix (like Jonathan Green Love Your Soil) over the aerated area. This introduces beneficial microbes to help break down residual chemical salts.
- Overseeding: Select a high-quality, disease-resistant seed blend. For Tall Fescue lawns, Jonathan Green Black Beauty Ultra ($65 for 15 lbs, covering 3,750 sq ft) provides excellent drought tolerance and deep root genetics. Apply seed at a rate of 4 to 6 lbs per 1,000 square feet for overseeding.
- Starter Fertilizer: Apply a phosphorus-rich starter fertilizer (e.g., Scotts Turf Builder Starter Food for New Grass, 24-25-4) to promote rapid root establishment. Because the previous burn was caused by excess nitrogen, a low-nitrogen, high-phosphorus formula is critical here.
- Germination Watering: Water lightly 2 to 3 times daily for 10 minutes each session to keep the top 1/2 inch of soil consistently moist until seeds germinate (typically 7-14 days for fescue, 14-21 days for bluegrass).
Recovery Cost and Timeline Breakdown
Budgeting for lawn renovation requires accounting for both materials and equipment rentals. Below is a realistic cost estimate for rehabilitating a 5,000 square foot lawn suffering from moderate to severe fertilizer grass burn.
| Recovery Phase | Materials & Equipment | Estimated Cost | Time to Complete |
|---|---|---|---|
| Phase 1: Flushing | Municipal water usage (approx. 3,100 gallons) | $10 - $15 | 3 Days |
| Phase 2: Amendment | 200 lbs Granular Gypsum (5 bags @ $18 each) | $90 | 1 Day |
| Phase 3: Renovation | Core Aerator Rental (1 Day) + Compost Topdressing | $130 - $160 | 1 Day |
| Phase 3: Seeding | Premium Tall Fescue Seed (20 lbs) + Starter Fertilizer | $85 - $110 | 1 Day |
| Total Estimated | Full 5,000 sq ft Lawn Rehabilitation | $315 - $375 | 21-30 Days Total |
Preventative Maintenance: Calibrating for the Future
The most authoritative guidance from Penn State Extension emphasizes that fertilizer burn is almost entirely preventable through proper equipment calibration and application discipline. To ensure this does not happen during your next seasonal feeding, adopt the following operational standards:
- The Driveway Sweep Method: Never fill your spreader on the lawn. Fill it on the driveway, and if granules spill, sweep them up immediately. This prevents localized hot spots of concentrated nitrogen that cause severe circular burns.
- Overlap Discipline: Use the edge guard feature when bordering hardscapes, and aim for a precise 12-inch overlap on return passes. Spreader tires often leave visible tracks; use these as your visual guide for the next pass.
- Switch to Slow-Release: Transition from quick-release synthetic fertilizers (like urea) to methylene urea (MU) or sulfur-coated urea (SCU) blends. These polymer-coated granules release nitrogen gradually based on soil temperature and microbial activity, virtually eliminating the risk of osmotic salt shock.
Frequently Asked Questions
Will grass grow back after fertilizer burn?
It depends on the severity of the damage to the plant's crown (the white, bulbous base of the grass blade at the soil line). If the crown remains firm and white after flushing the soil, the grass will push new growth within 10 to 14 days. If the crown is brown, mushy, or completely desiccated, the plant is dead and the area must be overseeded.
Can I use sugar to fix grass burn?
While some internet forums suggest applying sugar to stimulate soil microbes and break down excess nitrogen, this is not supported by turfgrass science. Sugar can attract pests, promote fungal pathogens like Pythium blight, and create a sticky surface residue. Stick to proven mechanical flushing and gypsum amendments for reliable recovery.
How long should I wait to fertilize again after a burn?
Wait a minimum of 45 to 60 days after the initial burn event and the subsequent overseeding process. When you do resume fertilization, conduct a professional soil test (available through your local university cooperative extension for roughly $15-$25) to determine exact nutrient deficiencies rather than applying a blanket synthetic product.

