
Lawn Care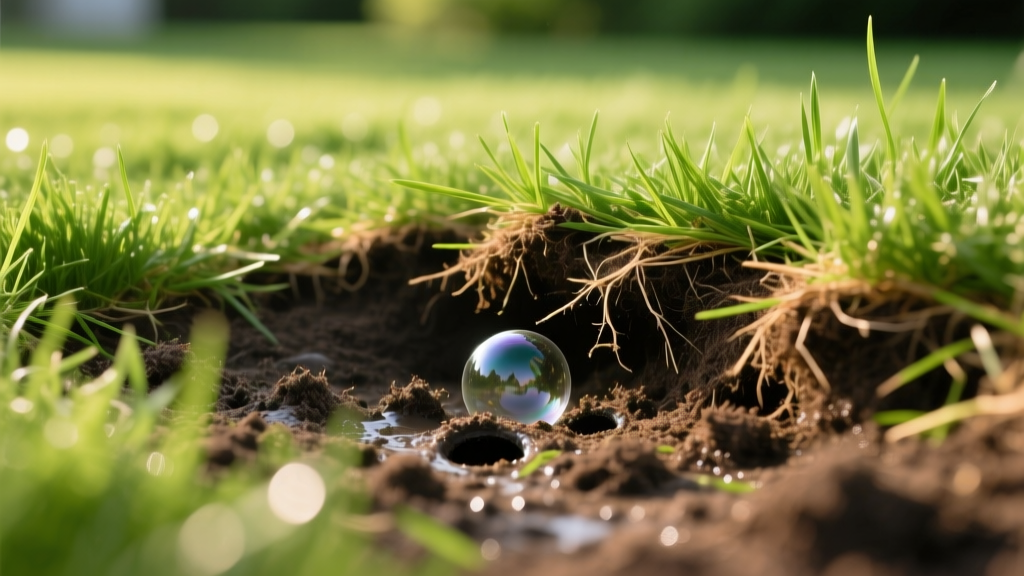
How to Fix a Grass Bubble: Step-by-Step Drainage & Repair Guide
The Mechanics of a Grass Bubble
A grass bubble, frequently referred to as a lawn blister, occurs when a discrete layer of water becomes trapped between the turf root zone and the underlying subsoil or an impermeable barrier. This creates a floating, water-filled membrane that feels like a waterbed when walked upon. Unlike general lawn puddling, which pools on the surface, a grass bubble forms beneath the sod due to hydrostatic pressure. When heavy rainfall or rapid snowmelt exceeds the infiltration rate of the topsoil, water moves laterally until it hits a compaction layer, a clay hardpan, or buried landscaping fabric. The trapped water then pushes upward against the dense mat of grass roots and thatch, lifting the turf intact.
Ignoring a grass bubble leads to severe consequences. The suspended roots are deprived of oxygen, leading to anaerobic conditions, root rot, and the rapid proliferation of fungal pathogens like Pythium blight. Furthermore, the sheer weight of the trapped water can tear the root matrix, causing the turf to detach completely from the soil profile. Repairing this issue requires a precise, step-by-step approach that addresses both the immediate symptom and the underlying drainage failure.
Diagnostic Warning: Before proceeding, verify the blister is actually water. In rare cases, subterranean gas leaks from damaged utility lines can lift turf. If the bubble smells like sulfur or rotten eggs, or if it expands rapidly without rain, evacuate the area and contact your local utility emergency line immediately.
Step-by-Step Grass Bubble Repair Procedure
Repairing a lawn blister is not as simple as cutting it open with a shovel. Slashing the turf with a flat blade creates a wide wound that invites weed invasion and prevents the roots from knitting back into the soil. Follow this exact protocol to safely drain and restore the lawn.
Step 1: Strategic Puncture and Drainage
Do not use a spade or a knife. You need a spading fork or a deep-tine pitchfork with solid, 10-inch steel tines. Position the fork at the lowest edge of the grass bubble where gravity will naturally assist the water flow. Drive the tines into the turf at a 45-degree angle, penetrating roughly 6 to 8 inches deep. Space your punctures every 6 to 8 inches across the affected area. This creates a network of drainage channels while keeping the root mat largely intact so it can re-adhere to the soil once the water is gone.
Step 2: Silt Flushing and Extraction
As the water drains, it will carry fine silt and clay particles into the puncture holes. If left alone, this silt will dry into a concrete-like plug, guaranteeing the bubble will return after the next storm. Once the visible water has drained, use a garden hose with a gentle spray nozzle to lightly flush the puncture holes. This keeps the channels open. For severe cases where thick mud has accumulated beneath the sod, use a wet-dry vacuum over the largest puncture holes to extract the suspended sub-surface slurry.
Step 3: Identify and Eliminate the Impermeable Barrier
You must determine why the water pooled in the first place. Use a soil probe or a narrow trowel to investigate the sub-surface through one of the puncture holes.
- Buried Plastic or Landscape Fabric: If you hit a synthetic barrier within the top 3 inches of soil, this is your culprit. Black plastic weed barriers are notorious for causing grass bubbles. You must cut a flap in the sod, pull back the turf, and physically remove the plastic membrane. Replace it with a permeable geotextile fabric if weed suppression is still required.
- Clay Hardpan Compaction: If the probe stops abruptly at a dense, greyish clay layer 4 to 6 inches down, you have a compaction issue. The soil pores are crushed, preventing downward percolation. This requires mechanical intervention (detailed in Step 5).
Step 4: Re-Knitting the Turf Matrix
Once drained, the sod is essentially floating on a layer of mud. To force the roots back into contact with the soil, you must apply downward pressure. Use a lightweight, water-filled lawn roller (do not exceed 150 lbs of total weight, or you will re-compact the wet soil). Roll the area in a cross-hatch pattern. Immediately following this, apply a thin topdressing of 70% coarse sand and 30% compost. Sweep the mixture into the puncture holes to keep them open and provide a structural bridge for the roots to grow back into the subsoil.
Sub-Surface Drainage Interventions
If your grass bubble was caused by a clay hardpan or a naturally high water table, simple aeration will not suffice. You must install targeted drainage infrastructure. The table below compares the most effective interventions based on 2026 landscaping industry standards.
| Intervention Method | Best Application Scenario | Estimated Cost (per 1,000 sq ft) | Longevity & Maintenance |
|---|---|---|---|
| Hollow Core Aeration + Gypsum | Moderate clay compaction; seasonal surface pooling. | $35 - $60 (including materials) | Requires annual repetition; gypsum must be reapplied every 2 years. |
| French Drain Trenching | Severe lateral water flow; sloped lawns feeding water into a low basin. | $200 - $350 (per 50 linear ft) | 20+ years if wrapped in geotextile; requires annual flushing of the pipe. |
| Deep Tine Aeration (Solid) | Breaking through deep hardpans (12+ inches) without bringing up clay cores. | $80 - $120 | Highly effective for deep fracturing; less effective in heavy, wet blue clay. |
| Dry Well Installation | Isolated low spots where water has nowhere to exit the property. | $400 - $800 (per unit) | 25+ years; requires a percolation test to ensure the subsoil can absorb the stored water. |
Turf Recovery and Soil Amendment Protocols
After the physical repair, the grass that was suspended over the bubble will likely show signs of chlorosis (yellowing) due to root asphyxiation. To accelerate recovery, apply a fast-acting, water-soluble fertilizer with a high nitrogen-to-potassium ratio, such as a 20-0-10 blend with added iron. Apply at a rate of 0.5 lbs of nitrogen per 1,000 square feet. The iron will immediately correct the chlorosis while the nitrogen fuels rapid root regeneration.
If your soil test indicates heavy clay, apply calcitic gypsum (calcium sulfate) at a rate of 40 lbs per 1,000 square feet. According to soil science principles outlined by Penn State Extension, the calcium in gypsum displaces sodium on the clay cation exchange sites, causing the clay particles to flocculate (clump together). This creates micro-pores in the hardpan, permanently increasing the soil's infiltration rate and preventing future grass bubbles from forming in that exact spot.
Overseeding the Puncture Sites
The holes left by the spading fork are prime real estate for weed seeds like crabgrass and Poa annua. Preempt this by overseeding the repaired zone immediately. Use a turf-type tall fescue blend for cool-season lawns, or a hybrid bermudagrass for warm-season zones. Mix the seed with a starter fertilizer and a tackifier (a natural binding agent like psyllium husk) to ensure the seed stays locked inside the puncture holes during the next rain event. Keep the area consistently moist—not saturated—for 14 to 21 days until germination is complete.
Expert Troubleshooting: Edge Cases and Failure Modes
Even with meticulous execution, some lawn blisters present unique challenges. Here is how to handle the most common failure modes:
The 'Phantom' Bubble (High Water Table): If you puncture the grass bubble, drain it, and it refills within 10 minutes without any new rainfall, you are dealing with a perched water table or an underground spring. Surface repairs will fail. You must install a sump pump basin at the lowest elevation of your property and route the discharge to a municipal storm drain or a legal drainage easement.
Another common mistake is using a solid tine aerator instead of a hollow core aerator on heavy clay soils. As noted by turf researchers at the University of Minnesota Extension, solid tines simply push the clay outward and downward, exacerbating the compaction layer that caused the grass bubble in the first place. Always use a hollow core machine that physically extracts a 2-to-3-inch soil plug, thereby relieving the hydrostatic pressure and creating a physical void for water to escape.
Finally, avoid the temptation to 'sand-fill' the entire lawn to raise the grade. Adding more than 1/2 inch of sand over an existing lawn will smother the crown of the grass, killing the turf and creating a massive layer of dead organic matter that will eventually hold water like a sponge. Grade correction must be done gradually over multiple seasons, or the existing sod must be stripped, the sub-grade re-sloped to a minimum 2% fall away from structures, and new sod laid down. By understanding the fluid dynamics beneath your turf, you can permanently eliminate grass bubbles and maintain a structurally sound, deeply rooted lawn.

