
Lawn Care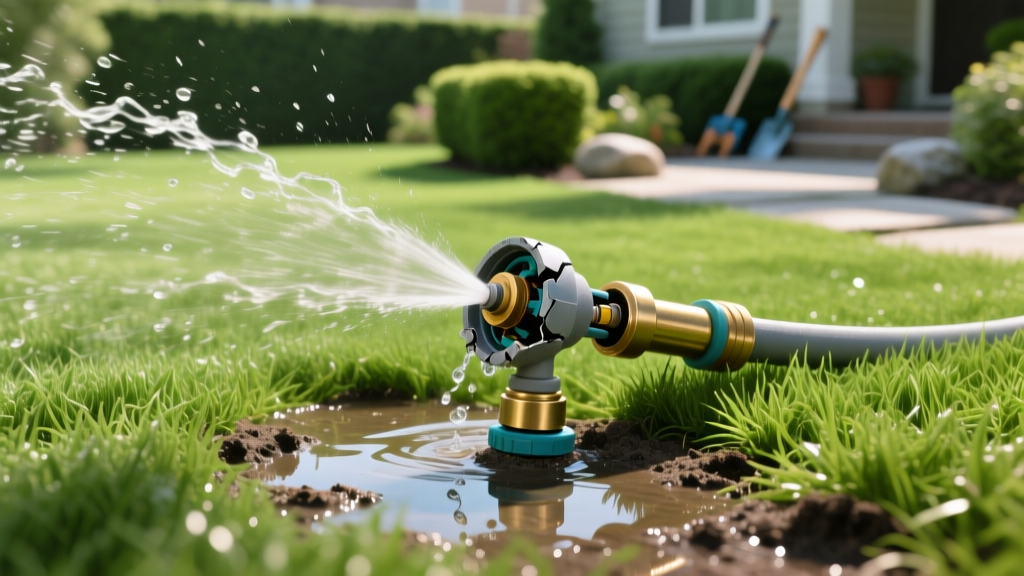
How to Fix Sprinkler Head Failures: Diagnose and Repair Zones
The Diagnostic Matrix: Why Your Sprinkler Head Failed
A geyser erupting in the front yard, a dry brown patch of turf, or a mysterious puddle near the sidewalk all point to a compromised irrigation emitter. Before grabbing a shovel, you must accurately diagnose the failure mode. Misdiagnosing a lateral line leak as a simple broken nozzle will waste hours and destroy unnecessary turf. According to the University of Florida IFAS Extension, routine inspection and precise repair of sprinkler heads prevents up to 30% of outdoor water waste caused by misaligned, leaking, or broken emitters.
| Visual Symptom | Root Cause | Required Fix |
|---|---|---|
| Water pooling at the base | Cracked polycarbonate body or degraded wiper seal | Full body replacement |
| Low pressure or heavy misting | Clogged internal filter screen or incorrect nozzle sizing | Clean screen or swap to rotary nozzle |
| Head fails to pop up fully | Debris in the retraction cylinder or broken internal spring | Flush cylinder or replace internal assembly |
| Geysers or missing spray pattern | Mower impact sheared the nozzle or stripped the riser threads | Replace nozzle and inspect PVC swing joint |
| Zone runs but head stays dry | Upstream blockage or crushed lateral supply line | Excavate supply line and install slip-fix coupling |
Essential Tools and Replacement Parts
Attempting a repair with standard household tools often leads to cracked fittings and cross-threaded PVC. Assemble the following specific tools before breaking ground:
- Excavation: A narrow-blade trenching shovel (often called a drain spade) to minimize turf damage.
- Extraction: PVC slip-joint pliers or a specialized internal pipe wrench (like the Donkey Tool) for gripping the inside of the riser if the head snaps off.
- Sealing: High-density PTFE (Teflon) tape. Never use liquid pipe dope on plastic irrigation risers; the petroleum solvents will chemically degrade the PVC and cause micro-fractures.
- Replacement Bodies: Match the existing brand and series. The industry standards are the Rain Bird 1800 Series, Hunter Pro-Spray, and Toro 570Z. Mixing brands on the same lateral line can cause pressure imbalances.
- Nozzle Key: A small plastic or metal tool for prying out existing nozzles without damaging the wiper seal.
Step-by-Step: How to Fix Sprinkler Head Assemblies
Phase 1: Isolation and Excavation
Shut off the irrigation controller and close the main water valve to the zone. If your system lacks a zone-specific shut-off valve, you must close the main backflow preventer valves to stop water pressure from pushing back through the lateral lines.
⚠️ Critical Warning: Always call 811 before digging deeper than 12 inches. While sprinkler heads are typically connected to shallow 6-to-10-inch lateral lines, main supply lines and buried electrical conduits for lighting or valves often cross these same pathways.
Using your narrow trenching shovel, cut a 6-inch radius circle around the broken head. Remove the sod in one intact piece and set it aside on a tarp for later replacement. Dig down until you expose the threaded connection between the sprinkler body and the underlying PVC swing joint or funny valve. Leave at least 2 inches of clearance around the fitting to allow room for your hands and pliers.
Phase 2: Extraction and Thread Inspection
Grip the base of the sprinkler body (not the pop-up stem) and twist counterclockwise. If the body is glued to a rigid riser, you will need to cut the riser and install a slip-joint swing pipe to allow for future ground movement.
Once the old head is removed, inspect the male threads on the riser or swing joint. If the threads are stripped or cracked, cut the damaged PVC back to clean material using a ratcheting PVC cutter. Install a new male adapter using PVC primer and cement, allowing exactly 15 minutes of cure time before applying pressure.
Phase 3: Nozzle Swap vs. Full Body Replacement
If the sprinkler body is intact but the spray pattern is poor, you only need to replace the nozzle. Use your nozzle key to pop out the old filter and nozzle. Rinse the internal basket screen to remove sand and mineral scale.
Expert Upgrade Tip: While the head is open, upgrade from standard fixed-spray nozzles to rotary nozzles (such as the Hunter MP Rotator or Rain Bird R-VAN). Rotary nozzles apply water at a much slower rate (0.4 to 0.6 inches per hour compared to 1.5+ inches for fixed sprays), drastically reducing runoff on sloped lawns and heavy clay soils. Note that rotary nozzles require longer run times but use less overall water.
If replacing the entire body, wrap the male riser threads with 2 to 3 layers of PTFE tape, wrapping clockwise so the tape doesn't bunch up when you thread the new head on. Screw the new Rain Bird or Hunter body on by hand until snug, then give it a quarter-turn with slip-joint pliers. Do not overtighten; polycarbonate bodies will crack under excessive torque.
Phase 4: System Flush and Calibration
Before backfilling the hole, turn the zone valve back on manually from the controller. Let the zone run for 10 to 15 seconds to flush out any dirt that fell into the open riser during excavation. Check for leaks at the base connection. Once confirmed dry, adjust the spray arc using the nozzle adjustment screw, ensuring the water lands on the turf and not on the concrete hardscape. Backfill the soil, tamp it down gently, and replace the sod plug.
Troubleshooting Sunken Sprinkler Heads
A highly common failure mode is the "sunken head." Over years of soil compaction, topdressing, and thatch buildup, the sprinkler head sinks below the turf canopy. When this happens, the mower blades routinely strike the pop-up stem, eventually snapping it off. The EPA WaterSense program recommends checking irrigation zones monthly during the growing season to catch alignment and elevation issues before they cause physical damage to the equipment.
To fix a sunken head, you have two options:
- The Riser Extension: If the head is only 1 to 2 inches below the grass line, unscrew the body and install a threaded PVC riser extension between the swing joint and the sprinkler body. This is a fast, $3 fix.
- The Swing Joint Replacement: If the head is sunk more than 3 inches, an extension will create too much leverage on the lateral line, risking a cracked pipe. You must dig out the old swing joint, cut the lateral line, and install a new, longer flexible swing pipe (often called funny pipe) to raise the entire assembly to grade level.
Cost and Time Expectations for Repairs
2026 DIY Repair Cost Breakdown
- Standard Pop-Up Body (Rain Bird 1800 / Hunter Pro-Spray): $6.00 - $9.00
- High-Efficiency Rotary Nozzle: $7.00 - $11.00 per head
- PVC Swing Joint & Fittings: $4.00 - $8.00
- Total DIY Material Cost: $15.00 - $28.00 per head
- Time Required: 20 to 45 minutes per head (including excavation and backfill)
- Professional Landscaper Rate: $65.00 - $95.00 per head (includes minimum service call fee and markup)
When the Head Isn't the Problem: Valve and Lateral Line Failures
If you have replaced the sprinkler head, verified the threads, and the zone is still leaking or failing to pressurize, the issue lies upstream. A zone that constantly weeps water from the lowest sprinkler head—even when the system is completely shut off—indicates a failed anti-siphon valve or a degraded diaphragm inside the main zone valve box. The rubber diaphragm inside valves like the Hunter PGV or Rain Bird DV series typically degrades after 7 to 10 years of use due to mineral buildup and water hammer pressure spikes. Rebuilding the valve diaphragm costs roughly $12 in parts and takes 15 minutes, saving you from replacing the entire valve manifold.

