
Lawn Care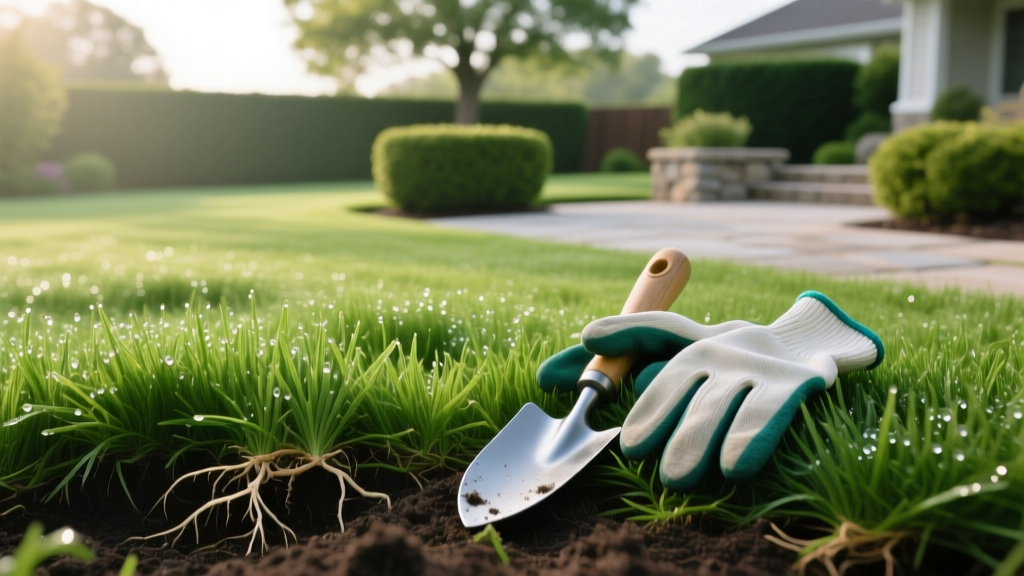
Why Is My Grass Squishy? Step-by-Step Fix for Spongy Lawns
The Anatomy of a Spongy Lawn: Thatch vs. Subsurface Water
Walking across a lawn that feels like a damp mattress is a clear indicator of underlying turf health failure. Squishy grass is not merely a textural nuisance; it is a symptom of root asphyxiation. When turf lacks oxygen due to waterlogged soil or suffocating organic layers, root systems shallow out, making the grass highly susceptible to drought stress, fungal pathogens like brown patch, and severe winter kill.
To permanently fix a spongy lawn, you must accurately diagnose whether the squish is caused by excessive thatch buildup (an organic layer resting above the soil) or subsurface drainage failure (compacted clay, hardpan, or high water tables trapping water below the root zone). Treating the wrong issue will waste hundreds of dollars in equipment rentals and soil amendments.
Diagnostic Test 1: The Thatch Plug
Use a sharp garden trowel or a soil probe to cut a 3-inch deep, wedge-shaped plug from your lawn. Examine the cross-section. The thatch layer is the spongy, brown, fibrous material situated between the green grass blades and the dark mineral soil.
- Healthy: 0.25 to 0.5 inches of thatch. This acts as beneficial insulation.
- Problematic (Squishy): Greater than 0.75 inches. This hydrophobic layer absorbs irrigation like a sponge, preventing water and nutrients from reaching the soil while harboring turf diseases.
Diagnostic Test 2: The 6-Inch Screwdriver Test
Push a standard 6-inch flathead screwdriver into the soil. If you cannot easily push it past the 3-inch mark without leaning your body weight into it, your soil is severely compacted. Compacted clay soils lack the macropores required for water infiltration, causing irrigation to pool at the surface or in the shallow thatch layer, resulting in a boggy, squishy feel.
Phase 1: Eradicating Excessive Thatch Buildup
If your thatch layer exceeds 0.75 inches, core aeration alone will not solve the problem. The tines will simply plug with fibrous material. You must mechanically dethatch the lawn first.
Step-by-Step Dethatching Protocol
- Timing: Perform dethatching during peak growing seasons to ensure rapid recovery. Early fall for cool-season grasses (Kentucky Bluegrass, Tall Fescue) and late spring for warm-season grasses (Bermuda, Zoysia).
- Mow Low: Drop your mower deck to 1.5 inches and bag the clippings. This exposes the thatch layer to the equipment.
- Equipment Selection: Rent a walk-behind power dethatcher (also known as a vertical mower or verticutter) from a local equipment yard. Expect to pay $70 to $110 for a half-day rental. Ensure the blades are set to penetrate exactly 0.25 inches into the mineral soil.
- Execution: Make two passes over the lawn in perpendicular directions (north-south, then east-west).
- Removal: Rake and bag the massive volume of dead organic matter pulled to the surface. Leaving this debris will smother the remaining turf.
WARNING: Never use a standard metal tine rake for severe thatch issues. Manual raking only scratches the surface and will tear out healthy, living stolons and rhizomes, causing massive turf damage without resolving the underlying sponginess.
Phase 2: Relieving Soil Compaction via Core Aeration
Once the thatch is removed, or if your thatch is minimal but the soil is hardpan clay, core aeration is mandatory. According to the University of Minnesota Extension, core aeration physically removes plugs of soil, creating macropores that allow oxygen, water, and fertilizer to penetrate the root zone.
Execution Standards for Maximum Relief
- Moisture Calibration: Water the lawn deeply 24 hours before aerating. The soil should be moist, not muddy. If the soil is too dry, the aerator tines will shatter the clay or fail to penetrate. If it is too wet, the tines will smear the clay walls of the hole, sealing it off and worsening drainage.
- Machine Specs: Rent a heavy-duty walk-behind core aerator (e.g., Ryan Lawnaire V). The machine must weigh at least 200 lbs and pull hollow tines that extract plugs 3 to 4 inches deep and 0.5 to 0.75 inches in diameter.
- Pattern: Make two passes over the entire lawn in perpendicular directions. Aim for 15 to 20 holes per square foot.
- Leave the Plugs: Do not rake up the extracted soil cores. Allow them to break down naturally over the next two weeks via mowing and rainfall; they deposit beneficial soil microbes back into the thatch layer to accelerate natural decomposition.
Phase 3: Topdressing for Permanent Drainage Correction
Aeration creates the holes, but topdressing fills them with a porous medium that permanently alters the soil structure and prevents the holes from simply collapsing back into compacted clay. This is the ultimate cure for chronically squishy, poorly draining lawns.
Selecting the Correct Sand Profile
The most common mistake homeowners make is using "play sand" from a big-box store. Play sand consists of fine, uniform particles (often 0.10mm) that will mix with clay to create a concrete-like substance. You must use ASTM C33 standard masonry sand or coarse river sand, which features varying particle sizes between 0.25mm and 1.0mm to maintain structural porosity.
| Soil Type | Topdressing Mix Ratio (By Volume) | Application Depth | Material Cost Estimate (Per 1,000 sq ft) |
|---|---|---|---|
| Heavy Clay | 70% Masonry Sand / 30% Screened Compost | 0.25 to 0.5 inches | $85 - $120 |
| Loam / Sandy Loam | 50% Masonry Sand / 50% Screened Compost | 0.125 to 0.25 inches | $50 - $75 |
| Highly Organic / Peat | 100% Coarse River Sand | 0.25 inches | $40 - $60 |
Application Technique
Immediately following aeration, dump the sand/compost mix in small piles across the lawn. Use a heavy landscaping rake or a drag mat to work the mixture down into the aeration holes. The goal is to fill the holes completely while leaving the grass blades exposed to sunlight. If you bury the grass crowns under more than 0.5 inches of material, you will smother the turf.
Phase 4: Recalibrating Irrigation and Mowing Heights
A lawn that has been structurally repaired will still revert to a squishy state if the irrigation controller is programmed incorrectly. Shallow, daily watering keeps the top inch of soil perpetually boggy while the deep roots starve.
"Turfgrass requires deep, infrequent watering to drive roots downward. Applying water faster than the soil's infiltration rate simply creates surface runoff and spongy thatch layers, regardless of how well the soil has been aerated."
The 1.5-Inch Weekly Protocol
According to guidelines established by the EPA WaterSense program, most established lawns require exactly 1 to 1.5 inches of water per week, including rainfall.
- Measure Output: Place three empty tuna cans at varying distances from your sprinkler heads. Run the system for 20 minutes and measure the water depth with a ruler.
- Calculate Run Time: If your system delivers 0.5 inches in 20 minutes, you need 60 minutes of total run time per week to hit the 1.5-inch target.
- Split the Cycles: Never apply 1.5 inches in a single day; the soil will reach saturation and the excess will pool, recreating the squishy environment. Split the watering into two or three days (e.g., 0.75 inches on Tuesday and 0.75 inches on Saturday).
- Mowing Height: Raise your mower deck to 3.0 or 3.5 inches. Taller grass blades shade the soil surface, reducing evaporation and forcing the root system to grow deeper into the newly aerated, topdressed soil profile.
Maintenance Schedule to Prevent Recurrence
Fixing squishy grass is not a one-time event; it is a recalibration of your lawn's physical structure. To ensure the sponginess does not return, adhere to this annual maintenance matrix:
- Annual Core Aeration: Required every fall for heavy clay soils, or every other fall for loamy soils.
- Bi-Annual Topdressing: Apply a light 0.125-inch layer of pure compost in the spring and fall to maintain soil microbial activity, which naturally digests thatch before it reaches critical thickness.
- Mulch Mowing Limits: Only mulch mow when the grass is completely dry, and never remove more than 1/3 of the grass blade in a single pass. Wet, clumped clippings accelerate thatch accumulation and trap surface moisture.
By systematically removing the organic sponge layer, physically fracturing the compacted subsoil, and introducing coarse masonry sand to the root zone, you will transform a boggy, squishy lawn into a firm, deeply rooted, and highly resilient turf system.

