
Lawn Care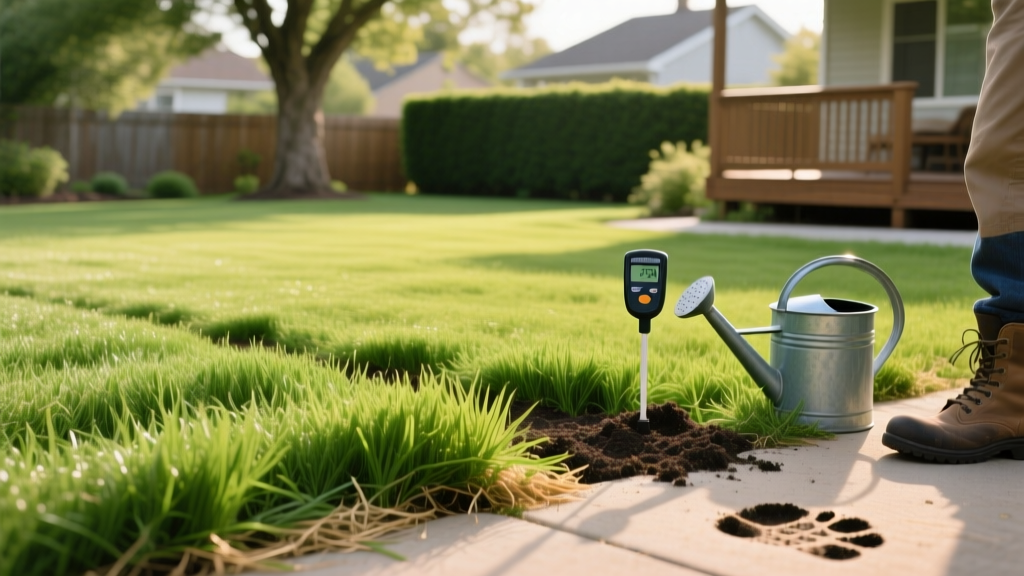
How to Fix Straw Grass: Step-by-Step Lawn Recovery Procedures
Understanding the 'Straw Grass' Phenomenon
When homeowners refer to 'straw grass,' they are typically describing turf that has lost its chlorophyll, turning a brittle, yellow-brown hue reminiscent of agricultural straw. This visual state is a symptom, not a specific disease. It indicates that the grass plant has either entered protective dormancy, suffered severe moisture deficit, or been compromised by pathological agents like chinch bugs or fungal pathogens. Misdiagnosing the root cause of straw-colored turf is the most common reason lawn recovery efforts fail. Applying high-nitrogen fertilizer to drought-stressed grass, for example, will accelerate desiccation and kill the root system.
According to turfgrass researchers at Purdue University, cool-season grasses like Kentucky Bluegrass and Tall Fescue naturally enter dormancy when soil temperatures exceed 85°F or when prolonged drought occurs, intentionally turning brown to protect the crown. However, if the crown itself becomes desiccated, the turf transitions from dormant to dead. This guide provides a precise, step-by-step diagnostic and recovery protocol to bring your lawn back from the brink.
Step 1: Perform the Tug and Crown Diagnostic
Before altering your irrigation or fertilization schedule, you must determine if the straw grass is dormant, dead, or diseased. The 'Tug Test' is the industry-standard field diagnostic.
- The Tug Test: Grasp a handful of the brown, straw-like grass blades near the soil line and pull firmly. If the grass resists and stays anchored, the root system is intact, indicating dormancy or early-stage stress. If it pulls up effortlessly with shallow, dry roots, the plant is dead or suffering from severe root-feeding pests.
- The Crown Inspection: Use a pocket knife to slice a single turf plant vertically through the crown (the white base where roots meet blades). A healthy, dormant crown will be firm and white or pale green. A dead or diseased crown will be brown, mushy, or hollow.
- The Footprint Test: Walk across the straw-colored area. If your footprints remain compressed in the grass for more than 30 minutes, the turf lacks the turgor pressure associated with cellular hydration, confirming acute drought stress rather than natural dormancy.
Warning: Never apply synthetic, quick-release nitrogen fertilizers (like 30-0-0 urea-based blends) to straw grass that is suffering from drought or heat stress. The salt index of these fertilizers will draw moisture out of the already compromised roots, causing chemical burn and permanent turf loss.
Step 2: Match the Symptom to the Pathogen or Stressor
Straw grass manifests differently depending on the underlying cause. Use the matrix below to accurately identify the specific threat to your lawn.
| Condition | Visual Symptoms | Root & Crown State | Targeted Treatment Protocol |
|---|---|---|---|
| Natural Dormancy | Uniform straw-brown color across entire lawn; brittle blades. | Firm, white crown; deep, resilient roots. | Apply 0.5 inches of water every 14 days to keep the crown alive. Do not force greening. |
| Severe Drought | Grayish-straw hue; localized dry patches on slopes or sandy soil. | Shriveled roots; dry soil pulling away from roots. | Immediate deep soaking (1.5 inches). Followed by 1 inch per week split into two sessions. |
| Chinch Bug Damage | Straw-colored expanding patches radiating from hot, paved edges. | Chewed, blackened stem bases; bugs visible in thatch. | Apply Bifenthrin (e.g., Talstar P) at 0.1 fl oz per 1,000 sq ft. Water in lightly. |
| Brown Patch Fungus | Circular straw-colored rings (1-5 ft wide) with dark 'smoke ring' margins. | Rotting, dark, mushy leaf sheaths at the soil line. | Apply Azoxystrobin (Scotts DiseaseEx) or Propiconazole. Reduce evening irrigation. |
For comprehensive guidance on identifying and managing turfgrass diseases that cause straw-like lesions, the Penn State Extension Turfgrass Program offers extensive diagnostic resources for homeowners dealing with humidity-driven fungal outbreaks.
Step 3: Implement Corrective Hydration and Soil Aeration
If your diagnostic confirms drought stress or severe soil compaction (which mimics drought by preventing water infiltration), you must alter the soil environment.
Deep-Soak Irrigation Protocols
Shallow, daily watering encourages roots to stay in the top inch of soil, where they quickly desiccate, turning the grass to straw. Transition to deep, infrequent watering. Use a digital soil moisture meter, such as the Rapitest Digital Moisture Meter, to verify that water is penetrating at least 6 inches into the soil profile. If your soil is heavy clay, water will runoff before it penetrates. Use the 'cycle and soak' method: run your sprinklers for 10 minutes, wait 30 minutes for absorption, and repeat until you reach the target volume of 1 to 1.5 inches.
Liquid vs. Core Aeration
For active drought-stressed straw grass, mechanical core aeration can cause further root trauma. Instead, utilize a liquid soil loosener containing humic and fulvic acids (such as Simple Lawn Solutions Liquid Aerating Soil Loosener or N-Ext Air-8). These products reduce the sodium content in compacted clay and increase the soil's cation exchange capacity (CEC), allowing water to reach the deeper root zones without the physical stress of pulling plugs.
Step 4: Overseeding and Straw Mulch Application
If the tug test reveals that the straw grass is entirely dead, recovery is impossible, and you must renovate via overseeding. When overseeding bare or dead patches, applying a physical mulch is critical for seed-to-soil contact and moisture retention. This is where agricultural straw comes into play.
Selecting the Right Straw
Never use hay to cover grass seed. Hay contains viable seeds from forage crops and weeds, which will introduce severe weed pressure to your lawn. You must source weed-free wheat straw or pine straw. Wheat straw is preferred for cool-season grasses (Fescue, Bluegrass) because it breaks down over a single season, adding organic matter to the soil.
Application Rates and Techniques
- Rate: Apply exactly 1 bale (approximately 50-60 lbs) of weed-free wheat straw per 1,000 square feet of seeded area.
- Coverage Target: The straw should be scattered loosely so that roughly 50% of the soil and seed are still visible through the mulch. If the straw is too thick, it will block sunlight and physically impede the emerging grass seedlings.
- Distribution: Use a pitchfork to shake the straw bales apart, scattering it evenly. Avoid dumping and raking, which creates thick, impenetrable clumps.
Expert Insight: According to turf management guidelines from the University of Minnesota Extension, maintaining consistent moisture in the top 1/2 inch of soil is the single most critical factor for seed germination. A properly applied layer of wheat straw reduces surface evaporation by up to 70%, cutting your required daily watering frequency in half while preventing seed washout during heavy rains.
Step 5: Post-Recovery Fertilization Strategy
Once the straw grass has been diagnosed, treated, and new growth begins to emerge (or existing dormant crowns push new green shoots), you must support the recovery with the correct nutrient profile. Avoid high-nitrogen 'weed and feed' products.
Opt for a fertilizer with a higher ratio of Potassium (the third number on the N-P-K label). Potassium acts as an osmotic regulator within the grass plant, thickening cell walls and improving drought and disease resistance. A formulation like 5-10-15 or a dedicated organic kelp extract (e.g., Simple Lawn Solutions Liquid Kelp) provides the necessary micronutrients and potassium to harden the turf against future stressors that cause the straw-grass effect. Apply at a rate of 1 lb of actual potassium per 1,000 square feet, and water it into the root zone immediately.

