
Lawn Care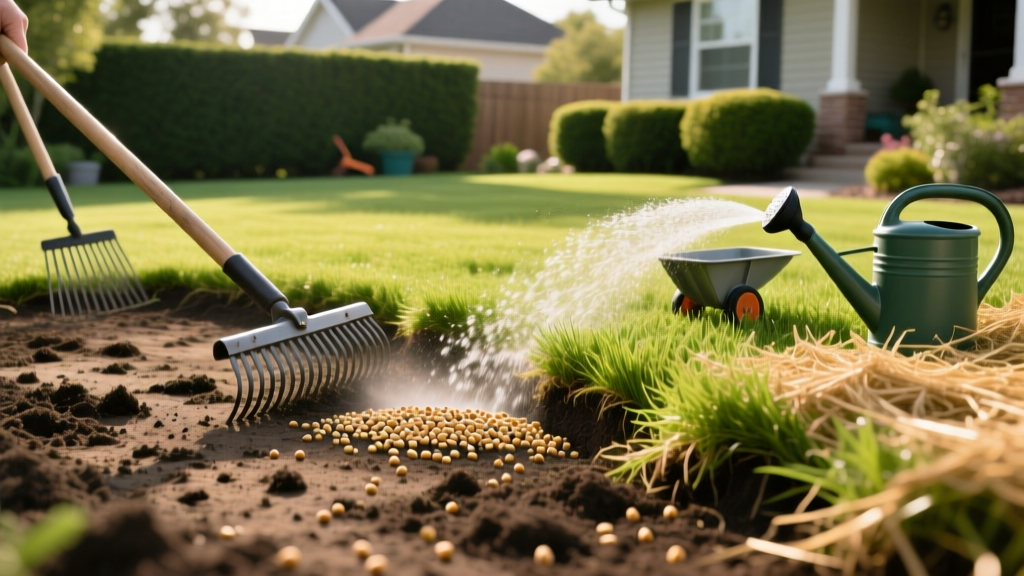
Fixing Grass: Step-by-Step Repair Procedures for Bare Spots
Fixing grass in localized bare spots or heavily thinned areas requires more than simply tossing seed on dirt and turning on the hose. Successful lawn repair hinges on three non-negotiable factors: precise soil-to-seed contact, targeted nutrient application, and a strict moisture management matrix. According to turfgrass specialists at University of Minnesota Extension, over 60% of DIY lawn repair attempts fail within the first 30 days due to improper seedbed preparation and inconsistent watering schedules.
This guide outlines the exact, step-by-step procedures for fixing grass, utilizing specific measurements, commercial-grade product standards, and agronomic timelines to ensure a 90%+ germination and survival rate.
Phase 1: Diagnose the Failure Point
Before buying seed, you must identify why the grass died. Applying seed to soil compromised by fungus, compaction, or chemical burn will result in a second failure. Use this diagnostic matrix to determine your prep requirements.
| Symptom | Probable Cause | Required Pre-Repair Action |
|---|---|---|
| Circular brown patches (Summer) | Brown Patch Fungus (Rhizoctonia solani) | Apply Azoxystrobin fungicide 7 days prior to seeding; improve drainage. |
| Irregular dead spots near hardscapes | Dog urine or winter road salt burn | Flush the area with 3 gallons of water per sq ft; apply pelletized gypsum to displace sodium. |
| Thinned, pale grass with moss presence | Severe soil compaction / Low pH | Core aerate to 3-inch depth; apply fast-acting lime to raise pH above 6.2. |
| Scalped dirt patches on slopes | Mower scalping / Water runoff | Regrade the slope; switch to a low-growing, rhizomatous grass variety. |
Phase 2: Soil Preparation and Seedbed Scarification
Grass seed requires a loose, fractured soil surface to anchor roots. If you broadcast seed onto hard, sun-baked soil, it will wash away or dry out within hours.
Step 1: Clear and Dethatch
Remove all dead debris, rocks, and weeds. If the thatch layer (the spongy organic matter between soil and green grass) exceeds 0.5 inches, you must dethatch. For small spots, use a heavy-duty steel bow rake. For larger damaged zones, use a power dethatcher (like the Sun Joe AJ801E) set to a depth that barely scratches the soil surface.
Step 2: Scarify the Soil
Use the tines of your steel bow rake to scratch the top 1/4 to 1/2 inch of bare soil. You are not tilling; you are creating microscopic grooves for the seed to fall into. This prevents seed washout during heavy rain and ensures the seed is surrounded by moisture-retaining soil on three sides.
Phase 3: Seed Selection and Application Rates
Choosing the right seed genetics is critical. Avoid cheap 'contractor grade' mixes that contain annual ryegrass as a filler. Opt for elite, disease-resistant cultivars.
- Cool-Season Lawns (Northern/Midwest): Use Rhizomatous Tall Fescue (RTF) or a 3-way Kentucky Bluegrass blend. RTF spreads via underground rhizomes, naturally filling in future gaps.
- Warm-Season Lawns (South/Sunbelt): Use improved seeded Bermuda (e.g., Yukon or Princess 77) or Centipedegrass. Note that warm-season grasses must be repaired in late spring/early summer when soil temperatures consistently exceed 65°F.
The Coated vs. Uncoated Seed Trap
Pay close attention to the seed tag. Many big-box store seeds (like Scotts Turf Builder Grass Seed) are coated with a clay, polymer, and fungicide mixture. While beneficial for moisture retention, coated seed requires double the application rate by weight compared to uncoated seed (like Jonathan Green Black Beauty) because the coating adds significant non-seed weight. Always calibrate your spreader based on the specific bag's instructions, not general rules of thumb.
Pro Tip: Seed-to-Soil Contact
After broadcasting the seed at the recommended rate (typically 4-6 lbs per 1,000 sq ft for uncoated Tall Fescue repair), gently drag a piece of chain-link fence or a upside-down leaf rake over the area to work the seed into the scarified grooves. Do not bury the seed deeper than 1/4 inch.
After broadcasting the seed at the recommended rate (typically 4-6 lbs per 1,000 sq ft for uncoated Tall Fescue repair), gently drag a piece of chain-link fence or a upside-down leaf rake over the area to work the seed into the scarified grooves. Do not bury the seed deeper than 1/4 inch.
Phase 4: Topdressing and Starter Fertilization
New seedlings lack the root mass to forage for nutrients. They require immediate access to Phosphorus (P) for root development and Nitrogen (N) for blade growth.
Applying Starter Fertilizer
Apply a dedicated starter fertilizer with an NPK ratio similar to 18-24-12 or 20-27-5. The Penn State Extension notes that Phosphorus is the critical driver for early root establishment. Legal Note: Many states restrict Phosphorus application on established lawns to prevent watershed runoff. However, repairing bare spots and establishing new grass is legally exempt in most jurisdictions, provided you sweep any granules off hardscapes back into the soil.
The Topdressing Layer
Cover the seeded area with a 1/8 to 1/4 inch layer of screened peat moss or fine compost. Peat moss is highly recommended for cool-season repairs because it holds up to 20 times its weight in water, creating a humid microclimate that prevents the delicate seed germ from drying out. Avoid using straw, which often contains viable weed seeds and requires tedious removal later.
Phase 5: The 21-Day Watering Matrix
Watering is where 90% of lawn repairs fail. The goal shifts from keeping the seed moist to training the roots to dive deep. Follow this exact timeline.
| Timeframe | Frequency | Duration | Agronomic Goal |
|---|---|---|---|
| Days 1 - 10 | 3 to 4 times daily | 3 to 5 minutes per zone | Keep the top 1/2 inch of soil and peat moss constantly damp. Never let the seed germ dry out, or it will die instantly. |
| Days 11 - 17 | 1 time daily | 10 to 15 minutes per zone | Reduce frequency but increase volume. Forces the new taproots to stretch downward to chase the moisture line. |
| Days 18 - 21 | Every other day | 20 to 25 minutes per zone | Transitioning to standard deep-and-infrequent watering. Monitor for wilting; if grass footprints remain, water immediately. |
Phase 6: First Mow and Ongoing Maintenance
Do not mow the new grass until it reaches at least 3.5 inches in height. When you do mow, ensure your mower blade is freshly sharpened. A dull blade will tear the tender, unanchored seedlings right out of the soil. Set your deck to cut the grass down to 2.5 or 3 inches, adhering strictly to the 1/3 rule (never removing more than one-third of the total blade height in a single pass).
'Patience during the first 30 days of fixing grass is the difference between a permanent repair and a seasonal frustration. Let the roots establish before subjecting the turf to foot traffic or heavy nitrogen feeds.' - EPA Healthy Lawns Guidelines
Troubleshooting Common Repair Failures
Seed Washed Away After a Storm
The Fix: If heavy rain pools and moves your seed, your grading is flawed. Rake the area smooth, create a slight crown (center higher than edges) to shed water, and reapply seed. Consider using a biodegradable erosion control blanket (like jute netting) pinned to the soil with landscape staples on slopes greater than 15%.
White Fuzz Appearing on Seedlings
The Fix: This is Pythium blight or damping-off disease, caused by excessive moisture and poor airflow. Immediately reduce watering frequency, allow the topsoil to dry slightly between sessions, and apply a preventative bio-fungicide containing Bacillus subtilis to protect the remaining seedlings without harming the soil microbiome.

