
Lawn Care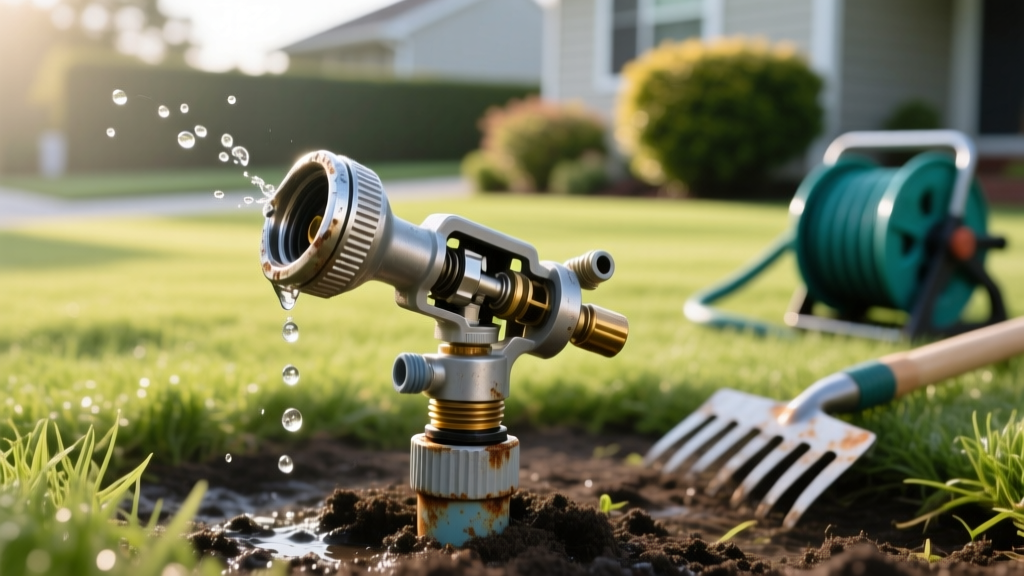
Fixing Lawn Sprinklers: How to Repair Broken Heads, Valves, and Zones
When a sprinkler zone fails, a geyser erupts, or water pressure drops, the root cause usually traces back to three components: the spray head, the lateral PVC pipe, or the zone control valve. Fixing lawn sprinklers requires moving past generic advice and understanding the specific mechanical and electrical failure points of modern irrigation systems. Whether you are dealing with a stripped gear drive in a Hunter PGP-Ultra rotor or a burnt-out solenoid on a Rain Bird valve, precise diagnostics save hours of unnecessary digging.
The Sprinkler Failure Diagnostic Matrix
Before grabbing a shovel, match your system's symptoms to the exact failure mode. This matrix isolates the problem area so you only excavate where necessary.
| Symptom | Probable Cause | Diagnostic Test | Target Component |
|---|---|---|---|
| Geyser or massive water spray at head | Broken riser, cracked head housing, or severed swing joint | Run zone manually; observe if water bypasses the nozzle entirely | Spray/Rotor Head & Riser |
| Zone will not turn on from controller | Dead solenoid, severed field wire, or bad controller terminal | Test solenoid with multimeter (expect 20-60 Ohms); manually bleed valve | Valve Solenoid or Wiring |
| Zone will not turn off (constant weeping) | Debris under valve diaphragm or torn diaphragm | Shut off main water; if weeping stops, diaphragm is fouled or torn | Valve Diaphragm Assembly |
| Low pressure / heads won't pop up fully | Leak in lateral line, sunken head, or clogged nozzle filter | Check for soggy soil between heads; unscrew nozzle and inspect screen | Lateral PVC Pipe or Filter |
Fixing Lawn Sprinklers: Step-by-Step Head Replacement
Rotary heads (like the Hunter PGP-Ultra) and fixed spray heads (like the Rain Bird 1800 Series) endure constant UV exposure, mower impacts, and soil compaction. When the housing cracks or the internal gear drive strips, replacement is mandatory.
Tools and Materials Required
- Replacement Head: Match the brand and model exactly to maintain uniform precipitation rates across the zone. Mixing rotors and sprays on the same zone causes severe over/under-watering.
- PTFE Thread Seal Tape: Standard white tape (3-4 wraps) or pink heavy-duty tape for threaded connections.
- Trenching Shovel & Hand Trowel: For precise excavation without severing adjacent drip lines.
- PVC Primer and Cement: Only if you are repairing a rigid riser rather than a threaded swing joint.
The Excavation and Swap Procedure
- Cut a Sod Flap: Instead of digging a destructive circle, use a flat spade to cut a 6-inch by 8-inch three-sided flap of turf around the broken head. Peel the grass back like a hinge. This preserves the lawn and makes backfilling seamless.
- Expose the Connection: Dig down 6 to 8 inches to expose the fitting. Most modern systems use a flexible swing joint (a barbed hose or threaded flexible pipe) connecting the lateral PVC to the head.
- Unscrew and Prep: Twist the old head counterclockwise. If the riser is threaded, wrap the male threads with 3 to 4 layers of PTFE tape clockwise. Never use liquid pipe dope on irrigation fittings; the chemicals can degrade the plastic and foul the solenoid valves downstream.
- Flush the Line: Before attaching the new head, turn the zone on for 3 seconds to blast out any dirt that fell into the open pipe. This prevents immediate nozzle clogging.
- Set the Grade: Screw on the new head. The top of the sprinkler housing must sit exactly 0.5 inches above the soil line to prevent grass clippings from jamming the pop-up stem, but low enough to avoid mower blade strikes.
Troubleshooting Zone Valves and Solenoids
If an entire zone is dead, the issue is almost always electrical or diaphragmatic at the valve manifold. The solenoid is the electromagnetic cylinder that opens the valve when the controller sends 24VAC.
Electrical Safety Warning: While irrigation systems use low-voltage 24VAC, a shorted wire or faulty transformer can occasionally spike. Always turn off the irrigation controller and unplug it before cutting or splicing field wires in the valve box.
Testing the Solenoid with a Multimeter
Set your digital multimeter to the Ohms (Ω) setting, specifically the 200Ω range. Disconnect the two wires from the solenoid and touch the probes to the terminals.
- Reading between 20 and 60 Ohms: The solenoid coil is intact. The problem is likely a severed field wire or a bad controller terminal.
- Reading 0 or Infinite (OL): The internal copper coil is broken or shorted. The solenoid is dead and must be replaced. (A replacement Hunter PGV solenoid costs roughly $18 at most hardware suppliers).
Clearing a Fouled Diaphragm
If the zone runs constantly even when the controller is off, debris (sand, scale, or root fragments) is likely trapped under the rubber diaphragm, preventing the valve from sealing. Turn off the main water supply, remove the 4 to 6 bonnet screws on top of the valve, and lift out the diaphragm. Rinse it with clean water, flush the valve body, and reassemble. If the rubber is pitted or torn, install a manufacturer-specific rebuild kit ($12-$15).
Upgrading to Smart Irrigation During Repairs
If you are already fixing lawn sprinklers and replacing a burnt-out controller transformer, 2026 is the ideal time to upgrade to an EPA WaterSense-certified smart controller. According to the EPA WaterSense program, weather-based smart controllers can save the average home nearly 7,600 gallons of water annually by automatically adjusting run times based on local evapotranspiration (ET) data.
Expert Insight: When upgrading to a smart controller like the Rachio 3e or Orbit B-hyve XR, ensure your existing valve solenoids are compatible. Most modern smart controllers output standard 24VAC, but older legacy systems (pre-2005) sometimes used DC latching solenoids which require a specific DC-compatible smart hub.
2026 Cost Breakdown: DIY vs. Professional Repair
Understanding the financial threshold between DIY repairs and hiring an irrigation specialist helps you budget effectively. Labor rates for certified irrigation technicians have risen, making DIY head and solenoid swaps highly cost-effective.
| Repair Scenario | DIY Material Cost (2026) | Professional Service Cost | Time Investment |
|---|---|---|---|
| Single Rotor/Spray Head Replacement | $12 - $25 | $85 - $125 (Minimum trip charge) | 30 Minutes |
| Solenoid Replacement | $15 - $22 | $110 - $150 | 45 Minutes |
| Valve Diaphragm Rebuild | $12 - $18 | $130 - $175 | 1 Hour |
| Severed Lateral PVC Line Repair | $25 - $45 (Couplings, PVC, primer) | $250 - $400 (Includes excavation) | 2 - 3 Hours |
| Smart Controller Upgrade (e.g., Rachio 3e) | $180 - $230 | $350 - $450 (Installed) | 1 Hour |
When to Call a Professional
While fixing lawn sprinklers at the head and valve level is highly accessible, you should hire a licensed irrigator if you suspect a mainline leak (the pipe between the water meter and the valve manifold). Mainlines operate under constant, high municipal pressure (often 60-80 PSI). Repairing them requires specialized trenching, precise solvent-welding schedules, and often municipal backflow preventer recertification. For comprehensive system audits and mainline diagnostics, consult resources from the Irrigation Association to find a certified professional in your region.

