
Lawn Care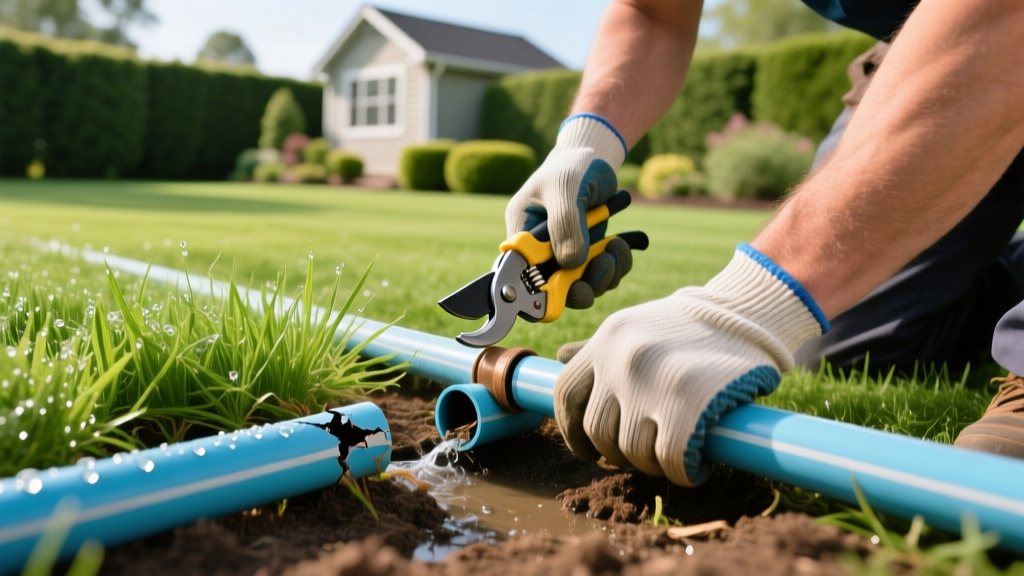
Fixing Sprinkler Line Leaks: Step-by-Step PVC and Poly Pipe Repair
An underground sprinkler line leak wastes thousands of gallons of water, creates soggy dead zones in your turf, and drastically reduces pressure to your sprinkler heads. According to the EPA WaterSense program, a single broken sprinkler head or leaking lateral line can waste up to 25,000 gallons of water over a single irrigation season. Fixing a sprinkler line is a highly manageable DIY repair, provided you use the correct solvent cements for wet conditions and understand the mechanical differences between rigid PVC and flexible polyethylene piping.
Diagnosing the Leak: Surface Symptoms vs. Pressure Drops
Before digging, you must isolate whether the break is on the mainline (pressurized constantly) or a lateral zone line (pressurized only when the zone runs). Misdiagnosing this leads to unnecessary excavation.
- Mainline Leak: You will see a constant wet spot or sinkhole in the yard even when the irrigation controller is completely off. This occurs because the mainline is under constant municipal or well pressure up to the zone valves.
- Lateral Line Leak: The yard is dry when the system is off, but a specific zone exhibits low pressure, misting heads, or a localized geyser when activated. The leak is downstream of the zone valve.
- Valve Manifold Leak: If multiple zones show low pressure or water pools near the valve boxes, the leak is likely at the manifold fittings rather than the lateral lines.
Essential Tools and Materials for Underground Repairs
Standard plumbing glue will fail in the damp environment of an irrigation trench. You must use specialized transition cements and expansion fittings to bridge gaps without stressing the surrounding soil.
| Tool / Material | Purpose | Estimated Cost |
|---|---|---|
| Narrow Trenching Shovel | Excavating tight 12-inch trenches without destroying surrounding turf roots. | $35 - $45 |
| Oatey All-Weather PVC Cement | Bonds PVC in damp/wet conditions where standard primer/cement fails. | $8 - $12 |
| Telescoping Slip-Fix Coupling | Expands to bridge cut gaps in PVC without requiring you to bend buried pipes. | $14 - $18 |
| Stainless Steel Hose Clamps | Secures barbed insert fittings on polyethylene lines (prevents underground rust). | $10 (10-pack) |
| Ratcheting PVC/Poly Cutter | Provides perfectly square cuts, which are mandatory for watertight solvent welds. | $25 - $40 |
Step-by-Step Guide to Fixing Sprinkler Line Breaks
Step 1: Pinpointing and Excavating the Break
Use a thin steel soil probe to test the ground moisture gradient. Push the probe into the lawn; the area where it slides in with zero resistance and pulls up muddy soil marks the center of the leak. Once located, dig a hole that is at least 12 inches wider and 6 inches deeper than the pipe itself. This extra workspace is non-negotiable; attempting to glue a slip-fix coupling in a cramped, muddy hole is the leading cause of secondary leaks.
Step 2: Cutting and Prepping the Pipe
Drain the line by opening the manual bleed screw on the zone valve. Cut out the damaged section of the pipe using a ratcheting cutter to ensure a perfectly 90-degree square cut. Wipe the inside and outside of the existing pipe with a dry rag. If the pipe is heavily caked in mud, use a wire brush to clean the outer inch of the pipe where the cement will bond.
Step 3: Installing the Repair Coupling
For PVC lines, the traditional method of cutting a new piece of pipe and using two standard couplings requires you to physically bend and pull the buried pipes apart to fit the assembly—a recipe for cracking adjacent joints. Instead, use a telescoping slip-fix expansion coupling.
- Apply a heavy coat of All-Weather PVC cement to the inside of the slip-fix and the outside of the existing buried pipe.
- Push the slip-fix onto one side of the break and hold for 15 seconds to prevent push-out.
- Pull the telescoping inner sleeve outward until it bridges the gap to the other side of the cut.
- Apply cement to the opposite side, push the expanded sleeve over the second pipe, and hold for 15 seconds.
PVC vs. Polyethylene: Material-Specific Repair Tactics
Many older or freeze-prone lawns use polyethylene (poly) pipe instead of PVC. Poly pipe is never glued; it relies on mechanical friction and compression. According to irrigation maintenance guidelines from the University of Minnesota Extension, understanding your pipe material dictates your repair strategy.
| Feature | Schedule 40 / Class 200 PVC | Polyethylene (Poly) Pipe |
|---|---|---|
| Connection Method | Solvent weld (PVC cement and primer) | Barbed insert fittings with hose clamps |
| Freeze Tolerance | Low; shatters if water freezes inside | High; expands slightly to accommodate ice |
| Repair Fitting | Telescoping slip-fix or standard couplings | Barbed repair coupling with stainless steel clamps |
| Clamp Requirement | None (chemical bond) | Two stainless steel clamps per connection point |
Poly Pipe Repair Tip: When fixing poly pipe, the barbed fittings can be incredibly difficult to push into the stiff plastic. Boil a cup of water and submerge the end of the poly pipe for 30 seconds. This softens the plastic just enough to slide over the barbed fitting, creating a watertight seal as it cools and shrinks.
⚠️ Warning: The Water Hammer Effect
If your sprinkler line repeatedly bursts at the exact same fitting after repairs, you are likely experiencing water hammer. This occurs when zone valves close too rapidly, sending a shockwave of pressure back through the lateral lines. If you suspect this, install a water hammer arrestor at the manifold or adjust the flow control stem on the zone valve to slow the closing speed.
Pressure Testing and Proper Backfilling
Never backfill the trench immediately after gluing. PVC cement requires a chemical curing process that takes a minimum of 2 hours to achieve full pressure tolerance, though 24 hours is ideal for mainline repairs.
Once cured, turn on the specific zone manually from the irrigation controller. Let the zone run for 15 minutes. Inspect the slip-fix or poly clamps for any weeping or micro-drips. If the joint is completely dry, begin backfilling.
Do not simply kick loose topsoil into the hole. Backfill in 3-inch layers, tamping each layer down with the flat end of your trenching shovel. Failing to compact the soil around the repair will result in a depression in your lawn over the next few weeks as the loose soil settles under the weight of mowers and foot traffic.
Common DIY Mistakes to Avoid
- Using standard clear PVC cement in a wet trench: It will wash off the pipe before curing. Always use medium-body, all-weather cements designed for irrigation.
- Reusing old hose clamps on poly pipe: Standard zinc-plated clamps will rust through in the soil within two years. Always use 300-series stainless steel clamps.
- Cutting the pipe at an angle: An uneven cut leaves a gap at the bottom of the fitting where water will inevitably bypass the solvent weld.

