
Lawn Care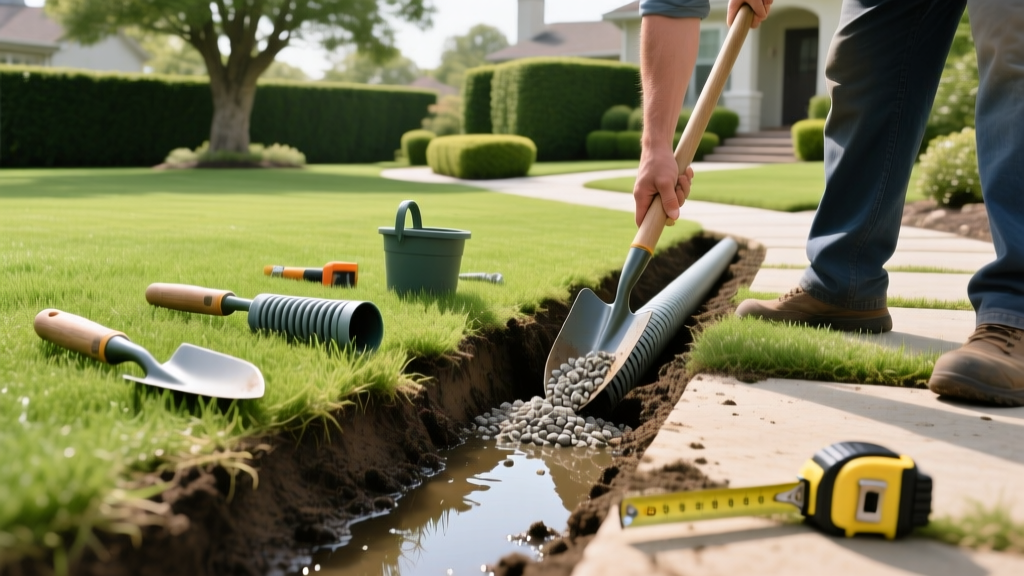
Step-by-Step Guide to Fixing Poor Drainage for Lawns
The Hidden Cost of Standing Water
Standing water destroys turfgrass by displacing oxygen in the soil profile. When soil pores remain saturated for more than 24 hours, roots enter anaerobic stress, making them highly susceptible to fungal pathogens like Pythium blight and root rot. Fixing poor drainage for lawns is not just about eliminating muddy patches; it is a critical soil-health intervention. While surface grading solves minor runoff issues, chronic subsurface saturation requires a dedicated subterranean evacuation system. This guide details the exact engineering and installation steps for a high-capacity French drain, the most reliable solution for heavy clay soils and low-lying yards.
Diagnostic Matrix: Matching Symptoms to Solutions
Before excavating, accurately diagnose the hydrology of your yard. Installing a French drain in a high-clay basin without an exit point will simply create an underground bathtub. Use the framework below to identify the correct intervention based on your specific symptoms.
| Observed Symptom | Primary Cause | Corrective Procedure |
|---|---|---|
| Water pools against the home foundation | Negative grading / settled backfill | Regrade soil to a 5% slope (6-inch drop over 10 feet) away from the foundation. |
| Soggy depressions in the middle of the yard | Subsurface hardpan / clay basin | Install a French drain network terminating at a daylight exit or dry well. |
| Surface runoff washing across a slope | High velocity / compacted topsoil | Construct a swale or install a surface channel drain with a catch basin. |
| Persistent mud despite good surface slope | High water table / heavy clay subsoil | Deep trenching with a herringbone French drain layout to intercept lateral groundwater. |
The Gold Standard: Installing a 4-Inch SDR 35 French Drain
Many DIY tutorials recommend flexible, corrugated black pipe. Avoid this material. Corrugated pipe crushes under soil load, traps sediment in its ridges, and is easily breached by tree roots. The professional standard for residential lawn drainage is rigid 4-inch SDR 35 PVC with pre-drilled perforations. According to Penn State Extension, rigid pipe maintains structural integrity and ensures consistent water flow over decades.
Phase 1: Planning and Utility Clearance
- Call 811: Always contact your local utility locating service at least 72 hours before digging. This is a legal requirement and prevents catastrophic damage to buried gas, water, or fiber-optic lines.
- Map the Exit Point: A French drain relies on gravity. Your exit point (daylight) must be lower than the lowest wet spot in your yard. If daylighting is impossible, you must terminate the pipe into a subterranean dry well sized at minimum 3 feet deep and 3 feet wide, filled with crushed stone.
- Calculate the Grade: The trench requires a minimum 1% slope (1/8-inch drop per linear foot). Over a 50-foot run, the trench floor must drop exactly 6.25 inches. Use a laser level or a string line with a line level to mark the excavation depth on wooden stakes every 10 feet.
Phase 2: Excavation and Trenching
Dig the trench to a width of 12 inches and a depth of 18 inches. The extra width is non-negotiable; it provides a 4-inch buffer of gravel on all sides of the 4-inch pipe, which acts as the primary water storage and filtration medium. If you are working in heavy blue clay, line the bare dirt walls of the trench with a clay-sealing paint or ensure your geotextile fabric fully separates the clay from the gravel to prevent the clay from migrating into the stone matrix over time.
Phase 3: Aggregate and Pipe Installation
The materials you choose dictate the lifespan of your drainage system. Follow this exact layering sequence:
- The Fabric: Line the trench with a 4 oz to 6 oz non-woven geotextile fabric. Do not use woven weed barrier; it lacks the flow rate required for subsurface drainage and will cause water to back up.
- The Base Gravel: Add a 3-inch base layer of 3/4-inch washed crushed stone (ASTM C33 #57). The term washed is critical. Unwashed gravel contains rock dust and fines that will wash into the pipe and turn into concrete-like sludge, permanently clogging the system.
- The Pipe: Lay the 4-inch SDR 35 perforated PVC on the gravel base. Crucial Step: Orient the pipe so the perforated holes face downward. As the gravel bed saturates, water enters from the bottom. If holes face up, soil and debris fall directly into the pipe, causing immediate blockages.
- The Cover: Shovel more washed crushed stone over the pipe until you have 2 to 3 inches of stone above the pipe crown. Fold the excess geotextile fabric over the top of the gravel, creating a complete "burrito" wrap. This prevents topsoil from washing down into the gravel void spaces.
Warning: The Dry Well Failure Mode
If terminating your drain into a dry well, the well must be wrapped entirely in non-woven geotextile and surrounded by at least 12 inches of washed stone. If the surrounding soil is dense clay with a percolation rate slower than 1 inch per hour, a dry well will fail during heavy spring rains. In heavy clay scenarios, you must daylight the pipe to a storm drain, curb, or lower-elevation swale.
Material Costs and Sourcing (2026 Estimates)
Budgeting accurately requires understanding the difference between big-box store materials and professional landscape supplier inventory. As of 2026, expect the following cost breakdown for a DIY installation:
- 4-inch SDR 35 PVC (10 ft section): $35 - $45 (Professional suppliers; big-box stores often only stock corrugated or thin-wall corrugated alternatives).
- Washed Crushed Stone (#57): $45 - $65 per ton (delivered). One ton covers approximately 15 linear feet of a 12-inch wide trench.
- Non-Woven Geotextile (4 oz, 300 ft roll): $120 - $150.
- Total DIY Cost: $18 to $25 per linear foot.
- Professional Installation Cost: $45 to $85 per linear foot, depending on access for mini-excavators and soil disposal fees.
Post-Installation Lawn Recovery
Once the gravel burrito is wrapped, cover the trench with 2 inches of high-quality topsoil mixed with compost. The USDA Natural Resources Conservation Service notes that incorporating organic matter into the top 6 inches of soil improves surface infiltration rates, ensuring water reaches your subsurface drain faster. Seed the area with a turfgrass blend suited to your region, or lay sod for immediate stabilization. Keep the area moist but not saturated for 14 days to establish root contact. By addressing the subsurface hydrology with rigid materials and washed aggregates, your lawn will remain firm, oxygenated, and resilient against heavy seasonal rainfall.

