
Lawn Care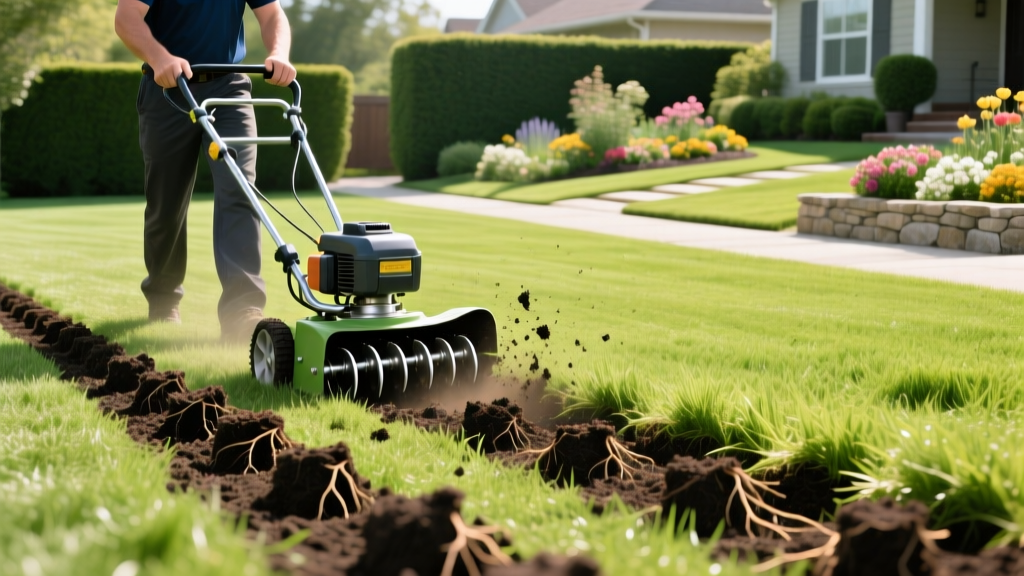
Step-by-Step Guide to Core Aeration Using a Gas Aerator
Soil compaction restricts oxygen, water, and nutrient flow to turfgrass root zones, leading to shallow roots and increased susceptibility to drought stress. For lawns exceeding 5,000 square feet or those situated on heavy clay soils, manual or electric aerators lack the kinetic force required to penetrate deeply. A walk-behind gas aerator delivers the necessary downward tine pressure—often exceeding 200 lbs of dynamic force—to extract 3-inch soil cores, effectively fracturing the subgrade and facilitating deep root expansion.
Phase 1: Pre-Aeration Soil Moisture Calibration
Operating a gas aerator on bone-dry soil bends the tines and stalls the engine, while overly saturated soil creates muddy trenching rather than clean core extraction. Your target is 'field capacity' moisture. According to University of Minnesota Extension, the soil should be moist enough to crumble when squeezed, not form a solid mud ball.
The 6-Inch Screwdriver Test
- Select a 6-inch flathead screwdriver.
- Push it vertically into the lawn in at least three distinct zones.
- If you cannot push it to the 4-inch mark without excessive body weight, the soil is too dry. Apply 0.5 inches of irrigation 24 hours prior to aeration.
- If the screwdriver slides in with zero resistance and pulls up dripping wet, delay aeration by 48 hours to prevent subgrade smearing.
Phase 2: Equipment Selection and Specifications
Not all gas aerators perform identically. The two primary architectures available at rental yards and pro shops are drum-style and camshaft-driven (reciprocating). Understanding the mechanical differences ensures you select the right machine for your specific soil profile.
| Architecture | Downward Force Mechanism | Core Quality & Spacing | Example Model | Avg Daily Rental (2026) |
|---|---|---|---|---|
| Drum-Style | Weight of water/sand-filled drum | 2-3 inch spacing; cores may vary in depth on uneven terrain | Classen CA-18H | $75 - $95 |
| Camshaft-Driven | Engine-driven mechanical downforce | Exact 3-inch depth; uniform 2x2 inch grid pattern | Billy Goat PL1800H | $110 - $140 |
For heavily compacted clay or lawns with significant thatch buildup exceeding 0.5 inches, the camshaft-driven model is mandatory. The mechanical thrust punches through resistance layers that a standard gravity-fed drum aerator will simply glide over.
Phase 3: Utility Clearance and Perimeter Mapping
CRITICAL SAFETY WARNING: Before making a single pass, you must contact your local utility marking service. In the United States, dial 811 or visit call811.com at least 72 hours before aeration. Gas aerator tines can easily sever shallow irrigation lines, fiber-optic cables, or electrical conduits buried less than 4 inches below the surface. Always respect the painted utility flags and maintain a 2-foot clearance zone around marked lines.
Phase 4: The Double-Pass Execution Protocol
Proper execution requires overlapping passes to achieve the recommended 20 to 40 holes per square foot, as cited by Penn State Extension. Treat the operation like a precision mowing pattern.
- Perimeter Pass: Drive the gas aerator along the outer edge of the lawn to establish a turning boundary. Keep the tines engaged.
- First Direction (North-South): Run parallel, straight lines across the entire yard. Overlap each pass by exactly 4 inches (roughly half the width of the aerator deck).
- Turning Technique: Never turn the machine while the tines are engaged in the soil, as this will tear the turf crown and bend the coring spoons. Disengage the tines, drive forward two feet, pivot, and re-engage.
- Second Direction (East-West): Once the North-South grid is complete, run a second series of passes perpendicular to the first. This cross-hatching fractures the soil lattice multidimensionally.
- Target Density: You should extract approximately 15 to 20 soil plugs per square foot. Leave the extracted cores on the lawn; they contain beneficial soil microbes that will break down thatch as they disintegrate over the next two weeks.
Phase 5: Post-Aeration Overseeding and Fertilizer Integration
The 24-hour window immediately following gas aeration is the most critical period for turf renovation. The open macropores provide direct seed-to-soil contact, bypassing the thatch barrier entirely.
- Overseeding Rate: Apply Tall Fescue at 6-8 lbs per 1,000 sq ft, or Kentucky Bluegrass at 2-3 lbs per 1,000 sq ft directly over the open aeration holes.
- Starter Fertilizer: Apply a high-phosphorus starter fertilizer (e.g., 18-24-12 NPK ratio) immediately after seeding. Phosphorus mobility in soil is notoriously low; the aeration holes deliver it directly to the root zone where it stimulates rapid root initiation.
- Drag Matting: Pull a weighted chain-link drag mat or a piece of chain-link fence over the lawn. This breaks the extracted soil cores, pushing the nutrient-rich topsoil back into the holes to cover the newly dropped seed, acting as a natural topdressing.
Phase 6: Gas Aerator Winterization and Tine Maintenance
If you own your equipment, or if you are returning a rental unit in optimal condition to avoid cleaning fees, proper maintenance of the coring spoons and engine is required.
Tine Clearance and Corrosion Prevention
Soil left inside the hollow tines will dry into a concrete-like plug, rendering the aerator useless on its next deployment. While the machine is still on the lawn, use a piece of stiff wire or a specialized tine-cleaning rod to push out all compacted clay. Once cleared, spray the interior and exterior of the 5/8-inch steel spoons with a heavy-duty penetrating oil or a silicone-based lubricant. Avoid standard WD-40, as it evaporates quickly and offers poor long-term rust inhibition during winter storage.
Carburetor Fuel Management
Modern ethanol-blended fuels (E10 or E15) degrade rapidly and cause varnish buildup in the small carburetors typical of Honda GX160 or Briggs & Stratton engines used on these machines. Either run the engine completely dry of fuel or add a marine-grade fuel stabilizer (such as STA-BIL 360 Marine) to the tank and let it run for 10 minutes to circulate the treated fuel through the jets before storage.
Troubleshooting Common Gas Aerator Operational Failures
Why is the aerator only pulling 1-inch cores instead of 3-inch cores?
This is almost always a soil moisture issue, not a mechanical failure. The soil is too dry and compacted for the tines to penetrate. Water the lawn deeply (1 inch of water) and wait 48 hours. Alternatively, ensure the water ballast drum is completely full; a partially filled drum lacks the necessary mass to drive the tines into hardpan clay.
The engine surges and bogs down when the tines engage. What is the fix?
Engaging the tines puts a massive load on the engine. If it surges, the governor spring may be misadjusted, or the main carburetor jet is partially clogged with degraded fuel. Clean the carburetor with aerosol carb cleaner, and ensure you are operating at full throttle (choke completely off) before dropping the tines into the soil.
Are the extracted cores too far apart?
Drum aerators rely on the rotation of the drum to space the tines. If you are driving the machine too fast, the drum spins slower relative to ground speed, resulting in 6-inch gaps between cores. Slow your walking pace to a maximum of 2 miles per hour to allow the tines to strike the soil at the correct 2-inch intervals.

