
Lawn Care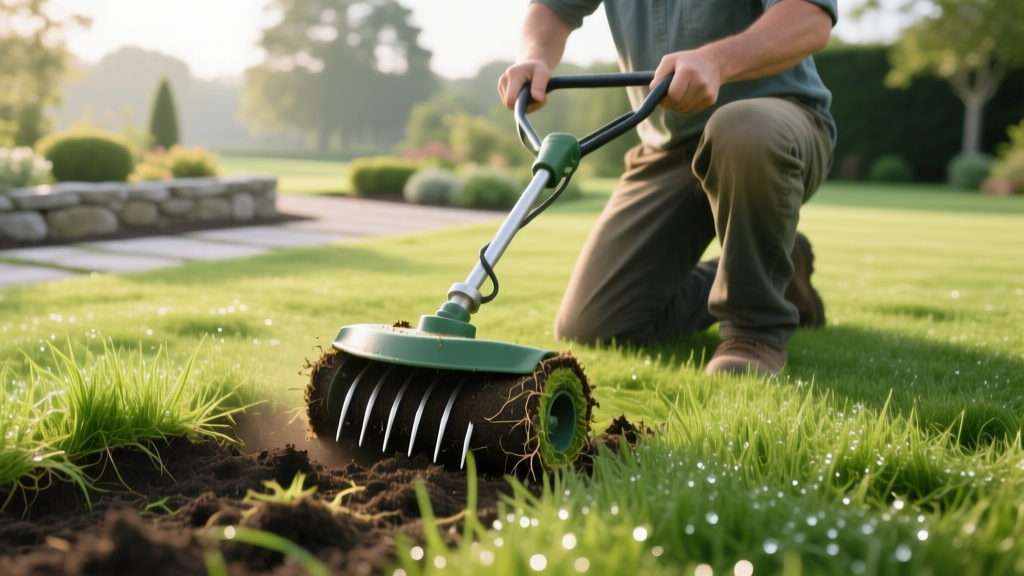
How to Use a Grass Core Aerator: Step-by-Step Lawn Maintenance
Diagnosing Soil Compaction Before You Rent
Soil compaction crushes the macro-pores in your lawn's root zone, restricting oxygen, water, and nutrient flow. While liquid aeration products claim to break up surface tension, mechanical core aeration remains the gold standard for physically removing soil plugs and relieving deep compaction. Before renting equipment, verify that your lawn actually requires mechanical intervention.
The 6-Inch Screwdriver Test: Push a standard 6-inch flathead screwdriver into the soil. If you meet heavy resistance before the 3-inch mark, your soil is compacted. Additionally, measure your thatch layer. If thatch exceeds 0.5 inches, you must dethatch before aerating; otherwise, the aerator tines will clog with organic matter and fail to penetrate the mineral soil.
Pre-Aeration Preparation Protocol (Days 1-3)
Proper preparation dictates the success of your aeration. Dry soil will shatter the tines or cause the machine to bounce, resulting in shallow, ineffective holes.
- Utility Marking: Contact your local utility locator service by visiting Call 811 at least 72 hours before aerating to mark underground gas, water, and fiber-optic lines. Mark shallow sprinkler heads and valve boxes with high-visibility flags.
- Moisture Calibration: Water your lawn deeply 24 to 48 hours before aeration. You need approximately 1 inch of water (about 0.62 gallons per square foot) to soften the top 3 inches of soil. The soil should be moist, not muddy. If the ground is saturated, the core extraction will smear the clay walls, creating a waterproof seal that defeats the purpose of aeration.
- Mowing Height: Drop your mower deck to 1.5 or 2 inches. Cutting the grass short ensures the aerator tines reach the soil surface without tangling in long leaf blades and allows the extracted soil plugs to make direct contact with the thatch layer for faster breakdown.
Choosing the Right Grass Core Aerator
Not all aerators are built for the same square footage. Selecting the wrong machine will result in inadequate spacing or severe operator fatigue. Below is a breakdown of the primary mechanical options available to homeowners in 2026.
| Equipment Type | Best For Lawn Size | Estimated Cost (2026) | Core Depth & Spacing |
|---|---|---|---|
| Manual Step-On Corer | < 500 sq ft (Spot treatment) | $40 - $65 (Buy) | 2-3 in depth, 4-6 in spacing |
| Tow-Behind (e.g., Agri-Fab 40') | 5,000+ sq ft (Open, flat yards) | $150 - $250 (Buy) | Up to 3 in depth, 4 in spacing |
| Walk-Behind (e.g., Classen CA-18H) | 2,000 - 10,000 sq ft | $90 - $130 / day (Rent) | 2.5-3 in depth, 2-3 in spacing |
Step-by-Step Core Aeration Execution
Operating a walk-behind grass core aerator requires a specific driving pattern to ensure uniform coverage without tearing the turf. The goal is to achieve 20 to 40 holes per square foot.
Step 1: The Perimeter Pass
Start by making a single continuous pass around the entire perimeter of your lawn. This creates a turning zone at the edges, allowing you to maneuver the heavy machine without dragging the tines across planted garden beds or hardscapes.
Step 2: The Orthogonal Grid Pattern
Make your first set of parallel passes across the entire lawn in a single direction (e.g., North to South). Once complete, make a second set of passes perpendicular to the first (East to West). This cross-hatching guarantees the 2-to-3-inch spacing required to effectively fracture the hardpan layer beneath the surface.
Step 3: Double-Passing High-Traffic Zones
Areas near driveways, gates, and playsets suffer from severe sub-surface compaction. Make a third, diagonal pass over these specific zones to maximize soil fracturing and pore space creation.
CRITICAL SAFETY WARNING: Never turn a walk-behind grass core aerator while the tines are engaged in the soil. The tines act as anchors; forcing the handle sideways will shear the grass roots, rip up the turf, and potentially bend the tine shafts. Always disengage the tines, lift them out of the ground, turn the machine, and re-engage for the next pass.
Post-Aeration Recovery and Overseeding
The holes left by a grass core aerator are open invitations for seed, water, and fertilizer. According to turfgrass researchers at the University of Minnesota Extension, combining core aeration with overseeding dramatically increases seed-to-soil contact and germination rates.
- Leave the Plugs: Do not rake up the extracted soil cores. They contain vital soil microbes that will break down the thatch layer as they disintegrate over the next 2 to 4 weeks. Dragging a piece of chain-link fence or a leveling mat over the lawn will speed up this process and help top-dress the turf.
- Fertilizer Selection: If overseeding, apply a starter fertilizer with a high phosphorus content (e.g., an N-P-K ratio of 18-24-12) immediately after aeration. Phosphorus promotes rapid root development in new seedlings. Avoid standard weed-and-feed products, as the pre-emergent herbicides will prevent your new grass seed from germinating.
- Watering Schedule: Water the lawn lightly twice a day for the first 14 days to keep the top inch of soil consistently moist, ensuring the seeds resting inside the aeration holes do not dry out.
Equipment Maintenance and Storage
If you own your aerator or are preparing a rental for return, proper maintenance is required to prevent rust and tine clogging. Use a pressure washer to blast out the hollow tines from the top down. Soil left inside the tines will bake into concrete, rendering the machine useless for the next user. Once dry, spray the tines with a silicone-based lubricant or a light coat of WD-40 to prevent oxidation during storage.

