
Lawn Care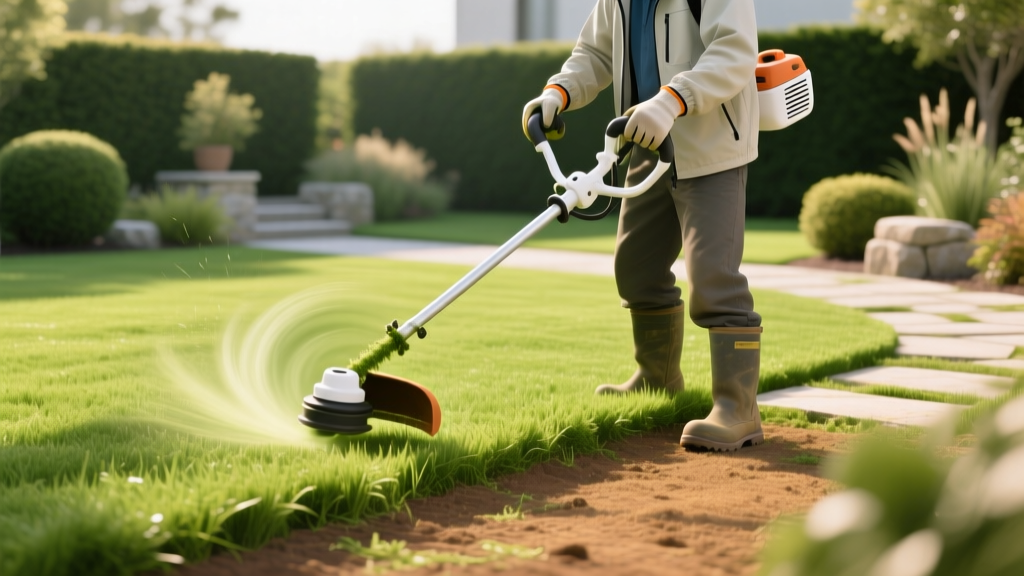
How to Use a Grass Eater for Perfect Lawn Edging and Trimming
A grass eater—commonly known as a string trimmer or weed whacker—is the critical bridge between your rotary mower’s cutting deck and your landscape’s hardscape borders. While modern mowers handle the bulk of turf reduction, the grass eater dictates the final aesthetic of your property. Improper technique doesn't just result in uneven borders; it causes severe mechanical damage to tree cambium layers, exposes turf roots to desiccation, and accelerates equipment wear. This guide details the exact step-by-step procedures for operating a grass eater in 2026, leveraging the latest brushless motor technology and advanced copolymer lines to achieve professional-grade results.
Pre-Operation Calibration and Line Selection
Before engaging the trigger, you must match your trimmer line to the specific vegetation density. Modern 40V and 80V lithium-ion grass eaters feature variable-speed brushless motors that adjust torque based on resistance. Feeding the wrong line diameter will either stall the motor or cause the line to snap under centrifugal force.
| Line Diameter | Material Profile | Best Application | Motor Load Impact |
|---|---|---|---|
| 0.065-inch | Round Nylon | Light residential turf, fine fescue, delicate edging | Low (Maximizes battery runtime) |
| 0.080-inch | Copolymer / Twisted | Standard mixed lawns, thick bermudagrass, mild weeds | Medium (Optimal balance of cut and speed) |
| 0.095-inch | Serrated / Multi-sided | Overgrown lots, woody weeds, heavy brush clearing | High (Requires 80V+ platforms for sustained RPM) |
Pro Tip: Upgrade to a twisted aerodynamic line (such as Oregon Gatorline). The twisted profile reduces air drag by up to 15%, allowing your grass eater's brushless motor to maintain higher RPMs under load, resulting in a cleaner shear cut rather than a blunt impact that shreds grass blades and invites fungal pathogens.
Step-by-Step Trimming Procedure
Trimming removes grass in areas the mower cannot reach, such as around mailbox posts, fence lines, and tree rings. The objective is to match the mower’s cutting height exactly.
- Execute the Mow-First Rule: Always mow the lawn before using the grass eater. Mowing first disperses the bulk of the clippings, giving you a clear sightline to the turf canopy and preventing the trimmer from bogging down in uncut, dense grass.
- Establish the Proper Stance: Stand with your feet shoulder-width apart. Hold the grass eater with your dominant hand on the trigger handle and your non-dominant hand on the auxiliary loop handle. Keep the shaft angled at roughly 45 degrees to the ground.
- Set the Cutting Height: Lower the trimmer head until the spinning line just kisses the top of the turf canopy. For most cool-season grasses (like Kentucky Bluegrass), this is roughly 2.5 to 3.5 inches above the soil line. Never let the plastic guard ride on the grass, as this scalps the turf and exposes the soil.
- Use the Walk-Through Technique: Do not swing the trimmer like a golf club. Keep the head steady and walk forward in a straight line, allowing the 12-to-14-inch cutting swath to do the work. Walk at a steady pace of about 2 feet per second.
- Manage the Clipping Discharge: Most grass eaters discharge clippings to the left of the head (when facing forward). Position yourself so the clippings are thrown back onto the already-cut lawn, keeping hardscapes and flower beds clean.
Precision Edging Along Hardscapes
Edging creates the crisp, vertical boundary between your lawn and driveways, sidewalks, or garden beds. Many modern grass eaters feature a pivoting head or a dedicated edging wheel to facilitate this.
1. Engage the Edging Mode
If your grass eater has a pivot-release button, rotate the motor head 90 degrees so the string spins in a vertical plane. Deploy the edging wheel if equipped; this wheel acts as a physical depth guide, preventing you from digging too deeply into the soil.
2. Align and Lower
Position the spinning line exactly over the seam where the grass meets the concrete. Lower the head until the line cuts exactly 1/8 to 1/4 of an inch below the soil surface. This creates a micro-trench that defines the edge without severing the primary lateral roots of the turf.
3. The Pull-Back Method
For the straightest lines, do not push the edger forward. Instead, pull the grass eater backward toward your body while walking backward. Pulling provides superior resistance control and prevents the head from bouncing over irregularities in the concrete edge.
Preventing Mechanical Damage to Turf and Trees
The most common point of failure in DIY lawn maintenance is mechanical damage caused by reckless string trimmer operation. According to the University of Minnesota Extension, repeated impacts from nylon trimmer lines strip away the bark and destroy the cambium layer of trees, effectively girdling them and cutting off nutrient transport.
- Eliminate Volcano Mulching: Do not use the grass eater to trim grass right up to the trunk of a tree. Maintain a 3-foot mulch ring around all trees. Use handheld manual shears for the grass inside this ring.
- Watch for Hidden Hardscape: When trimming near retaining walls or landscape timbers, keep the trimmer head at least 2 inches away from the wood or stone. Striking masonry with a 0.080-inch line spinning at 7,000 RPM will instantly melt the nylon and snap the line.
- Avoid Scalping on Slopes: When trimming on an incline, the tendency is to let the heavy motor end drop, which raises the cutting head and scalps the turf on the high side. Consciously keep the shaft parallel to the slope's gradient.
Furthermore, the U.S. Consumer Product Safety Commission (CPSC) emphasizes the necessity of proper personal protective equipment (PPE). The high-velocity discharge of debris from a grass eater necessitates ANSI Z87.1-rated safety glasses, closed-toe footwear, and long pants to protect against lacerations and projectile impacts.
Maintenance Checklist Summary
- Clear the lawn of rocks, dog toys, and wire before starting.
- Match line diameter to vegetation density (0.080' for standard lawns).
- Mow first, then trim, then edge.
- Walk, don't swing; maintain a steady 2 ft/sec pace.
- Clean the trimmer head vents with compressed air after every use to prevent brushless motor overheating.

