
Lawn Care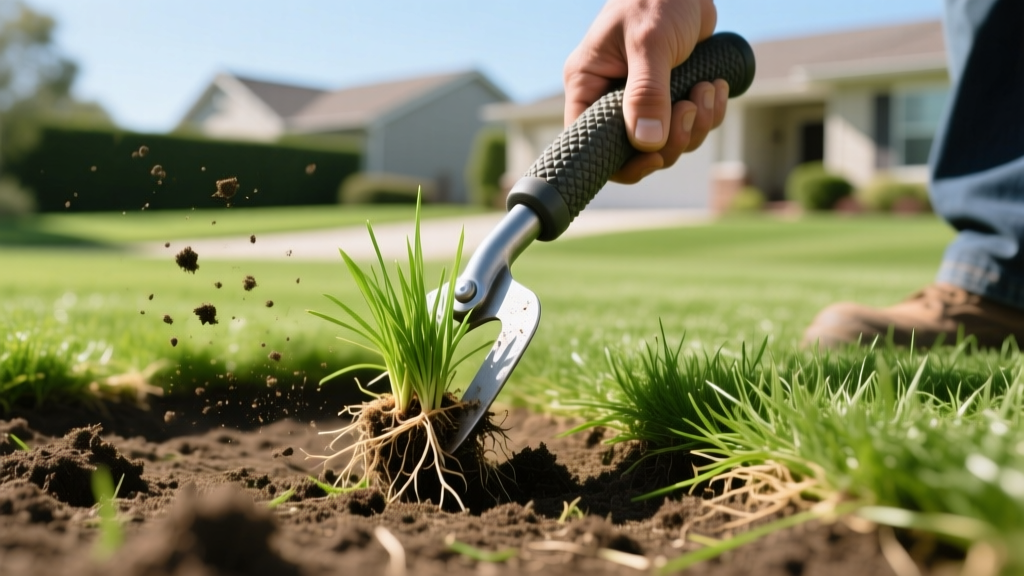
How to Use a Grass Plugger Tool to Fix Bare Lawn Spots
The Economics of Turf Repair: Plugging vs. Alternatives
Bare spots, pet urine burns, and localized fungal die-offs disrupt the uniform canopy of warm-season lawns. While cool-season grasses can be reseeded, vegetative warm-season turfgrasses like Zoysia, St. Augustine, Bermuda, and Centipede require vegetative propagation. Homeowners typically face three options for repair: laying full pallets of sod, broadcasting seed (which fails for most warm-season varieties), or utilizing a grass plugger tool to transplant mature turf cores. Plugging offers the highest return on investment for targeted repairs, bridging the gap between the high cost of sod and the unreliability of seed.
| Repair Method | Cost per 100 Sq Ft | Establishment Time | Labor Intensity |
|---|---|---|---|
| Full Sodding | $45 - $70 | 2 - 3 weeks | High (heavy lifting) |
| Grass Plugging | $12 - $20 | 6 - 10 weeks | Moderate (repetitive motion) |
| Seeding (where applicable) | $3 - $8 | 8 - 12 weeks | Low |
According to Texas A&M AgriLife Extension, vegetative planting methods like plugging are the only reliable way to establish stolons and rhizomes for hybrid warm-season grasses that do not produce viable seed.
Selecting the Right Grass Plugger Tool
Not all pluggers are engineered for dense clay or compacted suburban soils. A standard bulb planter will bend under the torque required to extract a 3-inch turf core. When shopping for a grass plugger tool, prioritize models with a reinforced steel shaft, a welded foot peg for leverage, and an ejection mechanism to clear the soil core.
- Pro Plugger 5-in-1 ($45 - $55): Features a sharp, serrated edge and a side-slot ejection system. Ideal for extracting 2.25-inch diameter plugs up to 3 inches deep.
- Yard Butler Terra Tuff Heavy Duty ($35 - $45): Built with a thicker gauge steel and a wider footplate, making it the superior choice for heavily compacted clay soils.
- Manual Auger Attachments ($60 - $90): For large-scale renovations exceeding 500 square feet, a 2-inch or 3-inch earth auger bit attached to a heavy-duty cordless drill (minimum 18V) drastically reduces physical fatigue.
Step-by-Step Plugging Procedure
Step 1: Site Preparation and Weed Eradication
Do not plant plugs directly into existing weeds or dead thatch. Apply a targeted glyphosate treatment to the bare spot 7 to 10 days prior to plugging. Once the weeds have browned, use a manual core aerator or a garden fork to fracture the top 2 inches of soil. This reduces the mechanical resistance when driving the grass plugger tool into the ground.
Step 2: Core Extraction Technique
Position the plugger over the donor area (either a hidden corner of your lawn or a purchased flat of plugs). Step firmly onto the foot peg, driving the cylinder down to a depth of exactly 3 inches. Twist the handle 45 degrees to shear the deep roots, then pull straight up. If using a tool without an ejection slot, tap the side of the cylinder with a rubber mallet to release the soil core.
Step 3: Hole Amendment and Plug Seating
The native soil extracted from the planting hole is often too dense for rapid stolon expansion. Discard 50% of the extracted clay and replace it with a mix of sphagnum peat moss and fine compost. Drop the grass plug into the amended hole. The critical metric here is crown depth: the soil line of the plug must sit exactly flush with the surrounding native soil. Planting the plug even a quarter-inch too deep will smother the crown and induce rot, while planting it too high exposes the roots to desiccation.
Step 4: Tamping and Initial Hydration
Use the flat end of a trowel or a manual hand tamper to press the soil firmly around the perimeter of the plug. Eliminating air pockets is mandatory for root-to-soil contact. Immediately after tamping, apply 0.25 inches of water to settle the soil matrix around the rhizomes.
Warm-Season Grass Spacing Matrix
Proper spacing dictates how quickly the lawn will knit together. Over-spacing delays canopy closure, allowing weeds to invade the bare soil between plugs. The following matrix, supported by NC State University TurfFiles, outlines optimal grid spacing for aggressive warm-season varieties.
| Grass Variety | Spread Mechanism | Optimal Grid Spacing | Plugs per 100 Sq Ft | Estimated Canopy Closure |
|---|---|---|---|---|
| Bermuda (Hybrid) | Stolons & Rhizomes | 9 - 12 inches | 12 - 16 | 4 - 6 weeks |
| Zoysia (Emerald/Meyer) | Stolons & Rhizomes | 12 - 15 inches | 8 - 10 | 8 - 12 weeks |
| St. Augustine | Stolons only | 12 - 18 inches | 6 - 9 | 6 - 10 weeks |
| Centipede | Stolons only | 12 - 15 inches | 8 - 10 | 8 - 14 weeks |
The 8-Week Post-Planting Protocol
Plugs lack the mature root mass of solid sod, making them highly vulnerable to moisture stress during the first 60 days.
- Weeks 1-2: Water lightly twice daily (morning and early afternoon) for 5 to 10 minutes per zone. The goal is to keep the top 1 inch of soil consistently moist, not saturated.
- Weeks 3-4: Reduce frequency to once daily, but increase the duration to encourage deeper root penetration. Apply a starter fertilizer high in phosphorus (e.g., 10-18-10) at a rate of 1 lb of nitrogen per 1,000 sq ft to stimulate rhizome growth.
- Weeks 5-8: Transition to a standard deep-and-infrequent watering schedule (1 inch per week). Once the stolons begin crossing the bare soil gaps, initiate the first mowing. Set the mower deck to the highest recommended setting for your specific grass type to avoid scalping the newly established runners.
Warning: The Halo Effect in Clay Soils
When planting plugs in heavy, unamended clay, water tends to pool in the loose, amended planting hole while the surrounding hard clay remains dry. This creates a 'halo effect' where the plug roots refuse to expand beyond the amended zone. Always score the sides of the planting hole with a hand fork before seating the plug to fracture the clay walls and encourage outward root migration.
Troubleshooting Common Plugging Failures
Failure Mode 1: Crown Rot and Yellowing
Symptom: The center of the plug turns yellow and pulls away easily from the soil within 10 days.
Cause: The plug was seated too deep, burying the crown, or the soil was kept in a state of constant saturation rather than moisture.
Fix: Extract the dead plug, shave 0.5 inches off the bottom of a new plug, and replant it slightly higher to ensure the crown remains at the soil surface.
Failure Mode 2: Stalled Stolon Growth
Symptom: The plug remains green and healthy but fails to send out lateral runners after 4 weeks.
Cause: Soil pH is locking up essential nutrients, or the surrounding soil is too heavily compacted for stolons to penetrate.
Fix: Conduct a soil test. If pH is below 5.5, apply pelletized lime. If compaction is the issue, use a spading fork to pierce the soil in a radial pattern 6 inches away from the plug to relieve mechanical resistance.
Failure Mode 3: Edge Desiccation
Symptom: The outer ring of grass blades on the plug turns brown and crispy.
Cause: Wind exposure and lack of root-to-soil contact on the perimeter.
Fix: Top-dress the perimeter of the plug with a quarter-inch layer of fine topsoil or compost to seal the edges and retain moisture while the roots establish.
Utilizing a high-quality grass plugger tool and adhering to strict depth and spacing parameters transforms bare, unsightly dirt patches into a seamless, uniform turf canopy. For further reading on regional turfgrass establishment rates, consult the University of Georgia Extension turfgrass databases for localized cultivar performance data.

