
Lawn Care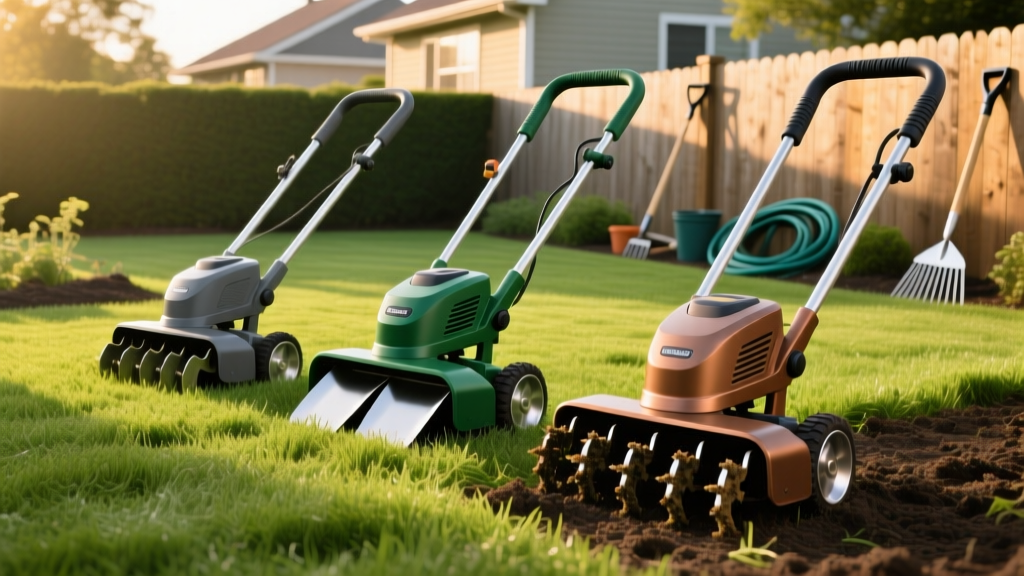
Best Grass Tillers for Lawn Renovation: 2026 Buyer's Guide
The Anatomy of a Grass Tiller: Matching the Machine to the Soil
When a lawn suffers from severe compaction, deep thatch buildup, or chronic drainage issues, aeration and overseeding are rarely enough. Complete lawn renovation requires tearing out the existing sod and amending the native soil. This is where grass tillers become indispensable. However, selecting the wrong tiller for your specific soil profile is a common failure point that leads to broken equipment and physical injury. Understanding the mechanical differences between tiller configurations is the first step in a successful renovation.
| Tiller Type | Drive Mechanism | Best Use Case | 2026 Avg. Price | Weight Class |
|---|---|---|---|---|
| Mini-Cultivator | Tine-driven (Direct) | Overseeding prep, narrow beds, topdressing mixing | $350 - $500 | 20 - 35 lbs |
| Front-Tine | Tine-driven (Forward pull) | Medium lawns (up to 5,000 sq ft), previously tilled loam | $450 - $750 | 80 - 120 lbs |
| Rear-Tine | Wheel-driven (Transmission) | Full lawn teardowns, heavy clay, breaking new ground | $900 - $1,600 | 150 - 250 lbs |
Safety Warning: Never use a front-tine tiller on unbroken, heavily compacted clay or thick bermudagrass sod. Because front-tine models rely on the rotation of the tines to pull the machine forward, catching a dense root mat or buried rock will cause the handles to violently kick back, posing a severe risk of wrist or shoulder injury.
Selecting the Right Tiller for Your Renovation Project
Choosing a grass tiller requires an honest assessment of your soil composition and the scale of your project. According to turfgrass renovation guidelines from the University of Minnesota Extension, proper soil fracturing to a depth of 4 to 6 inches is critical for establishing deep root systems in new cool-season grasses like Kentucky Bluegrass and Tall Fescue.
The Decision Framework
- Scenario A: Overseeding an existing thin lawn (Under 2,000 sq ft). Choose a Mini-Cultivator. You only need to scratch the top 2 inches of soil to ensure seed-to-soil contact without destroying the existing root structure of healthy grass.
- Scenario B: Tearing out a dead lawn in loamy soil (2,000 - 5,000 sq ft). Choose a Front-Tine Tiller. Loamy soil fractures easily, and the forward-pull mechanism will help you cover ground quickly without excessive physical strain.
- Scenario C: Breaking heavy clay or removing thick zoysia/bermuda sod (Any size). Choose a Rear-Tine Tiller. The driven wheels push the machine forward while the tines independently chew through the soil, allowing you to maintain a steady walking pace regardless of ground resistance.
2026 Equipment Spotlight: Top Grass Tiller Models
Based on current market availability, torque output, and long-term reliability, here are three specific models that dominate the residential lawn renovation space.
1. Mantis 7940 4-Cycle Cultivator (Best for Precision Prep)
- Engine: 21.2cc Honda 4-cycle (No fuel mixing required)
- Tine Width: 9 inches
- Price: ~$449
- Pros: Weighs only 24 lbs; patented curved tines dig up to 10 inches deep in loose soil; folds down for garage storage.
- Cons: Useless for breaking new, untouched ground; struggles in heavy clay.
2. Earthquake MC43 4-Cycle Front-Tine (Best Mid-Range Value)
- Engine: 99cc Viper 4-cycle
- Tine Width: 11 inches (adjustable down to 7 inches)
- Price: ~$599
- Pros: Excellent power-to-weight ratio (95 lbs); adjustable tine width allows for navigating between tight landscaping borders.
- Cons: Forward-pull requires significant upper body strength to control in rocky soil.
3. Troy-Bilt Pony ES Rear-Tine (Best for Heavy-Duty Teardowns)
- Engine: 254cc Briggs & Stratton
- Tine Width: 16 inches
- Price: ~$1,299
- Pros: Counter-rotating tines (CRT) allow for aggressive backward chopping of thick sod; driven 13-inch pneumatic wheels provide massive traction.
- Cons: Heavy (180+ lbs); requires a truck or heavy-duty trailer for transport; high fuel consumption.
Critical Maintenance Protocols to Extend Tiller Lifespan
Grass tillers operate in high-vibration, high-debris environments. Neglecting specific maintenance intervals is the primary reason homeowners face catastrophic gearbox failures. Follow these non-negotiable maintenance protocols.
The Shear Pin Rule
The shear pin connects the tine shaft to the transmission output. It is designed to snap if the tines strike an immovable object (like a buried boulder or a thick tree root), saving your $400 gearbox from shattering. Never replace a broken shear pin with a hardened Grade 5 or Grade 8 hex bolt from the hardware store. Hardened bolts will not shear; instead, they will transfer the kinetic shockwave directly into the cast-aluminum transmission housing, cracking it instantly. Always use OEM replacement pins or standard Grade 2 soft-steel cotter pins.
Gearbox Lubrication
Most residential front-tine tillers use a worm-gear transmission lubricated with grease, while heavier rear-tine models use an oil bath.
- Grease Models: Check every 50 hours. Remove the fill plug and pump in lithium-based NLGI #2 grease until it purges slightly from the seam.
- Oil Bath Models: Check before every use. Maintain SAE 85W-90 gear oil to the bottom of the fill hole threads. Change the oil entirely after the first 5 hours of break-in, then every 100 hours.
Tine Wear Limits
Inspect your tines after every 20 hours of operation. As tines wear, they lose their aggressive slicing angle and become rounded, causing the machine to 'bounce' over compacted soil rather than penetrate it. If the width of the tine blade has worn down by more than 25% of its original factory width, or if the leading edge is completely rounded, replace the entire set. Operating with worn tines increases engine load by up to 40%, leading to premature carburetor and piston ring wear.
Pro Tip: Spray your tines with a silicone-based lubricant or a dedicated agricultural anti-stick spray before tilling wet or high-clay soils. This prevents heavy clay from packing into the tine shaft, which can seize the bearings and cause belt slippage.
Operational Techniques for Perfect Seedbed Preparation
Owning the right equipment is only half the battle. Proper operational technique ensures a level, well-aerated seedbed that promotes uniform grass germination.
The Soil Moisture 'Ball Test'
Tilling soil that is too wet destroys its structure, creating hard, concrete-like clods that will choke new grass roots. Before starting your tiller, perform the Ball Test: dig down 3 inches and grab a handful of soil. Squeeze it tightly in your fist.
- If water drips out, the soil is saturated. Wait 3 to 5 days.
- If it forms a tight, shiny ribbon that holds its shape, it is too wet to till.
- If it crumbles into loose, dry fragments when you poke it with your thumb, moisture levels are optimal for tilling.
The Three-Pass Strategy
Do not attempt to till to full depth on your first pass, especially when breaking existing sod. Use the three-pass method recommended by turfgrass specialists at the University of Minnesota Turfgrass Science program for optimal soil fracturing:
- Pass 1 (Shredding): Set the depth bar to the shallowest setting (approx. 2 inches). Walk at a brisk pace to shred the existing grass and thatch layer.
- Pass 2 (Fracturing): Lower the depth bar to 4 inches. Walk perpendicular to your first pass (cross-hatching). This breaks up the soil mat and begins to level the surface.
- Pass 3 (Amending): Lower the depth bar to 6-8 inches. Spread your compost or topsoil amendment over the surface, then till parallel to your first pass to thoroughly mix the organic matter into the native subsoil.
Frequently Asked Questions
Can I use a grass tiller to remove weeds before planting grass seed?
Yes, but with a major caveat. If your lawn is infested with invasive perennial weeds like Quackgrass, Nutsedge, or Bermudagrass, tilling will chop their rhizomes into hundreds of tiny pieces, effectively multiplying the weed problem. For these specific weeds, apply a systemic glyphosate herbicide, wait 14 days for the roots to die, and then till. For annual weeds like Crabgrass, tilling is perfectly safe and effective.
How do I level the soil after tilling?
Tillers naturally leave the soil fluffy and uneven. After your final tilling pass, use a heavy steel landscape rake to break up large clods and pull the soil into a rough grade. Follow this by dragging a piece of chain-link fence or a specialized lawn leveling mat weighted with a couple of cinder blocks across the yard to create a perfectly smooth, golf-course-like finish before broadcasting your grass seed.

