
Lawn Care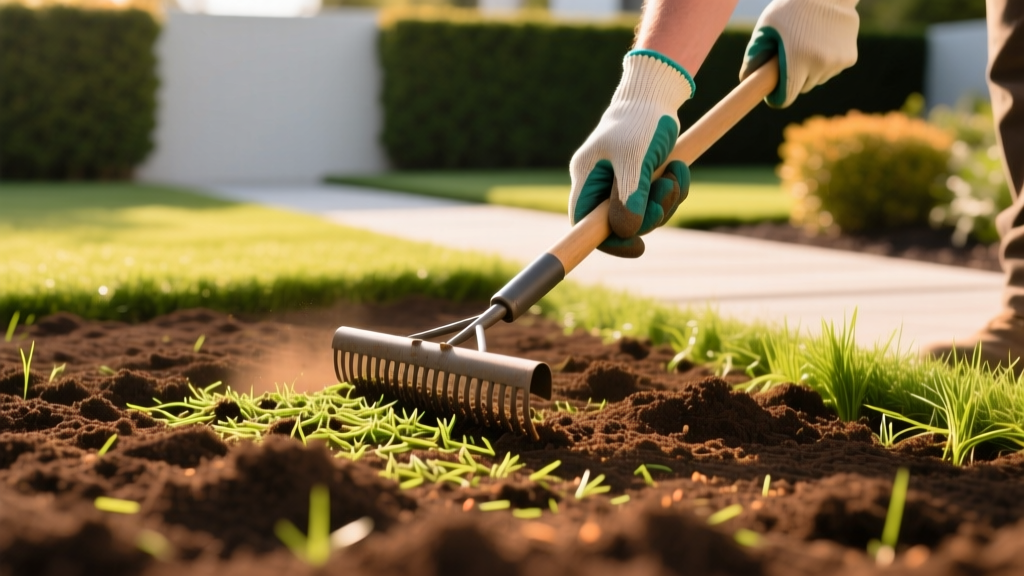
How to Grow a Lawn From Dirt: The Complete Soil Prep & Seeding Guide
The Difference Between Dirt and Soil
Starting a lawn from bare dirt—often left behind after new construction or a major grading project—presents a unique challenge. Dirt is primarily composed of mineral particles (sand, silt, and clay) stripped of organic matter and microbial life. Soil, conversely, is a living ecosystem. To successfully grow turf, you must bridge this gap by rebuilding the soil food web and physical structure before a single seed touches the ground.
Expert Insight: Never skip the soil test on bare dirt. Construction sites are notoriously compacted and often have highly alkaline pH levels due to buried concrete washout and lime-rich subsoil.
Phase 1: Soil Testing and Chemical Correction
Before tilling or amending, you need a baseline. Send a composite sample (15-20 cores taken at a 4-inch depth) to a university extension lab or a private facility like Logan Labs (approximately $25-$35 per test). According to guidelines from the Texas A&M Soil, Water and Forage Testing Laboratory, establishing the correct pH and Cation Exchange Capacity (CEC) is non-negotiable for seed germination.
Target Ranges for Turfgrass
- pH: 6.0 to 6.8 (Optimal for nutrient availability)
- Phosphorus (P):strong> 30-50 ppm (Crucial for root development in new seedlings)
- Potassium (K):strong> 100-150 ppm (Disease resistance and drought tolerance)
| Deficiency | Amendment | Application Rate per 1,000 sq ft |
|---|---|---|
| Low pH (Acidic) | Calcitic or Dolomitic Lime | 25 - 50 lbs (Based on buffer pH test) |
| High pH (Alkaline) | Elemental Sulfur | 5 - 10 lbs (Takes 6+ months to react) |
| Low Phosphorus | Bone Meal or 0-46-0 Super Phosphate | 2 - 4 lbs of actual P2O5 |
Phase 2: Mechanical Prep and Grading
Once chemical amendments are broadcasted, it is time to address physical compaction. Construction dirt is typically compacted to support heavy machinery, preventing turf roots from penetrating.
- Moisten the Area: Water the bare dirt lightly 24 hours before tilling. Soil should be moist, not muddy. Tilling wet dirt destroys soil aggregates and creates hard clods.
- Rototill to 6 Inches: Use a rear-tine rototiller to break up the top 4 to 6 inches of soil. This integrates your lime/sulfur and creates a loose seedbed.
- Establish the Grade: Use a heavy steel landscaping rake to create a 1% to 2% slope away from your home's foundation. This prevents hydrostatic pressure against basement walls.
- Roll and Firm: Walk the area or use a half-filled water lawn roller to firm the seedbed. Your footprints should not sink deeper than 1/4 inch.
Phase 3: Seed Selection and Sowing Rates
Choosing the right genetics dictates your lawn's long-term survival. Consult the Cornell University Turfgrass Program for regional NTEP (National Turfgrass Evaluation Program) trial winners. Avoid generic 'contractor mix' seeds sold at big-box stores, which often contain high percentages of annual ryegrass filler that dies after one season.
Seed Variety Comparison Matrix
| Grass Type | Seed Rate (lbs/1,000 sq ft) | Top Cultivar Picks | Germination Time |
|---|---|---|---|
| Tall Fescue (Cool) | 6 - 8 | Jonathan Green Black Beauty, Titan Ultra | 7 - 12 days |
| Kentucky Bluegrass (Cool) | 2 - 3 | Midnight, Bewitched, NuGlade | 14 - 28 days |
| Bermudagrass (Warm) | 1 - 2 | Pennington Sahara, Yukon | 10 - 21 days |
Sowing Technique: Calibrate a broadcast spreader to apply half the seed horizontally and the other half vertically. This cross-hatching method eliminates striping and ensures uniform coverage on bare dirt.
Phase 4: Starter Fertilizer Math
New seedlings require immediate access to phosphorus for root initiation. Apply a high-phosphorus starter fertilizer on the exact same day you seed. Let's calculate the exact application rate for a standard 5,000 sq ft lawn using Lesco Professional Starter Fertilizer (18-24-12).
The 1.0 lb Nitrogen Rule:
Target: 1.0 lb of actual Nitrogen per 1,000 sq ft.
Formula: 100 / Nitrogen % on bag = Lbs of product per 1,000 sq ft.
100 / 18 = 5.55 lbs of Lesco 18-24-12 per 1,000 sq ft.
For a 5,000 sq ft lawn: 5.55 x 5 = 27.75 lbs total product required.
Target: 1.0 lb of actual Nitrogen per 1,000 sq ft.
Formula: 100 / Nitrogen % on bag = Lbs of product per 1,000 sq ft.
100 / 18 = 5.55 lbs of Lesco 18-24-12 per 1,000 sq ft.
For a 5,000 sq ft lawn: 5.55 x 5 = 27.75 lbs total product required.
Phase 5: Mulching and the Germination Watering Schedule
Bare dirt dries out rapidly, and wind will easily blow unprotected seed away. You must cover the seed. While peat moss is popular, it becomes hydrophobic if it dries out. The most reliable, cost-effective coverage is weed-free wheat straw applied at a rate of 1 bale (approx. 60 lbs) per 1,000 sq ft. You should still be able to see 20% of the soil through the straw.
According to the EPA WaterSense guidelines, efficient watering is critical during establishment to prevent runoff and fungal diseases like Pythium blight. Follow this strict germination schedule:
- Weeks 1-2 (Germination): Water 3 to 4 times daily for 5 to 8 minutes per zone. The goal is to keep the top 1 inch of soil constantly moist, not saturated.
- Weeks 3-4 (Root Establishment): Reduce frequency to once daily, but increase duration to 15-20 minutes to encourage roots to chase moisture deeper into the soil profile.
- Weeks 5+ (Maturation): Transition to deep, infrequent watering. Apply 1 to 1.5 inches of water per week, split across two irrigation cycles.
Phase 6: The First Mow
Do not mow until the turf reaches 3.5 to 4 inches in height. When you do mow, adhere strictly to the 1/3 rule: never remove more than one-third of the leaf blade in a single pass. Set your mower deck to 3 inches. Ensure your mower blades are freshly sharpened; dull blades will tear tender new seedlings out of the loose soil by the roots. Bag the clippings for the first two mows to prevent smothering late-germinating seeds and to remove any weed debris that sprouted alongside your turf.

