
Lawn Care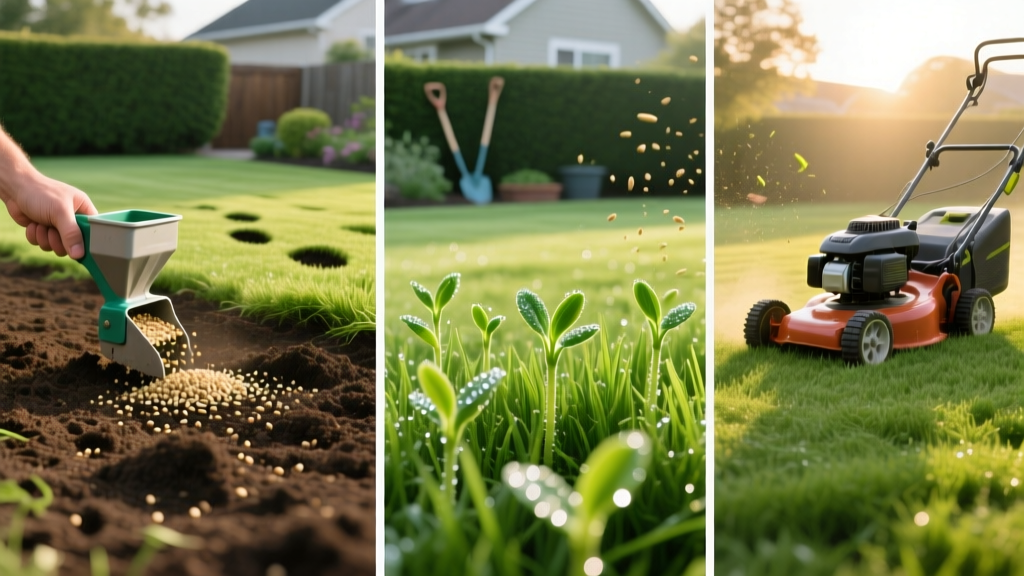
How to Grow a Thick Lawn From Seed: Soil Prep to First Mow
The Economics and Agronomy of Starting a Lawn From Seed
Establishing a lawn from seed yields a deeper, more resilient root system than laying sod, primarily because the grass adapts to your native soil profile from day one without experiencing transplant shock. Financially, seeding costs between $0.10 and $0.25 per square foot (including topsoil amendments and premium seed), compared to $0.40 to $0.85 per square foot for professional sod installation. However, the margin for error is much smaller. Success requires precise calibration of soil chemistry, seed-to-soil contact, and moisture management during the critical 21-day germination window.
Expert Insight: Never skip the soil test. Guessing your soil's pH and phosphorus levels is the number one reason new seedlings stall out after reaching two inches. A standard lab test (like those from Logan Labs or your local university extension) costs about $25 and dictates your exact amendment strategy.
Phase 1: Soil Chemistry and Site Grading
Before purchasing seed, you must address the soil chemistry. Grass seed requires a pH between 6.2 and 6.8 for optimal nutrient uptake. If your soil test reveals a pH below 6.0, apply pelletized calcitic limestone at the rate of 50 lbs per 1,000 square feet to raise it by approximately 0.5 points. If the pH is above 7.5, apply elemental sulfur at 10 lbs per 1,000 square feet.
Grading for Drainage
Water pooling is the enemy of new seed. Grade your yard to ensure a minimum slope of 1/4 inch per foot away from your home's foundation. Use a landscaping rake to break up soil clods larger than a golf ball. According to University of Minnesota Turfgrass Science, tilling the top 4 to 6 inches of soil incorporates organic matter and relieves compaction, creating a hospitable environment for delicate taproots.
Phase 2: Seed Selection Matrix
Choosing the right cultivar is non-negotiable. Avoid cheap "contractor mixes" found at big-box stores, which often contain annual ryegrass or weedy fillers. Invest in certified, weed-free seed blends tailored to your microclimate.
| Grass Type | Seed Rate (per 1,000 sq ft) | Germination Window | Shade Tolerance | Best Use Case |
|---|---|---|---|---|
| Tall Fescue (TTTF) | 6.0 - 8.0 lbs | 7 - 14 Days | Moderate | Transition zones, high traffic, drought-prone areas |
| Kentucky Bluegrass (KBG) | 2.0 - 3.0 lbs | 14 - 30 Days | Low | Northern climates, full sun, high aesthetic demand |
| Perennial Ryegrass | 5.0 - 7.0 lbs | 5 - 10 Days | Moderate | Erosion control, nurse crop in KBG mixes |
| Bermudagrass | 1.0 - 2.0 lbs (hulled) | 10 - 21 Days | Very Low | Deep South, high heat, full sun exposure |
Phase 3: The Sowing Protocol and Seed-to-Soil Contact
Seed-to-soil contact is the mechanical trigger for germination. Seed left resting on top of dry thatch or loose dust will desiccate and die within hours of sprouting.
- Calibrate the Spreader: Set your drop spreader to the setting specified on the seed bag. Apply half the seed walking in horizontal lines, and the other half in vertical lines to ensure cross-hatched, uniform coverage.
- Apply Starter Fertilizer: New seedlings lack the root mass to forage for nutrients. Apply a high-phosphorus starter fertilizer (such as a 24-25-4 N-P-K ratio) at the time of seeding. Phosphorus (the middle number) is critical for explosive root development.
- Topdress for Moisture Retention: Cover the seed with a 1/4-inch layer of screened peat moss or compost. Avoid straw if possible; straw often contains weed seeds and can harbor Pythium blight (a water mold that rots new seedlings) if kept constantly wet.
- Roll the Seedbed: Use a lightweight, water-filled lawn roller to press the seed and topdressing firmly into the soil below. This eliminates air pockets and locks in moisture.
Phase 4: The 30-Day Hydration Schedule
Watering a newly seeded lawn requires a fundamental shift in irrigation strategy. Mature lawns need deep, infrequent watering. New seed requires shallow, frequent watering to keep the top 1/2 inch of soil perpetually moist but not saturated.
Critical Warning: If the delicate radicle (first root) of a germinating seed dries out for even two hours on a hot afternoon, the seedling will die. You cannot "re-hydrate" a dead sprout. Set your irrigation timers to run automatically.
Weeks 1 & 2: Germination Phase
- Frequency: 3 to 4 times per day (e.g., 8 AM, 11 AM, 2 PM, 5 PM).
- Duration: 5 to 10 minutes per zone. Adjust based on soil type: clay soils require shorter durations to prevent runoff, while sandy loams require slightly longer runtimes.
Weeks 3 & 4: Establishment Phase
Once the grass reaches 2 inches tall, begin reducing the frequency to once per day, but increase the duration to 15-20 minutes. This forces the roots to stretch downward to chase the receding moisture line, building drought tolerance.
Phase 5: Weed Control and the First Mow
The most common mistake homeowners make when growing a lawn from seed is applying standard pre-emergent herbicides like Prodiamine or Dithiopyr. These chemicals create a barrier that stops cell division in all seeds, meaning they will kill your expensive grass seed just as effectively as crabgrass.
The Mesotrione Exception
If you are seeding cool-season grasses (Fescue, KBG, Ryegrass) in the fall, you can safely apply Mesotrione (active ingredient in Tenacity) at the time of seeding. Apply at a rate of 1/3 teaspoon per 1,000 square feet mixed with a non-ionic surfactant. Mesotrione inhibits photosynthesis in broadleaf weeds and crabgrass, turning them white and killing them, while cool-season grasses naturally metabolize the chemical and remain unharmed. Note: Do not use Mesotrione on fine fescues or Bermudagrass. For more on safe herbicide timing, consult the Penn State Extension planting guidelines.
The First Mow
Wait until the new grass reaches 3.5 to 4 inches in height before the first mow. Ensure your mower blades are freshly sharpened; dull blades will tear the tender seedlings out by the roots rather than cutting them. Never remove more than the top 1/3 of the blade tissue during this first cut.
Troubleshooting Common Establishment Failures
| Symptom | Probable Cause | Corrective Action |
|---|---|---|
| Seed washes away after rain | Poor grading or lack of topdressing/rolling. | Re-grade low spots, re-seed, and apply a tackified hydro-mulch to bind seed to soil. |
| Patchy, erratic germination | Spreader overlap errors or uneven topdressing depth. | Overseed bare patches using a slit-seeder to mechanically cut seed into the soil. |
| Seedlings turn yellow/brown and collapse | Damping-off disease (Pythium) caused by overwatering and poor airflow. | Reduce watering frequency immediately. Apply a preventative fungicide containing Azoxystrobin if the outbreak is severe. |
| Algae or moss crusting on soil | Constant surface saturation and compacted soil. | Gently break the crust with a leaf rake to allow oxygen to reach the seed. Aerate the soil before the next seeding attempt. |
Growing a lush lawn from seed is an exercise in patience and precision. By prioritizing soil chemistry, utilizing certified seed blends, and strictly managing the hydration timeline, you will establish a turf that is biologically adapted to your yard and built to withstand environmental stress for decades.

