
Lawn Care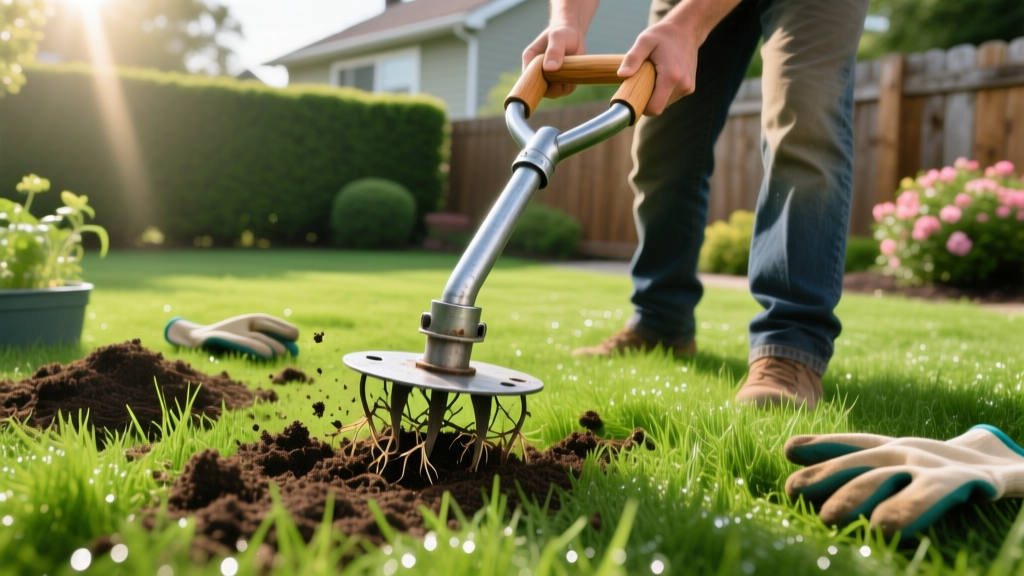
Build a Homemade Aerator: DIY Core Aeration for Organic Lawns
Soil compaction is the silent killer of organic lawns. When soil bulk density exceeds 1.6 g/cm³, pore space drops below the critical 25% threshold required for aerobic bacteria and mycorrhizal fungi to survive. For homeowners committed to chemical-free lawn care, synthetic wetting agents and liquid aeration surfactants are off the table. The only ecologically sound solution is mechanical core aeration to physically fracture the hardpan and restore the soil food web.
Renting a gas-powered walk-behind aerator costs between $85 and $130 per day, and the heavy machines often tear up delicate turf crowns on tight turns. Building a manual step-on homemade aerator offers a precise, zero-emission alternative that costs under $50 in materials and allows for targeted aeration of high-traffic zones without the collateral damage of a 200-pound rental machine.
Why Organic Lawns Demand Core Aeration (Not Just Spiking)
A common mistake in DIY lawn care is using spike aerators, pitchforks, or aerator sandals. According to Penn State Extension, solid-tine spiking actually exacerbates compaction by pushing soil laterally, compressing the walls of the hole and creating a smeared, impermeable barrier that blocks water infiltration.
Warning: Never use a pitchfork or spike roller on heavy clay soils. The lateral pressure will destroy the macropores necessary for deep root respiration and organic matter decomposition.
Core aeration (hollow-tine aeration) extracts a physical plug of soil, typically 2 to 3 inches deep and 0.5 inches in diameter. This relieves lateral pressure, brings anaerobic subsoil to the surface to weather and oxidize, and creates open channels for organic amendments to reach the root zone directly.
Materials and Tools for Your Homemade Aerator
To build a manual step-on corer that can penetrate compacted clay and thick thatch, you must abandon PVC or aluminum. PVC will shatter under impact, and aluminum will bend. You need structural steel.
The Bill of Materials
- Tines (Corers): Four pieces of 3/4-inch Schedule 40 galvanized steel pipe, cut to 4.5 inches in length.
- Crossbar (Step Plate): One piece of 1.5-inch Schedule 40 steel pipe, 18 inches long.
- Handles: Two pieces of 1-inch Schedule 40 steel pipe, 36 inches long.
- Hardware: Four 1/2-inch steel U-bolts with nuts and lock washers (if not welding), or steel welding rods.
- Grips: Two 6-inch rubber foam handle grips (for hand placement and leverage).
Cost Breakdown: Sourcing these materials from a local hardware store or metal supplier will typically cost between $35 and $48, depending on regional steel prices.
Step-by-Step: Building the Manual Step-On Homemade Aerator
This design utilizes a dual-handle lever system paired with a foot-press crossbar, allowing you to drive the tines into the ground using your body weight while maintaining an upright posture.
- Bevel the Tines: This is the most critical step. Using a metal file or a bench grinder, bevel the bottom exterior edge of each 3/4-inch tine at a 30-degree angle. This creates a sharp cutting edge that will slice through thatch and roots cleanly. Leave the inside edge flat so the soil plug can easily eject.
- Assemble the Crossbar: Lay the 18-inch crossbar flat. Measure and mark four equidistant points, spacing the tines exactly 4 inches apart (center-to-center). This spacing prevents the soil between the holes from fracturing and collapsing during extraction.
- Attach the Tines: If you have access to a MIG welder, tack-weld the flat top of each tine to the bottom of the crossbar. If bolting, drill 1/2-inch holes through the crossbar and use the steel U-bolts to clamp the tines securely to the underside. Ensure the beveled edges face outward.
- Weld or Bolt the Handles: Position the two 36-inch handles vertically on top of the crossbar, spaced 12 inches apart. Weld them at a 90-degree angle, or use heavy-duty steel flange bearings bolted to the crossbar to secure the handles. Add a horizontal 12-inch steel brace between the two handles about 12 inches up from the crossbar to prevent them from bending inward under heavy downward pressure.
- Add the Grips: Slide the rubber foam grips onto the top of the handles to protect your hands and improve leverage.
Execution: The Soil Moisture Squeeze Test
The success of your homemade aerator depends entirely on soil moisture. If the soil is too dry, the tines will not penetrate; if it is too wet, the clay will clog the hollow tines instantly.
Perform the squeeze test: Dig a 3-inch hole and grab a handful of soil. Squeeze it tightly in your fist. If it forms a solid ball that does not crumble when you poke it with one finger, the soil is too wet. Wait 24 to 48 hours. If it crumbles immediately and won't form a ball, it is too dry; water the lawn deeply (approx. 0.5 inches) and wait 24 hours. The ideal moisture level forms a ball that easily shatters when poked.
Pro-Tip for Clogging Tines: Keep a bucket of water mixed with one tablespoon of OMRI-listed liquid castile soap nearby. If clay begins to stick inside the 3/4-inch tines, dip the aerator into the soapy water between passes. The soap acts as a natural, biodegradable release agent.
Post-Aeration: Organic Topdressing and Microbiome Inoculation
Aeration is only half the process. In an organic lawn care program, the open cores must be immediately utilized to introduce organic matter and beneficial biology. According to the UMass Extension Organic Lawn Care guidelines, topdressing after aeration accelerates thatch decomposition and improves soil structure.
The Organic Topdressing Protocol
- Leave the Plugs: Do not rake up the extracted soil cores. Allow them to break down naturally over the next two weeks via rain and mowing, returning indigenous microbes to the surface.
- Apply Sifted Compost: Spread a 1/4-inch layer of highly sifted, OMRI-listed compost over the lawn. Use a stiff push broom to aggressively sweep the compost down into the aeration holes. This prevents the holes from collapsing and fills them with nutrient-dense organic matter.
- Inoculate with Compost Tea: Brew an aerated compost tea (ACT) to flood the new channels with biology. Steep 1 cup of high-quality worm castings and 1 tablespoon of unsulfured molasses in 1 gallon of non-chlorinated water. Run an aquarium air stone in the bucket for 24 hours to multiply aerobic bacteria. Apply this tea immediately after topdressing to inoculate the root zone with Bacillus subtilis and Trichoderma fungi.
Comparison: Homemade Aerator vs. Alternatives
| Method | Estimated Cost | Soil Impact | Organic Compatibility |
|---|---|---|---|
| DIY Homemade Core Aerator | $35 - $50 (One-time) | True core extraction; zero lateral smearing. | Excellent. Zero emissions, precise targeting. |
| Gas Walk-Behind Rental | $85 - $130 (Per day) | Deep extraction, but heavy turning tears turf crowns. | Moderate. Fossil fuel emissions; difficult to maneuver in tight organic gardens. |
| Spike Aerator / Pitchfork | $0 - $25 | Exacerbates lateral compaction; smears clay. | Poor. Harms soil structure long-term. |
| Liquid Aeration (Surfactants) | $30 - $60 (Per season) | Breaks surface tension, but does not physically relieve deep hardpan. | Variable. Many commercial surfactants are synthetic; organic options (like yucca extract) are weak on heavy clay. |
Troubleshooting Common DIY Aeration Failures
Tines Bend Upon Impact
Cause: Using thin-wall tubing or aluminum instead of Schedule 40 steel, or hitting buried construction debris.
Fix: Always call 811 before aerating to mark utility lines. If using Schedule 40 steel and bending still occurs, your soil has a severe hardpan layer. Pre-soak the area with 0.75 inches of water 48 hours prior, and apply a liquid organic humic acid (potassium humate) at a rate of 3 ounces per 1,000 square feet one week before aeration to soften the clay bonds.
Soil Plugs Do Not Eject from the Tines
Cause: The tines are too long, or the interior of the pipe has manufacturing burrs that catch the soil.
Fix: Keep tine length under 4.5 inches. Run a round metal file through the inside of each pipe to remove any factory burrs. Ensure the soil moisture is correct; overly wet clay acts like putty and will permanently clog a 3/4-inch diameter tube.
Thatch Layer is Too Thick to Penetrate
Cause: A thatch layer exceeding 0.75 inches acts like a Kevlar vest, stopping the tines before they reach the mineral soil.
Fix: You must dethatch first. Use a manual thatch rake or a power dethatcher to remove the excess organic mat. In an organic system, excessive thatch is usually a symptom of over-applying high-carbon organic fertilizers without sufficient microbial inoculation to break them down. Adjust your fertility program to include regular compost tea applications to maintain a balanced carbon-to-nitrogen ratio in the thatch layer.

