
Lawn Care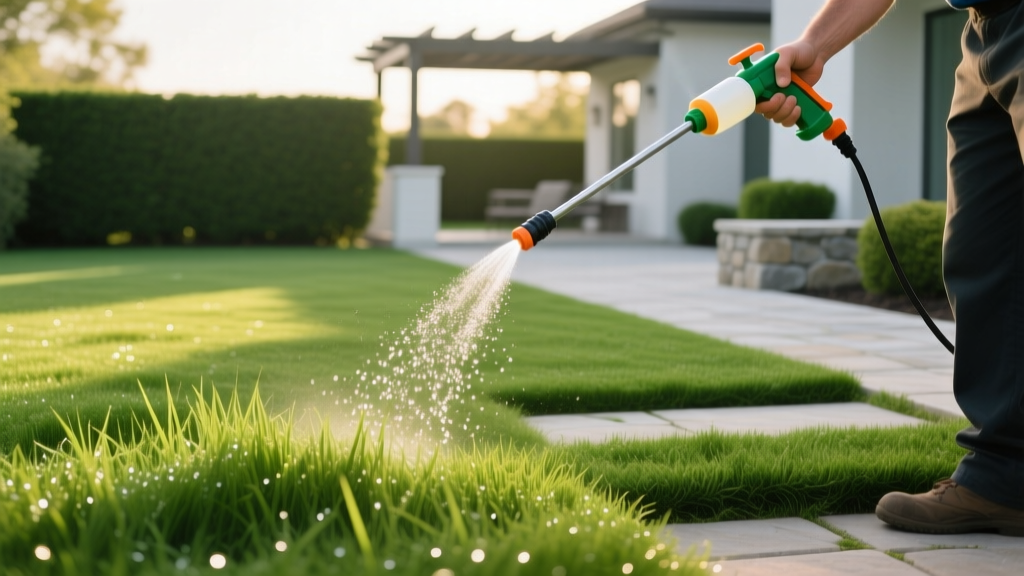
Step-by-Step Guide: Using a Liquid Grass Feeder for Even Lawn Coverage
The Mechanics of Hose-End Liquid Fertilization
A hose-end grass feeder operates on the Venturi principle. As municipal or well water rushes through the sprayer head, it creates a vacuum that siphons liquid concentrate from the attached canister, mixing it at a precise ratio before exiting the nozzle. Unlike broadcast spreaders that drop granular prills onto the soil surface, a liquid grass feeder delivers dissolved nutrients directly to the grass blade and the thatch layer, enabling rapid foliar absorption. This makes it the superior tool for applying fast-acting nitrogen, chelated iron, and liquid herbicides.
However, improper calibration or erratic walking speeds will result in severe striping, fertilizer burn, or nutrient deficiency. The following procedures detail the exact mechanics of preparing, mixing, and applying liquid concentrates using a standard dial-style grass feeder (such as the Ortho Dial N Spray or Chapin Wet/Dry Hose-End models).
⚠️ Water Pressure Warning: Grass feeders require a minimum of 40 PSI to engage the siphon tube. If your water pressure drops below 30 PSI (common with shared well systems or long hose runs over 100 feet), the sprayer will output only plain water. Always test your spigot pressure with a $10 gauge before mixing expensive concentrates.
Phase 1: Equipment Preparation and Calibration
Before introducing any chemicals, you must verify the mechanical integrity of the grass feeder. Residual crystallized salts from previous applications frequently clog the siphon filter.
- Inspect the Siphon Tube: Remove the sprayer head from the canister. Locate the small mesh filter at the base of the siphon tube. Scrub it with a stiff nylon brush and warm water to remove calcium or fertilizer buildup.
- Check the O-Ring: Inspect the rubber O-ring where the sprayer head threads onto the canister. If it is flattened or cracked, replace it to prevent air leaks that will break the vacuum siphon.
- Attach the Hose: Connect a kink-free 5/8-inch or 3/4-inch garden hose. Ensure the brass fitting has a fresh rubber washer. Tighten with pliers if necessary to prevent pressure loss at the spigot connection.
- Test the Spray Pattern: Fill the canister halfway with plain water. Turn the dial to the 'Water' or 'Off' setting, turn on the spigot fully, and then switch the dial to a mid-range setting (e.g., 4 oz). Verify that the fan-pattern nozzle is emitting a uniform, conical mist without heavy streaks.
Phase 2: Mixing and Dialing the Grass Feeder
The most common failure point in liquid lawn care is misinterpreting the dial settings. The numbers on a grass feeder dial (e.g., 1, 2, 4, 8) represent ounces of concentrate drawn per gallon of water output, not the total volume of the tank.
According to turfgrass nutrient management guidelines from the University of Minnesota Extension, liquid applications should generally deliver 0.5 to 1.0 pounds of actual nitrogen per 1,000 square feet. When using a standard 20-0-5 liquid concentrate, you must match the dial setting to the manufacturer's required dilution rate.
| Dial Setting | Mixing Ratio (Approx.) | Best Use Case | Coverage per 32oz Bottle |
|---|---|---|---|
| 1 oz | 1:128 | Pre-emergent herbicides, light foliar iron | ~4,000 sq ft |
| 2 oz | 1:64 | Standard liquid weed-and-feed | ~2,000 sq ft |
| 4 oz | 1:32 | High-nitrogen summer growth pushes | ~1,000 sq ft |
| 8 oz | 1:16 | Heavy soil drenches, dormant oil treatments | ~500 sq ft |
Pro Mixing Procedure: Always pour the liquid concentrate into the canister before attaching it to the sprayer head. Never pour concentrate directly into the sprayer head mechanism, as this will bypass the siphon tube and dump raw chemical onto your lawn immediately upon pressurization.
Phase 3: The Application Walk Pattern
Liquid fertilizer applied via a grass feeder requires strict adherence to a geometric walking pattern to prevent overlapping burns. The optimal walking speed is 3 feet per second (roughly 2 mph). Walking too fast starves the lawn of nutrients; walking too slow causes nitrogen toxicity and leaf tip burn.
Step-by-Step Spray Execution
- The Perimeter Pass: Start at the edge of your property. Point the nozzle inward toward the lawn to avoid spraying liquid fertilizer onto concrete driveways or landscape beds, which can cause staining or harm ornamental plants. Walk the entire perimeter to create a turning boundary.
- The Interior Passes: Walk in straight lines back and forth across the lawn. Use a fixed visual marker (like a tree or a property line) at the far end of the yard to ensure you are walking in perfectly straight lines.
- The 50% Overlap Rule: The spray pattern of a standard grass feeder nozzle is roughly 4 feet wide. Your next pass must overlap the previous pass by exactly 2 feet (50%). This compensates for the natural drop-off in liquid volume at the outer edges of the fan spray.
- Trigger Discipline: Only squeeze the trigger while you are in motion. Release the trigger a full second before you stop walking or turn around. Squeezing the trigger while stationary will dump a concentrated pool of chemicals into a single spot, killing the turf crown.
Liquid Concentrate vs. Granular: When to Deploy the Grass Feeder
While granular broadcast spreaders remain the standard for slow-release, season-long feeding, the hose-end grass feeder excels in specific agronomic scenarios. According to turf management protocols outlined by Texas A&M AgriLife Extension, liquid applications bypass the soil microbial breakdown phase, offering immediate visual results.
- Deploy the Grass Feeder for: Chelated iron applications (to fix chlorosis/yellowing within 48 hours), spot-treatment of broadleaf weeds using 2,4-D mixes, and quick-revival nitrogen pushes during spring green-up.
- Stick to Granular Spreaders for: Polymer-coated slow-release nitrogen (like SCU or PSCU), pre-emergent crabgrass preventers that require a soil barrier, and fall winterizer applications requiring heavy potassium loads.
Phase 4: Post-Application Cleanup and Storage
Liquid fertilizers containing iron or high salt-index nitrogen will corrode the internal brass and plastic components of a grass feeder if left to dry inside the mechanism.
💡 The 30-Second Flush Rule: Once the canister is empty, do not simply turn off the spigot. Unscrew the canister, fill it with 8 ounces of plain water, reattach it, and spray the clear water onto the lawn. This flushes the siphon tube and nozzle. Repeat once more with clean water before storing the unit.
Troubleshooting Common Grass Feeder Failures
Even high-end models from brands like Chapin or Gilmour will experience mechanical hiccups. Use this diagnostic matrix to resolve application issues mid-job.
| Symptom | Root Cause | Corrective Action |
|---|---|---|
| Sprayer outputs only clear water; liquid level in canister does not drop. | Clogged siphon filter or water pressure below 30 PSI. | Clean mesh filter; shorten hose length to increase pressure. |
| Liquid drains from canister even when trigger is released. | Anti-siphon check valve is stuck open due to debris. | Disassemble head, rinse check valve in warm soapy water. |
| Spray pattern is heavy on the left side, weak on the right. | Nozzle tip is partially obstructed by crystallized fertilizer. | Soak nozzle tip in white vinegar for 15 minutes to dissolve salts. |
| Canister pressurizes and bulges, spraying from the threads. | Air intake hole on the sprayer head is blocked. | Clear the tiny air-vent hole on the side of the sprayer head with a pin. |
By adhering to these precise calibration metrics, dilution ratios, and overlapping spray patterns, you transform a basic hose-end grass feeder into a professional-grade agronomic tool. Proper maintenance of the siphon mechanism ensures the equipment remains reliable for multiple seasons of targeted liquid turf management.

