
Lawn Care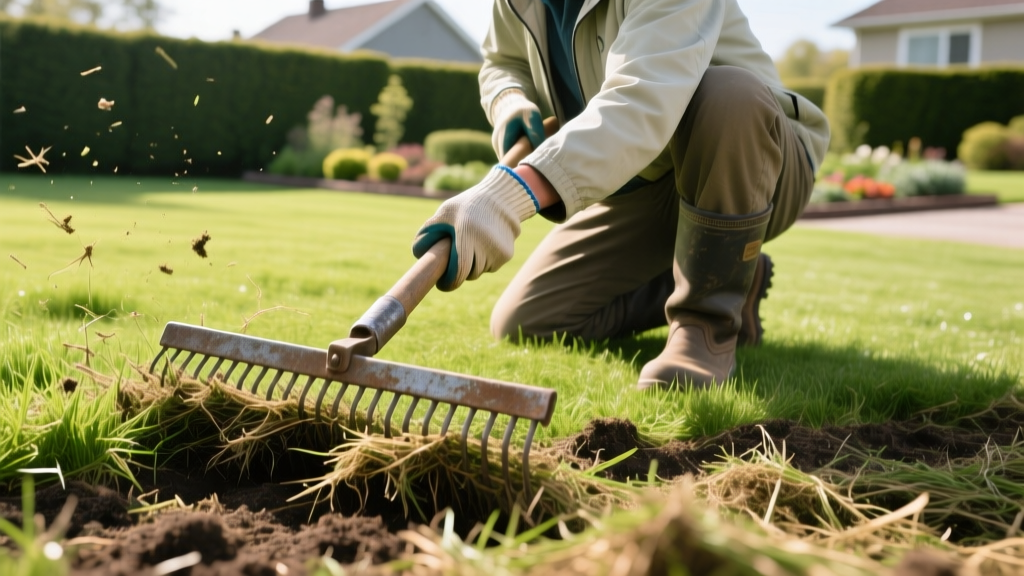
How to Dethatch a Lawn: Step-by-Step Thatch Removal Guide
The Hidden Threat: Understanding Lawn Thatch
Thatch is a tightly woven layer of living and dead stems, roots, and crowns that accumulates between the soil surface and the green vegetation. While a thin layer (under 0.5 inches) provides insulation and moisture retention, excessive thatch is primarily composed of lignin and suberin—organic compounds highly resistant to microbial decay. When this layer exceeds half an inch, it creates a hydrophobic barrier that blocks water, oxygen, and fertilizer from reaching the root zone, ultimately leading to shallow root systems and increased susceptibility to drought and disease.
The 1/2-Inch Diagnostic Rule: Before renting equipment, extract a 3-inch deep wedge of turf using a sharp spade. Measure the brown, spongy layer between the soil and the green grass blades. If this layer is thicker than 0.5 inches, mechanical dethatching is required. If it is thinner, focus on core aeration and microbial soil amendments instead.
Timing Your Dethatching: Cool vs. Warm Season Grasses
Dethatching is an aggressive mechanical process that tears through the turf canopy. Performing this procedure during peak stress periods (summer heat or winter dormancy) can fatally damage the lawn. You must align your dethatching schedule with your grass species' most vigorous growth phase to ensure rapid recovery. According to the University of Minnesota Extension, cool-season grasses recover best in early fall, while warm-season grasses should be dethatched in late spring.
| Grass Species | Thatch Propensity | Ideal Dethatch Window | Recovery Time |
|---|---|---|---|
| Kentucky Bluegrass | High (Rhizomatous) | Late August to Mid-September | 14–21 Days |
| Tall Fescue | Low (Bunch-type) | Early September | 10–14 Days |
| Bermudagrass | Very High (Stoloniferous) | Late May to Early June | 7–10 Days |
| Zoysiagrass | Very High (Dense canopy) | Late May to Early June | 14–28 Days |
Tool Selection: Manual vs. Power Dethatchers
The scale of your lawn and the severity of the thatch layer dictate your tool selection. The UC Davis Integrated Pest Management program notes that manual tools are only viable for spot treatments, while power equipment is necessary for uniform canopy penetration.
- Manual Thatching Rake (e.g., Ames True Temper 15-Tine): Costs around $35. Features curved, sharp tines designed to slice through the thatch layer. Best for lawns under 500 square feet or localized problem areas. Requires significant physical exertion and often fails to achieve uniform depth.
- Electric Power Dethatcher (e.g., Sun Joe AJ801E 15-Amp): Costs between $160 and $200. Uses a rotating cylinder with spring-loaded tines or fixed blades. Ideal for suburban lawns ranging from 1,000 to 5,000 square feet. Offers adjustable depth settings, crucial for preventing soil scalping.
- Walk-Behind Verticutter / Power Rake (e.g., Billy Goat or Classen rentals): Rental costs average $65 to $85 per day. Uses fixed, heavy-duty steel blades that physically slice into the soil and thatch. Required for severe thatch buildup (over 1 inch) and large commercial or estate-sized lawns.
Step-by-Step Procedure: How to Dethatch Properly
Follow this precise operational sequence to maximize thatch removal while minimizing turf trauma.
- Prep the Canopy: Mow your lawn to 50% of its normal height. For Kentucky Bluegrass, mow down to 1.5 inches; for Bermudagrass, mow to 0.75 inches. This exposes the thatch layer and prevents the dethatcher tines from tangling in long grass blades.
- Map Underground Hazards: Walk the lawn and mark all shallow irrigation heads, valve boxes, and invisible dog fence wires with high-visibility survey flags. Power dethatchers will easily rip out unprotected sprinkler heads.
- Calibrate Blade Depth: Test the machine on a hidden patch of turf or a concrete driveway. For cool-season grasses, set the blades to penetrate 1/4 inch into the soil. For warm-season grasses (which have shallow stolon networks), set the depth to 1/8 inch to avoid severing the primary runners.
- Execute Pass One (North-South): Push the dethatcher in straight, parallel lines across the entire lawn. Keep a steady walking pace to ensure uniform cutting depth.
- Execute Pass Two (East-West): Make a second pass perpendicular to the first. This cross-hatching pattern breaks up the thatch from multiple angles and lifts matted debris to the surface.
- Extract the Debris: Use a standard leaf rake or a lawn sweeper to remove the pulled thatch. Leaving this debris on the lawn will smother the remaining grass and create a breeding ground for fungal pathogens like Pythium blight.
Post-Dethatching Recovery Protocol
Dethatching leaves the lawn looking sparse and scalped. Immediate post-care is critical to drive root regeneration and prevent weed invasion.
Overseeding & Fertilization Matrix:
Within 48 hours of dethatching, overseed bare patches at a rate of 4 to 6 lbs of seed per 1,000 sq ft. Immediately follow with a high-phosphorus starter fertilizer (such as Scotts Turf Builder Starter Food 24-25-4) applied at a rate of 1.0 lb of nitrogen per 1,000 sq ft. The exposed soil channels created by the dethatcher blades provide ideal seed-to-soil contact.
Within 48 hours of dethatching, overseed bare patches at a rate of 4 to 6 lbs of seed per 1,000 sq ft. Immediately follow with a high-phosphorus starter fertilizer (such as Scotts Turf Builder Starter Food 24-25-4) applied at a rate of 1.0 lb of nitrogen per 1,000 sq ft. The exposed soil channels created by the dethatcher blades provide ideal seed-to-soil contact.
Adjust your irrigation schedule to maintain consistent surface moisture. Water lightly 2 to 3 times a day for 5-minute intervals during the first 14 days to keep the seed and exposed roots from desiccating. Once the new grass reaches 2 inches, transition back to deep, infrequent watering cycles.
Common Dethatching Mistakes and Edge Cases
Warning: The Scalping Trap
Setting the dethatcher blades too deep (greater than 1/2 inch) will rip out healthy crown tissue and sever primary root systems, effectively killing the lawn. Always start with a shallow depth setting and perform a test pass. You can always lower the blades for a second pass if the initial extraction is insufficient.
Setting the dethatcher blades too deep (greater than 1/2 inch) will rip out healthy crown tissue and sever primary root systems, effectively killing the lawn. Always start with a shallow depth setting and perform a test pass. You can always lower the blades for a second pass if the initial extraction is insufficient.
Another frequent error is confusing thatch with soil compaction. If your soil is heavy clay and water pools on the surface, but your thatch layer is under 0.5 inches, dethatching will not solve the problem. In this edge case, you require core aeration to fracture the soil profile, not vertical slicing of the canopy. Furthermore, avoid dethatching newly sodded or seeded lawns; wait at least 12 to 18 months for the root architecture to fully establish before subjecting the turf to mechanical vertical stress.

