
Lawn Care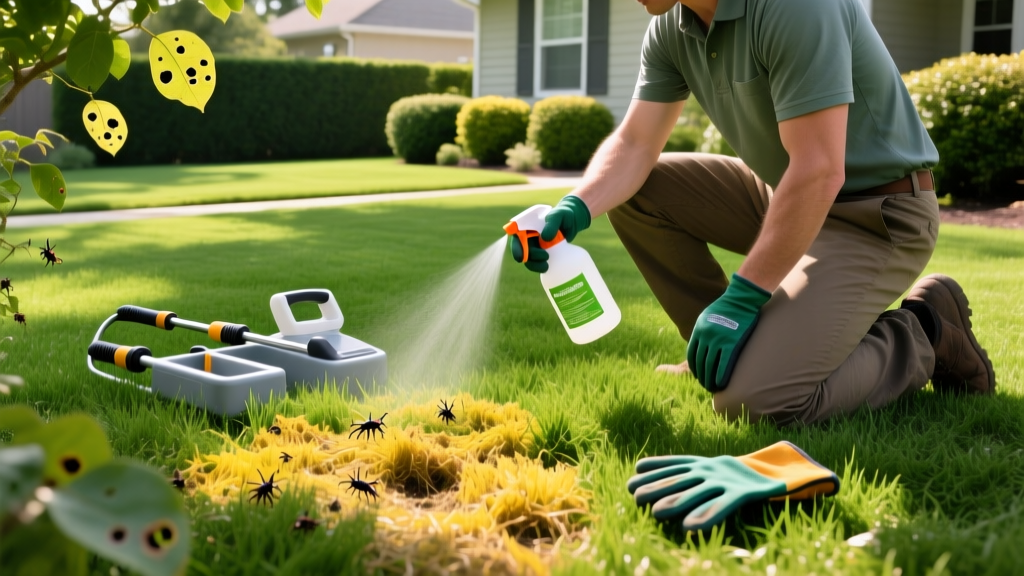
How to Kill Grass Fast: Herbicides, Smothering & Solarization
Erasing unwanted grass from garden beds, driveway cracks, or future xeriscape zones requires more than just pulling blades by hand. Grasses like Bermuda, Quackgrass, and Johnsongrass possess aggressive rhizomatous root systems that will rapidly regenerate if even a one-inch fragment is left in the soil. When homeowners ask how to kill grass permanently, the answer depends entirely on the timeline, the ecological impact tolerance, and the specific grass species involved.
This playbook breaks down the three most effective eradication methods—chemical application, organic smothering, and thermal solarization—providing exact mixing ratios, material depths, and failure points for each.
The Grass Eradication Decision Matrix
Before purchasing materials, evaluate your site conditions against this framework to select the optimal removal strategy.
| Method | Time to Kill | Cost (per 100 sq ft) | Best Application | Eco-Impact |
|---|---|---|---|---|
| Non-Selective Herbicide | 7–14 Days | $2.00 – $4.00 | Fast turnaround, hardscape edges, severe rhizome infestations | Moderate (Chemical runoff risk) |
| Sheet Mulching | 3–6 Months | $15.00 – $30.00 | Garden bed expansion, soil building, organic preference | Low (Improves soil biology) |
| Soil Solarization | 4–6 Weeks | $8.00 – $12.00 | Large open areas, summer months, weed seed sterilization | Low (Thermal, no chemicals) |
Method 1: Targeted Herbicide Application (The 14-Day Kill)
For rapid eradication, particularly against invasive warm-season grasses encroaching on cool-season lawns or hardscapes, non-selective systemic herbicides are the most reliable tool. Glyphosate (N-(phosphonomethyl)glycine) is absorbed through the foliage and translocated down to the root tips, ensuring the entire plant dies.
Exact Mixing and Application Protocol
Do not rely on pre-mixed, ready-to-spray consumer bottles; they are often diluted to ineffective levels for mature grass. Purchase a concentrated 41% Glyphosate solution (such as Compare-N-Save Concentrate or Roundup Pro).
- Mixing Rate: Combine 2.5 fluid ounces of 41% Glyphosate concentrate per 1 gallon of water. This yields a 2% active ingredient solution, which is the threshold required to kill mature, drought-stressed grasses.
- Surfactant Addition: Grass blades have a waxy cuticle that repels water. Add 1 teaspoon of a non-ionic surfactant (or a high-quality agricultural silicone spreader) per gallon of mixed solution. This breaks the surface tension, ensuring the chemical coats and penetrates the leaf tissue.
- Application Timing: Spray on a calm, dry morning when temperatures are between 65°F and 85°F. Avoid spraying if rain is forecast within 6 hours, or if temperatures exceed 90°F, which causes the chemical to vaporize and drift onto desirable plants.
- Wait Time: Allow 7 to 14 days for complete translocation. The grass will yellow, then brown. Do not mow or disturb the grass during this window; the plant needs its leaves intact to pull the poison into the roots.
⚠️ Drift and PPE Warning: Glyphosate is non-selective and will kill any plant it touches. Wear nitrile gloves, long sleeves, and protective eyewear. When spraying near desirable garden beds, use a physical shield (like a piece of cardboard) to block wind drift, and keep the spray nozzle within 6 inches of the target grass to minimize aerosolization.
According to the Environmental Protection Agency (EPA), when used strictly according to label directions, glyphosate poses minimal risk to humans and pets once the application has completely dried. However, always store concentrates in their original, labeled containers out of reach of children.
Method 2: Sheet Mulching (The Organic Smother)
If you are converting a grassy area into a planting bed and want to avoid chemicals while simultaneously building topsoil, sheet mulching is the superior choice. This method blocks photosynthesis, starving the grass roots while the organic matter decomposes and feeds soil microbiology.
Step-by-Step Smothering Execution
- Scalp the Grass: Mow the target area as low as your mower deck allows (usually 1.5 inches). Leave the clippings in place; they will act as an initial nitrogen source for decomposition.
- Lay the Barrier: Cover the entire area with plain, uncoated brown corrugated cardboard. Remove all plastic tape, shipping labels, and metal staples. Overlap every seam by a minimum of 6 inches. Grass is highly opportunistic and will exploit even a half-inch gap to reach sunlight.
- Hydrate the Barrier: Thoroughly soak the cardboard with a garden hose until it is completely saturated and conforms to the soil contours. This initiates the breakdown process and prevents wind from displacing the material.
- Apply the Mulch Cap: Cover the wet cardboard with 3 to 4 inches of arborist woodchips or shredded bark. Do not use dyed mulches or fine sawdust, which can mat down and repel water. The weight of the mulch holds the cardboard down and blocks 100% of UV light.
💡 Pro Tip for Planting: You do not need to wait 6 months to plant. To install shrubs or trees immediately, use a utility knife to cut an 'X' through the cardboard, dig your hole, plant the specimen, and fold the cardboard flaps back around the base, leaving a 3-inch mulch ring around the trunk to prevent rot.
Method 3: Soil Solarization (The Heat Sterilizer)
Solarization utilizes the sun's radiant energy to bake the top 6 inches of soil, killing grass, weed seeds, and soil-borne pathogens. This method is highly effective for large, open, sunny areas but is entirely dependent on regional climate and season.
According to the University of California Integrated Pest Management (UC IPM) program, solarization requires 4 to 6 weeks of continuous, intense sunlight with ambient temperatures consistently above 90°F to achieve lethal soil temperatures of 110°F to 130°F at a 2-inch depth.
The Solarization Protocol
- Prep and Water: Mow the grass to the soil line and water the area deeply. Moist soil conducts heat significantly better than dry soil, pushing the thermal kill zone deeper into the root profile.
- Select the Plastic: Use 1.5 to 2 mil clear polyethylene plastic sheeting. Do not use black plastic; clear plastic allows UV rays to penetrate and trap heat via the greenhouse effect, whereas black plastic absorbs heat on the surface but fails to raise deep soil temperatures adequately.
- Trench and Seal: Dig a 6-inch deep trench around the perimeter of the target area. Lay the plastic flat, drop the edges into the trench, and bury them completely. This creates an airtight seal that prevents heat escape and stops rhizomes from creeping out from under the edges.
- Leave Untouched: Leave the plastic sealed for 4 to 6 weeks during the peak of summer. Do not puncture it. Once removed, the grass will be entirely desiccated and the topsoil sterilized.
Edge Case: Eradicating Invasive Rhizomatous Grasses
Standard smothering techniques frequently fail against aggressive rhizomatous grasses like Bermuda grass (Cynodon dactylon) and Quackgrass (Elymus repens). These species possess sharp, hardened rhizome tips that can physically pierce through standard landscape fabric and even thin cardboard over time.
If your soil is infested with these species, you must employ a combination strategy. Apply a 2% glyphosate solution first, wait 14 days for the roots to absorb the chemical and die, and then proceed with sheet mulching or solarization to handle any surviving weed seeds. Attempting to smother live Bermuda grass with cardboard alone usually results in the grass penetrating the barrier by month four, turning your new garden bed into a weedy nightmare.
Post-Eradication Soil Recovery
Once the grass is dead and removed, the soil is often compacted and depleted of microbial life, especially if chemical herbicides or solarization were used. Before laying new sod, planting a garden, or installing hardscapes, integrate 2 inches of organic compost into the top 6 inches of soil using a broadfork or rototiller. This reintroduces beneficial mycorrhizal fungi and restores the soil structure, ensuring your new landscape thrives without the threat of the previous grass returning.

