
Lawn Care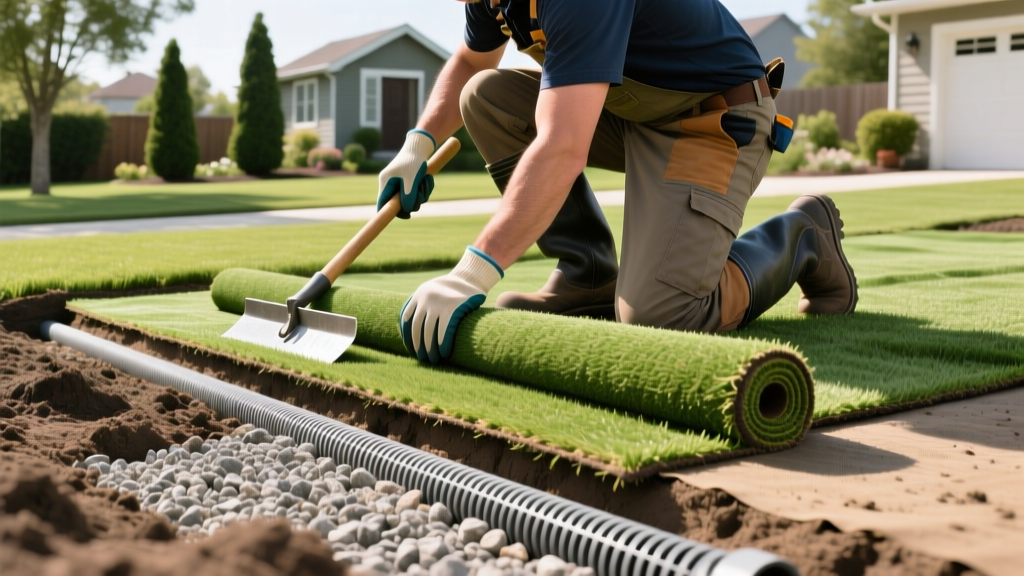
How to Lay Imitation Grass: Base Prep and Drainage Guide
The Hidden Mechanics of Synthetic Turf Installation
When homeowners research how to lay imitation grass, they often focus on the pile height, face weight, and color variations of the turf itself. However, professional installers know that 90% of a synthetic lawn's longevity, drainage capacity, and visual realism is determined before the turf is ever unrolled. A failed sub-base leads to pooling water, visible wrinkles, and organic weed breakthroughs that no amount of surface maintenance can fix.
This guide bypasses basic DIY overviews and details the exact excavation depths, aggregate specifications, and seaming protocols required to install a high-performance imitation grass landscape in 2026. According to the Synthetic Turf Council, improper base compaction and inadequate slope grading are the primary causes of warranty voids in residential synthetic turf installations.
Material Calculator & 2026 Cost Breakdown
Before breaking ground, you must calculate the exact tonnage of aggregates and linear footage of seaming supplies. The table below outlines the required materials and estimated costs for a standard 1,000 square foot residential installation.
| Material | Specification | Quantity (per 1,000 sq ft) | Estimated 2026 Cost |
|---|---|---|---|
| Class II Road Base | 3/4-inch minus crushed rock | 12 - 14 tons | $450 - $600 |
| Decomposed Granite (DG) | 1/4-inch minus fine aggregate | 3 - 4 tons | $200 - $280 |
| Weed Barrier | Woven geotextile (3 oz/sq yd) | 1,100 sq ft (overlap) | $110 - $140 |
| Seaming Tape | 12-inch polypropylene woven | 150 linear ft | $85 - $110 |
| Adhesive | 1-component polyurethane | 3 gallons | $180 - $240 |
| Infill | #30 mesh silica sand | 1,500 - 2,000 lbs | $150 - $200 |
Phase 1: Excavation and Soil Stabilization
The first physical step in learning how to lay imitation grass is removing the existing topsoil. You must excavate to a depth of 3.5 to 4 inches below your desired finished grade. If your final turf level needs to be flush with existing concrete patios, use a string line and line level to mark the 4-inch excavation depth on surrounding stakes.
Dealing with Expansive Clay Soils
If your native soil is heavy clay (common in regions with high shrink-swell potential), simply digging and filling is insufficient. Clay retains water and expands, which will heave your sub-base and cause the turf to ripple. For clay-heavy sites, excavate an additional 2 inches and lay a biaxial geogrid stabilization mesh before adding your road base. This distributes the load and prevents the clay from pushing upward into the aggregate.
Warning: Never use cheap, non-woven plastic sheeting as a weed barrier directly over native soil. It traps moisture, creates an anaerobic environment that breeds foul-smelling bacteria, and completely ruins the permeability of your lawn. Always use a woven geotextile fabric placed on top of your compacted sub-base, not beneath it.
Phase 2: Building the Aggregate Sub-Base
The sub-base is the structural foundation of your imitation grass. It must provide a stable, unyielding surface while allowing rapid water percolation.
Step-by-Step Aggregate Installation
- Spread the Class II Road Base: Dump the 3/4-inch minus crushed rock and spread it evenly to a depth of 3 inches using a landscaping rake.
- Moisture Conditioning: Lightly water the aggregate. The goal is to reach roughly 8-10% moisture content. If the rock is too dry, it will not lock together; if it is muddy, it will rut under the compactor.
- Primary Compaction: Use a vibratory plate compactor with a minimum compaction force of 5,000 lbs. Make at least three overlapping passes. The 3-inch layer should compress down to roughly 2.5 inches.
- Apply the Leveling Layer (DG): Spread 1 inch of 1/4-inch minus Decomposed Granite over the compacted road base. This fine material fills the microscopic voids and creates a perfectly smooth surface for the turf backing.
- Final Compaction and Grading: Compact the DG layer. During this final pass, ensure you are maintaining a 1% to 2% cross-slope away from structures to guarantee surface runoff. The EPA WaterSense program notes that proper grading in water-wise landscaping prevents foundation water damage while managing stormwater runoff efficiently.
Phase 3: Laying, Seaming, and Securing
Once the base is prepped and the woven geotextile weed barrier is rolled out and pinned, the turf installation begins. Unroll the imitation grass and let it acclimate to the sun for 2 to 4 hours; the heat will relax the backing and remove shipping wrinkles.
Seaming Matrix: Tape vs. Suture
Joining two rolls of turf seamlessly is the most technically demanding part of the process. Below is a comparison of the two primary seaming methods used by professionals.
| Seaming Method | Best Application | Pros | Cons |
|---|---|---|---|
| Polyurethane Tape & Glue | Standard residential lawns, straight seams | Creates a waterproof, rigid bond; fastest method | Requires precise alignment before glue cures; messy |
| Seaming Suture (Stitching) | Complex curves, high-shear areas, sports fields | Extremely high tensile strength; allows slight adjustments | Labor intensive; requires specialized stitching tools |
When using the tape and glue method, fold back both edges of the turf, unroll the 12-inch seaming tape down the exact center of the seam, and apply a 1/8-inch thick zigzag bead of 1-component polyurethane adhesive. Carefully fold the turf edges back onto the tape, ensuring the pile direction of both rolls is identical. Use weighted bags of sand along the seam to apply downward pressure while the adhesive cures for 24 hours.
Phase 4: Infill Distribution and Grooming
Infill serves three critical purposes: it weighs the turf down to prevent thermal expansion wrinkles, it supports the grass fibers so they stand upright, and it protects the primary latex backing from UV degradation.
- Standard Lawns: Use #30 mesh silica sand at a rate of 1.5 lbs per square foot.
- Pet Turf: Use an antimicrobial coated sand (like Envirofill) or zeolite granules. Zeolite absorbs ammonia from pet urine, neutralizing odors before they gas-off into the yard. Apply at 2 lbs per square foot.
Distribute the infill using a drop spreader, making two perpendicular passes to ensure even coverage. Finally, use a motorized power broom with stiff nylon bristles to brush the fibers against the grain. This forces the infill down to the backing and stands the blades upright, completing the natural aesthetic.
Common Installation Failures and Edge Cases
1. Thermal Wrinkling
Synthetic turf expands and contracts with temperature fluctuations. If the turf is installed on a 90°F day and then drops to 40°F at night, it will contract. If it was not secured properly around the perimeter with 5-inch galvanized U-nails (spaced every 4 inches) or if the infill was too light, the turf will buckle. Always install perimeter nails and infill immediately after seaming.
2. Visible Seams
Seams become visible when the pile direction is mismatched or when the turf edges are not trimmed to remove the factory stitch rows. Always trim 1 inch off the factory edge before seaming to ensure the fibers are uniformly spaced across the joint.
3. Drainage Pooling
If water pools on the surface 30 minutes after rain, your DG leveling layer was likely over-compacted or lacked the proper 1% slope. In severe cases, you may need to core-punch the turf and sub-base to install localized French drain catch basins.
Pro Tip: Never use a weed torch near the edges of your newly laid imitation grass. Synthetic fibers are highly susceptible to melting from radiant heat. Hand-pull perimeter weeds or use a targeted, non-selective liquid herbicide applied with a shielded wand.

